
Overview #
The Document Importer function in IQNECT 1.5 allows you to import and structure documents directly into Codebeamer, automatically converting document content into items that can be edited, analyzed, and traced.
This feature supports intelligent parsing, AI-assisted editing, and seamless integration with trackers and traces, streamlining how teams migrate requirements or specifications into Codebeamer.
Prerequisites #
- The document to be imported is accessible from your local system.
- You have permission to import documents into Codebeamer.
- You are using IQNECT version 1.5 or later.
How Document Import works #
The Document Importer uses IQNECT’s AI to parse a document and convert it into structured items in Codebeamer. It extracts sections, builds hierarchy, and prepares content for immediate use. Imported items remain fully editable, so you can refine text, reorganize structure, and assign them to trackers.
The workflow balances automation and control:
- Convert document sections into structured items
- Review and edit before finalizing
- Assign trackers and create trace links
- Enhance content with AI tools
This makes it useful for migrating requirements and turning legacy documents into traceable project data.
Import a document into Codebeamer #
Follow these steps to import and manage a document in IQNECT:
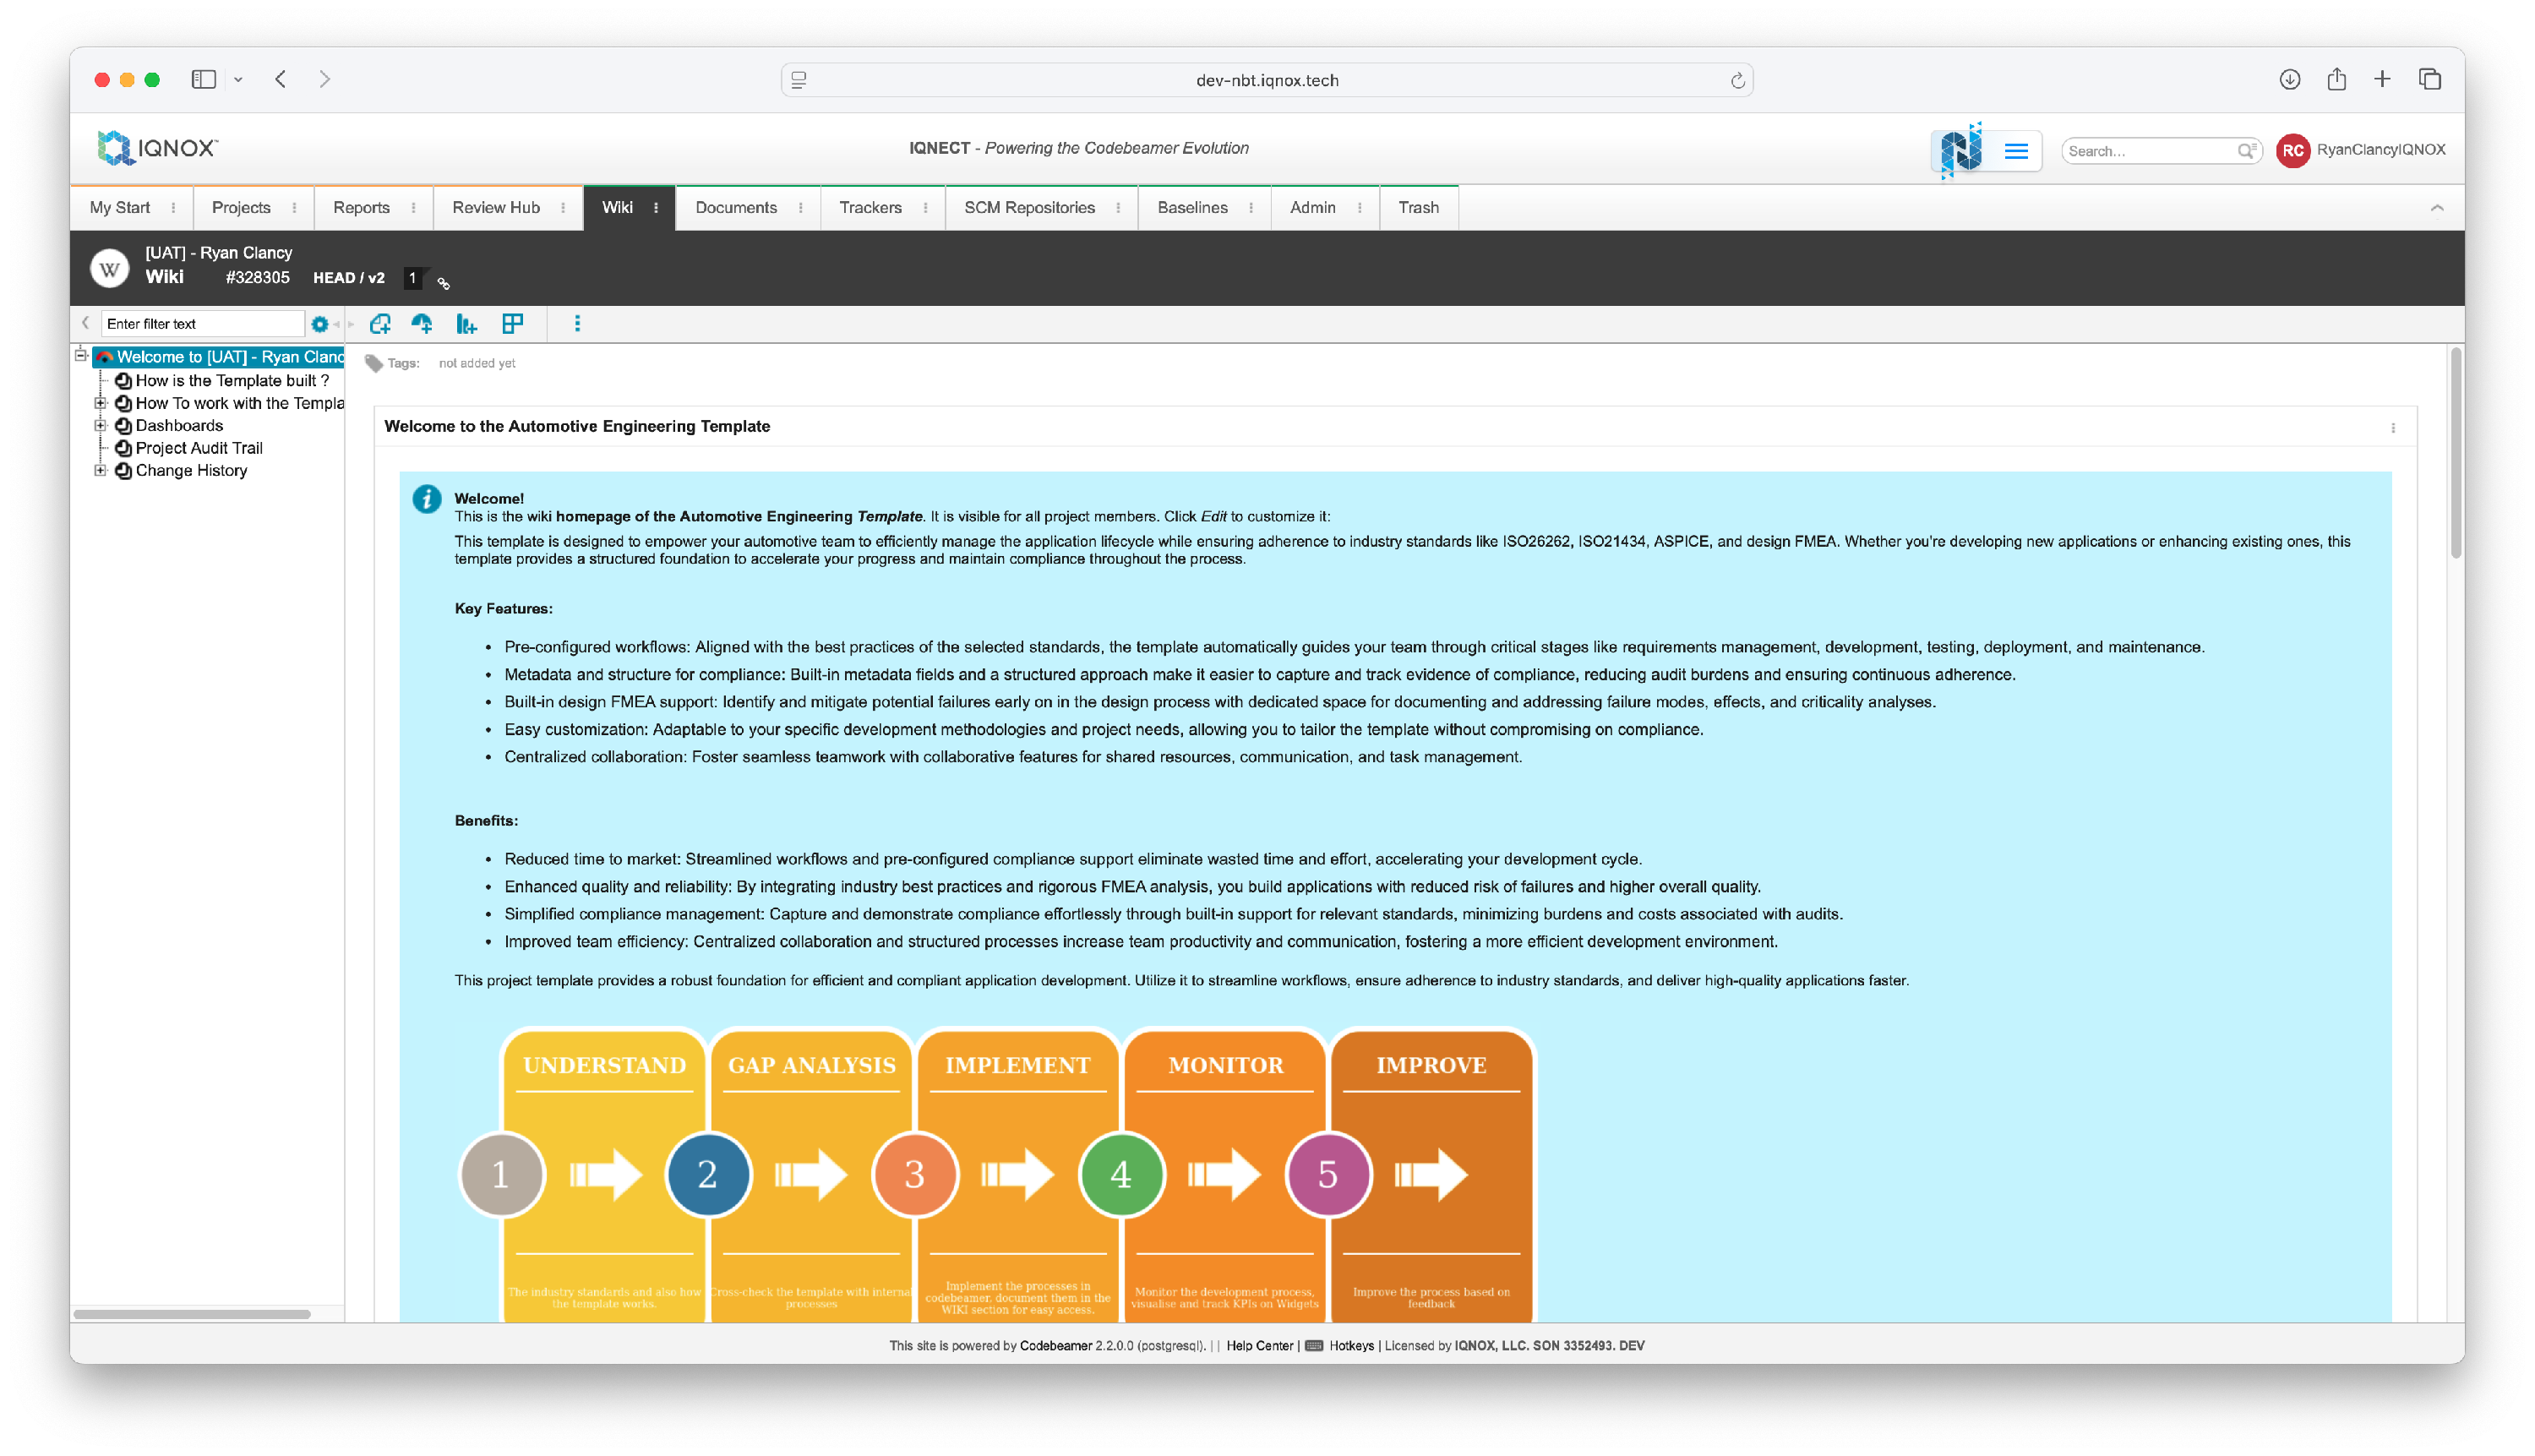
Open your project #
Open the Projects tab and click on the project that you want to import a document into.
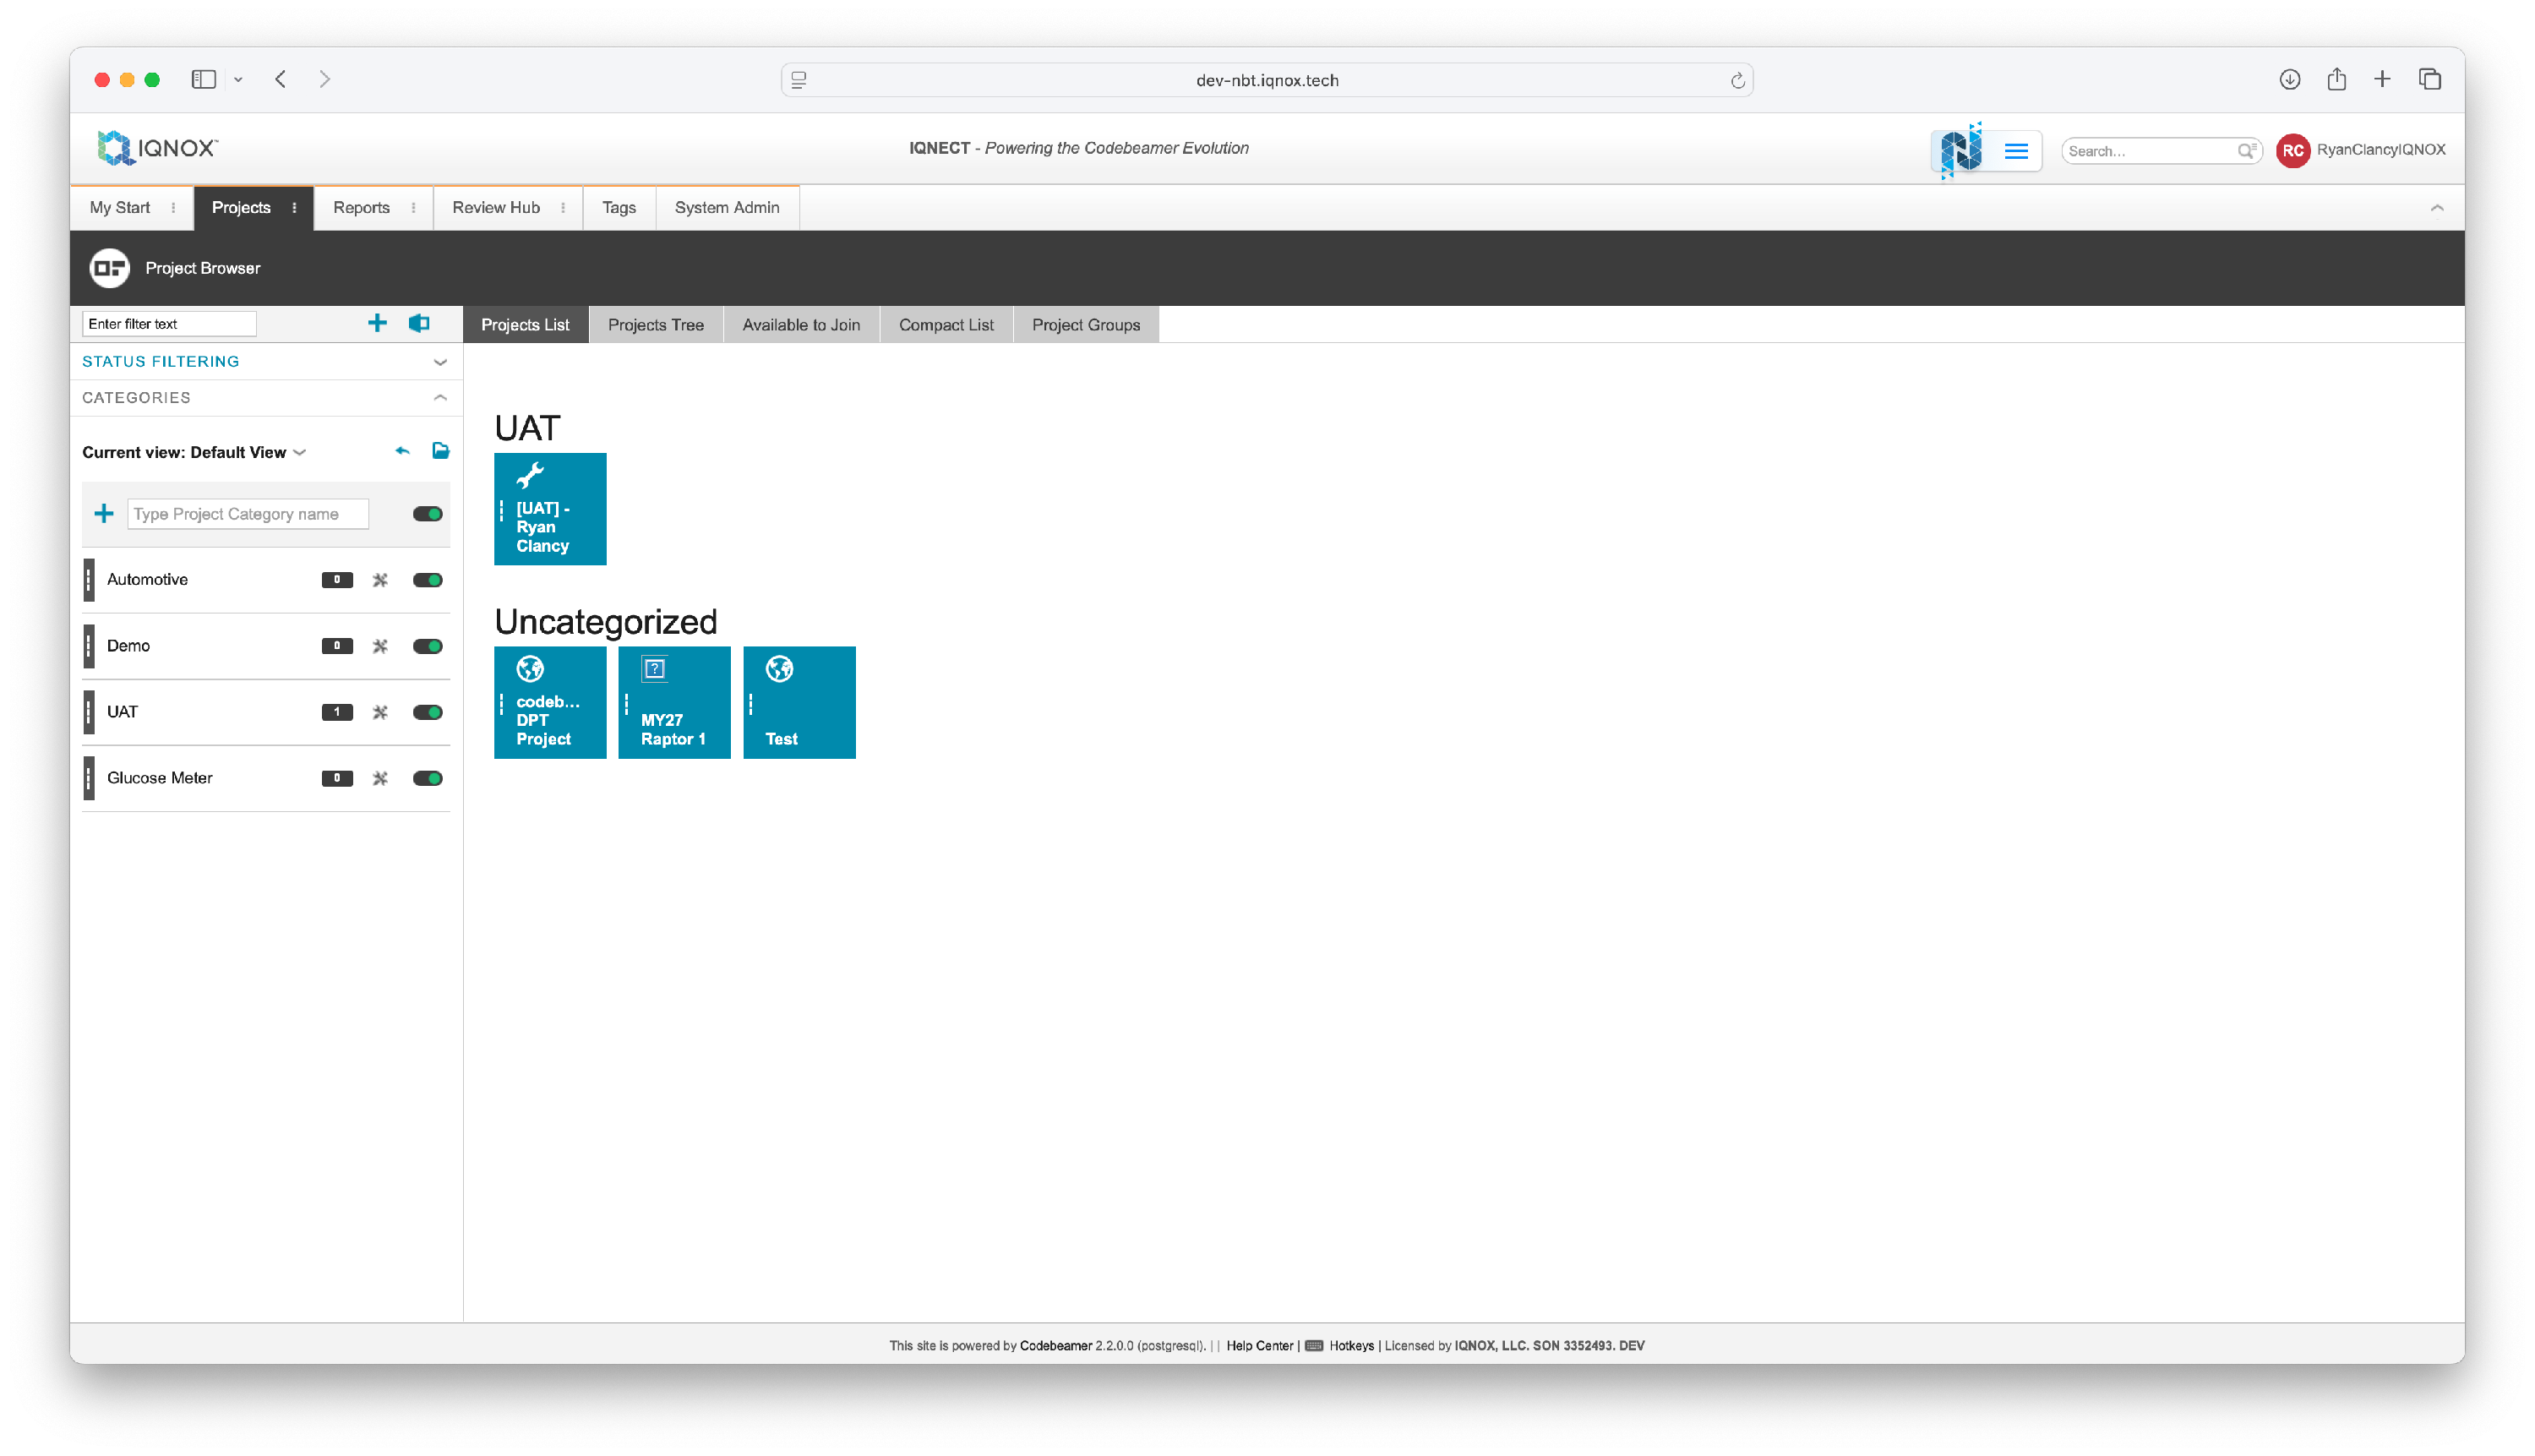
This will open the Wiki tab for that project.
Select the tracker item #
Navigate to the Trackers tab.
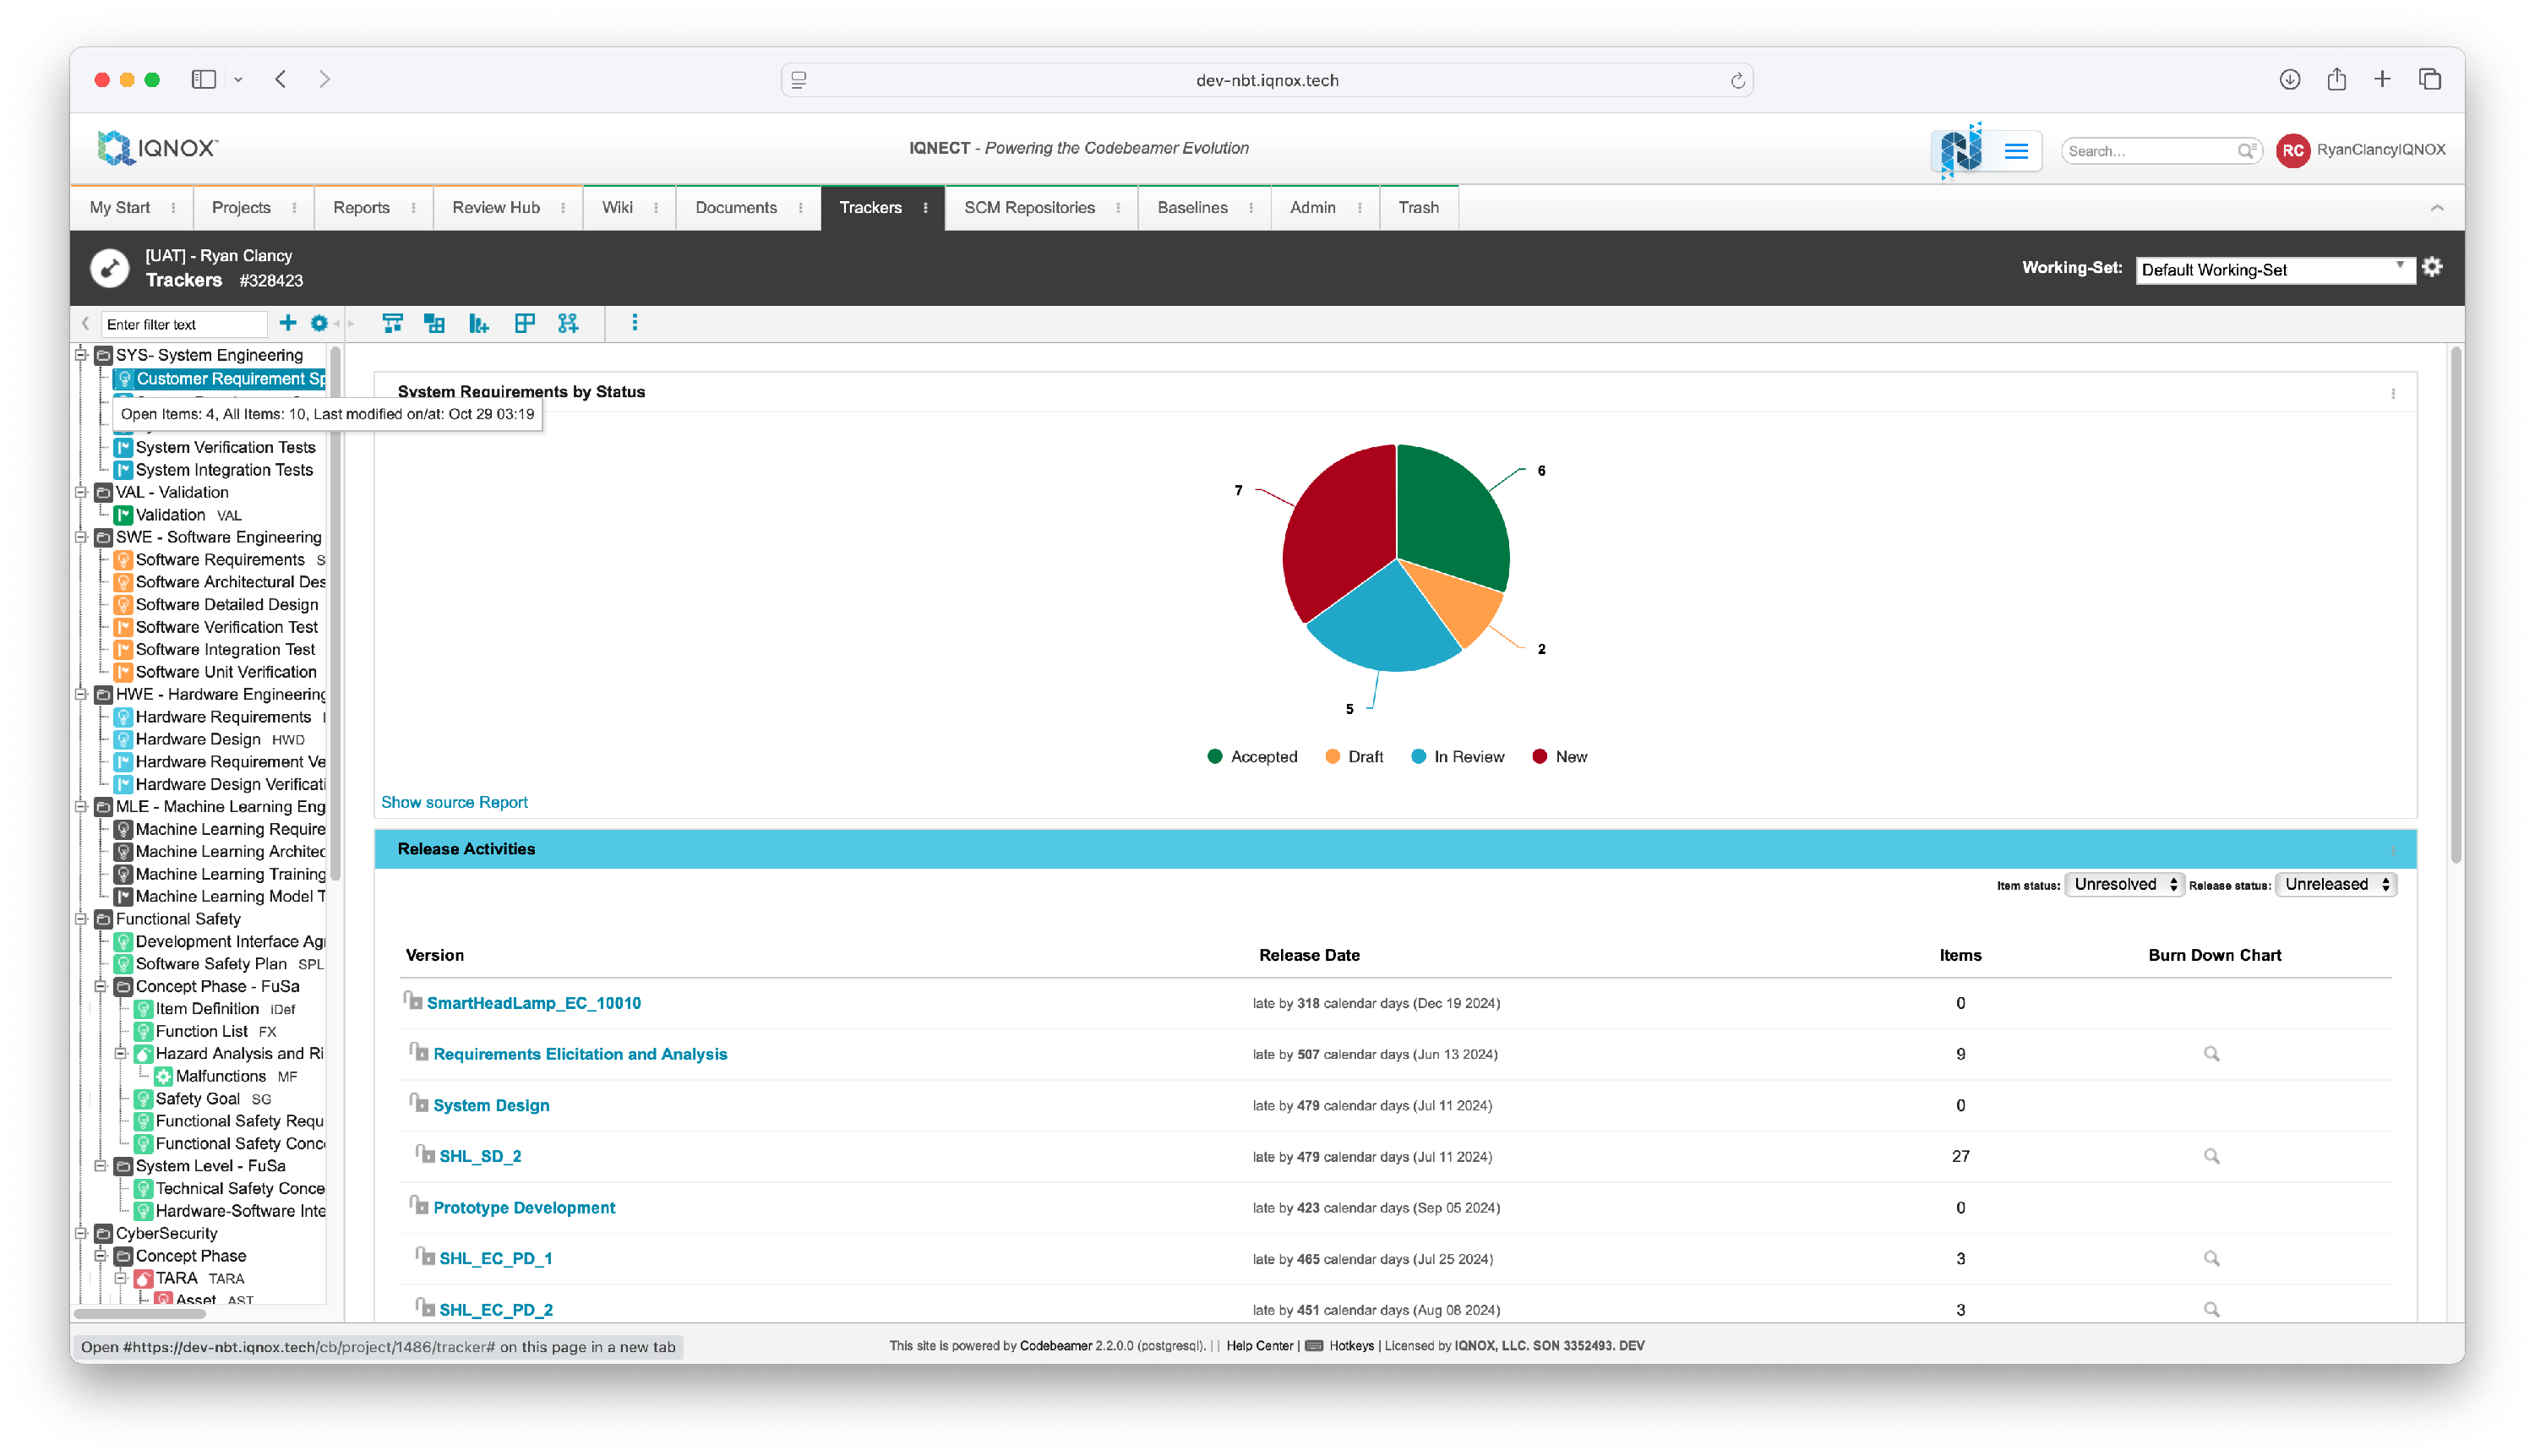
Double click on the desired tracker in the tree structure on the left.
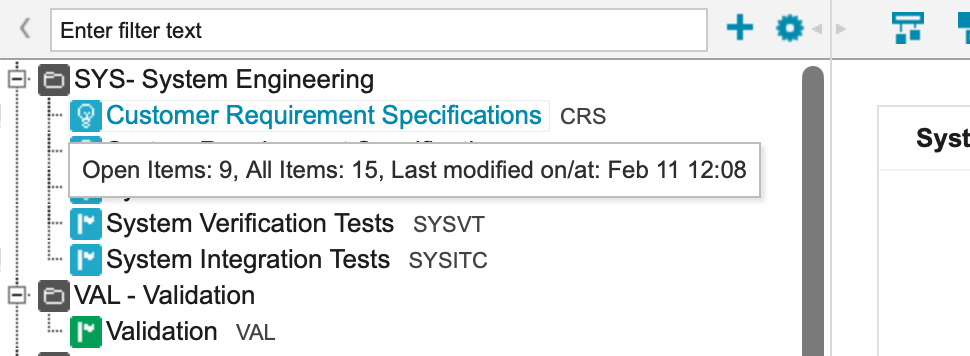
This will bring you into the All Items view within that tracker.

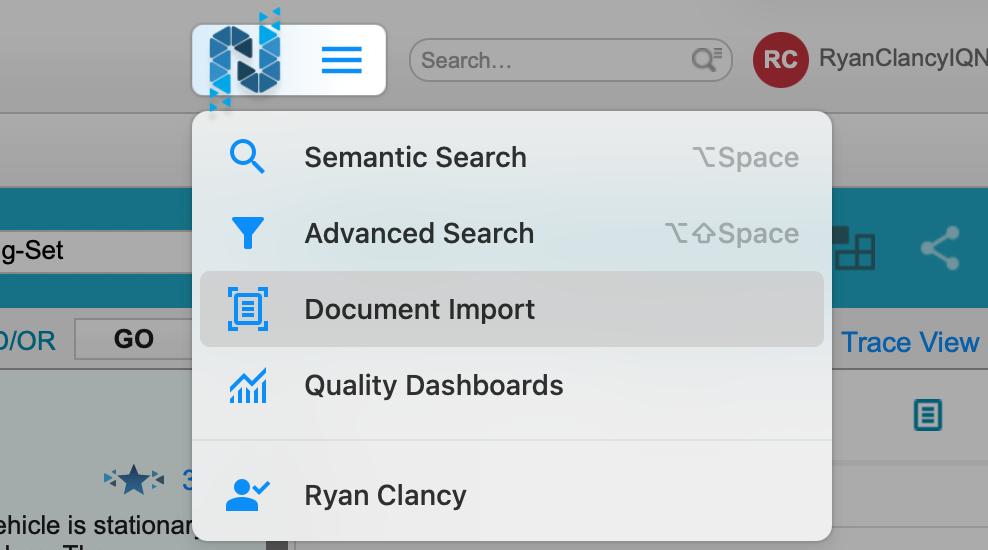
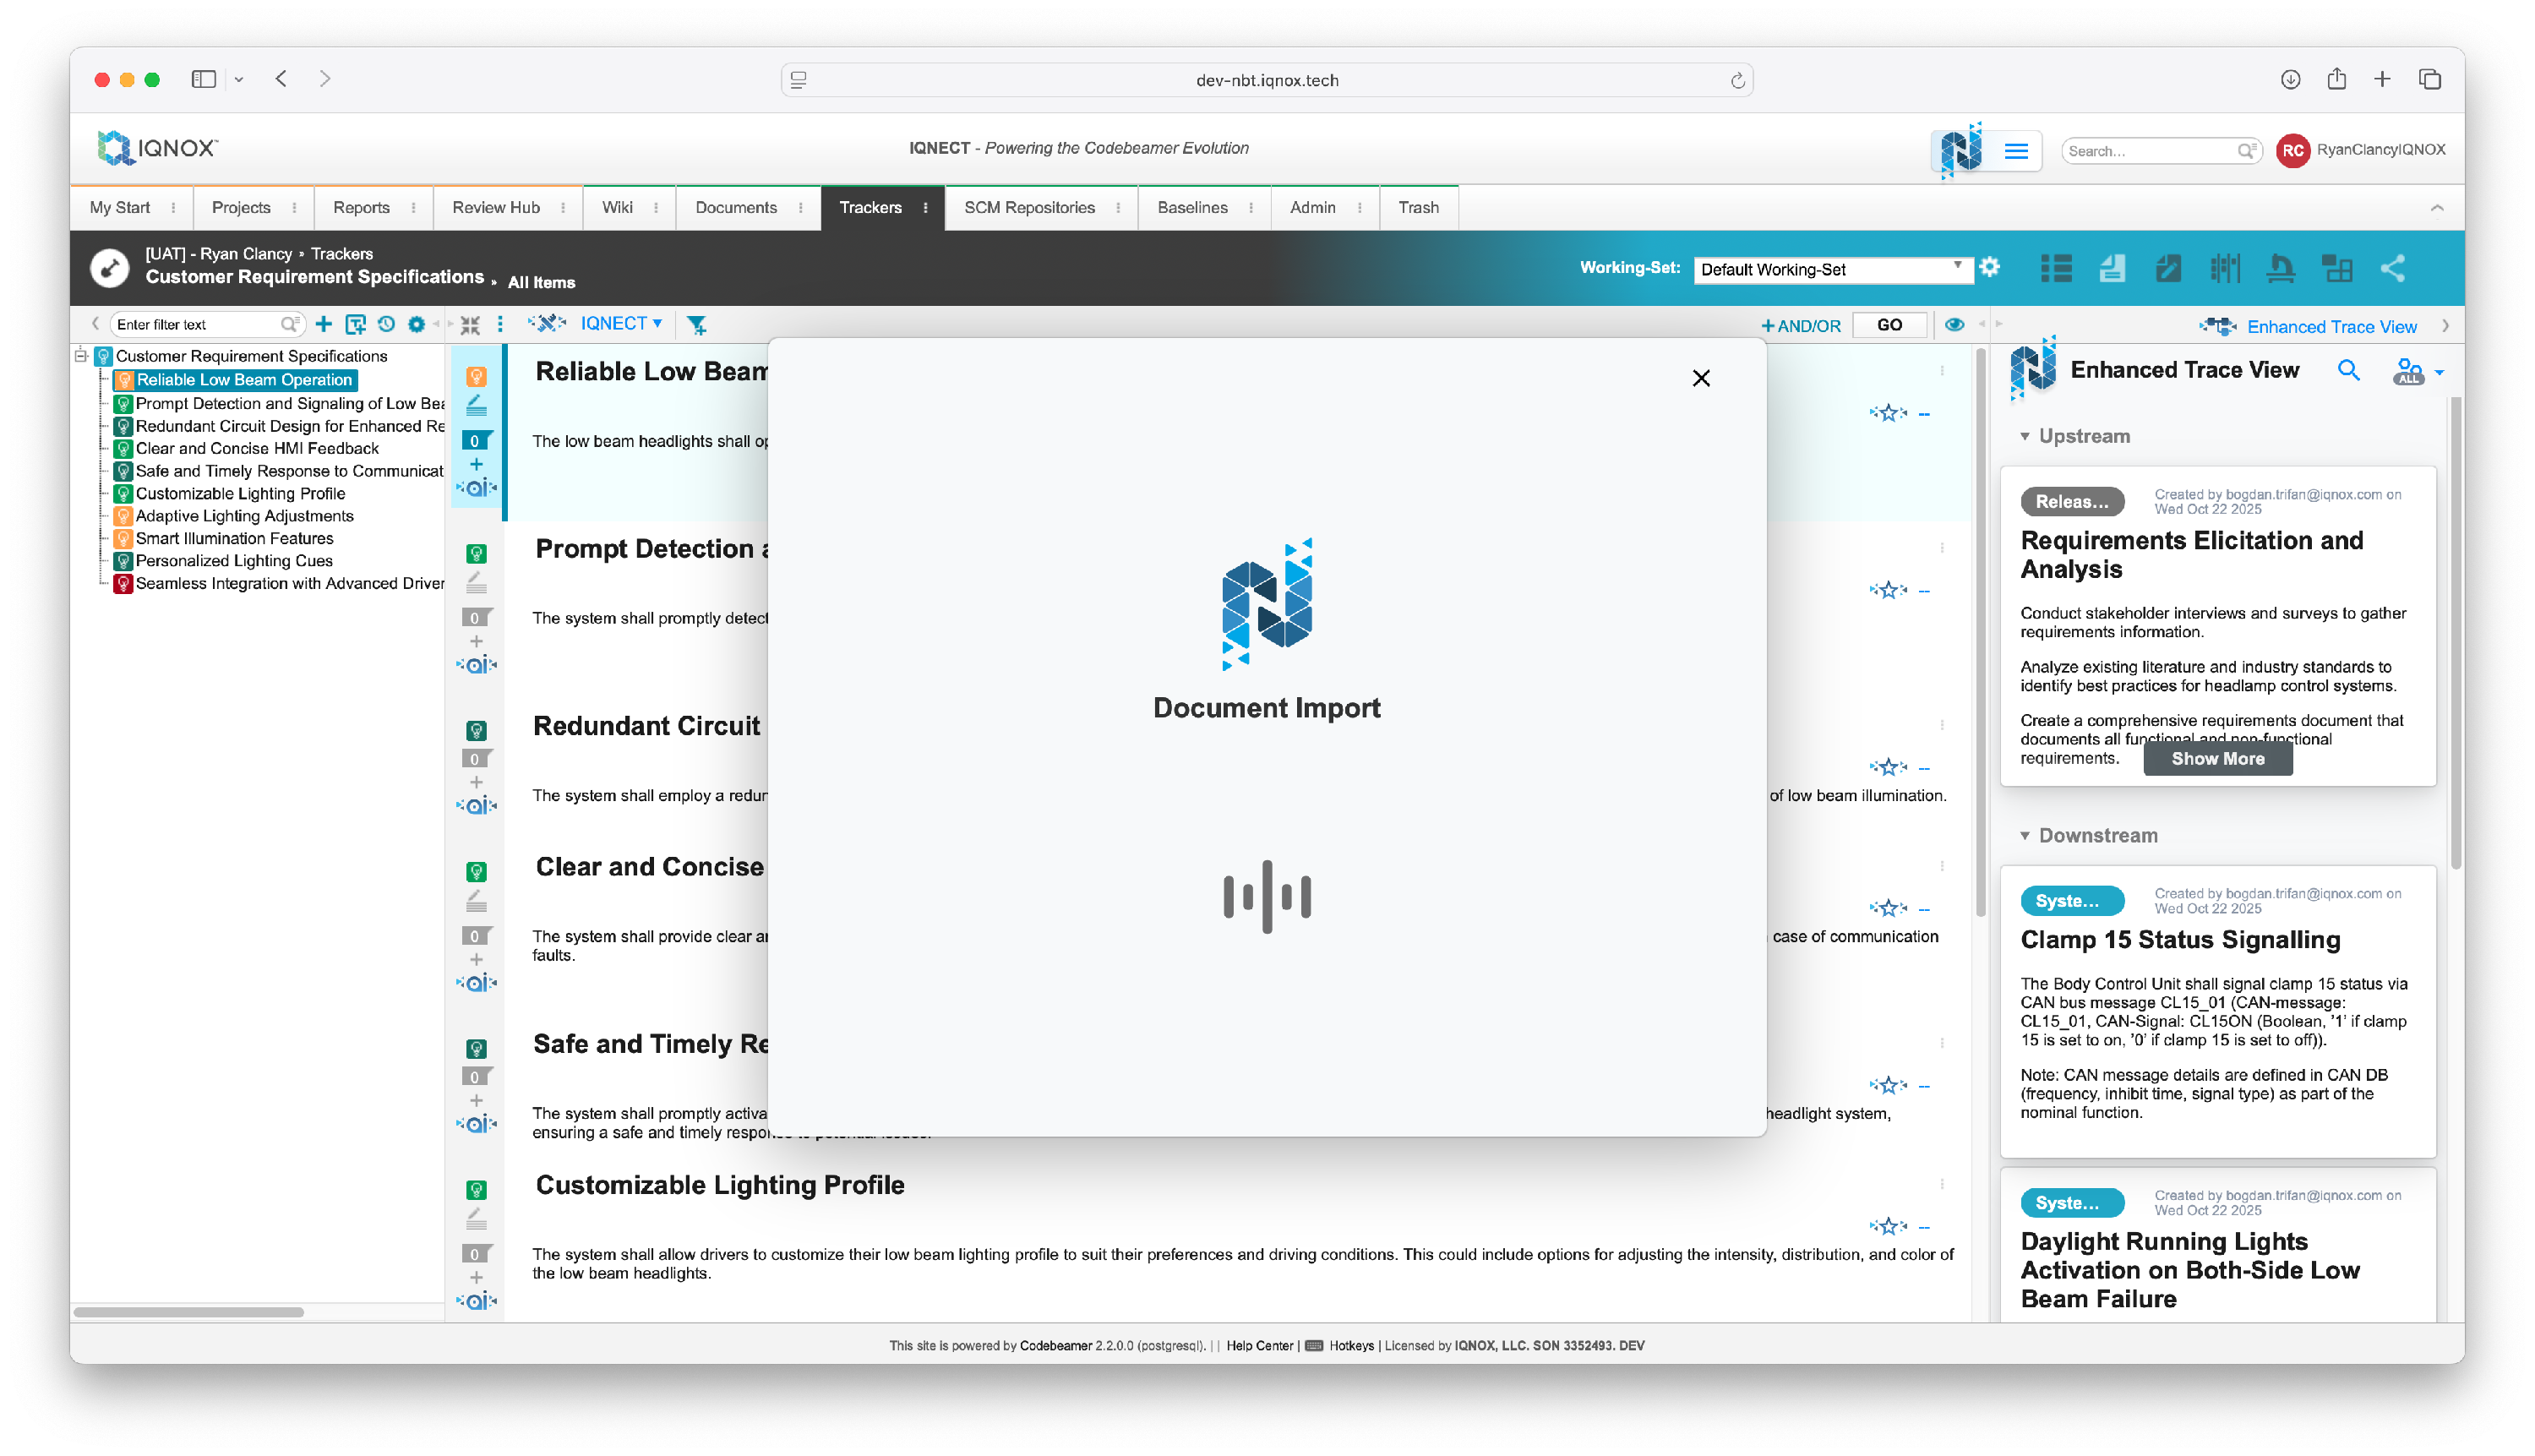
Open the document importer #
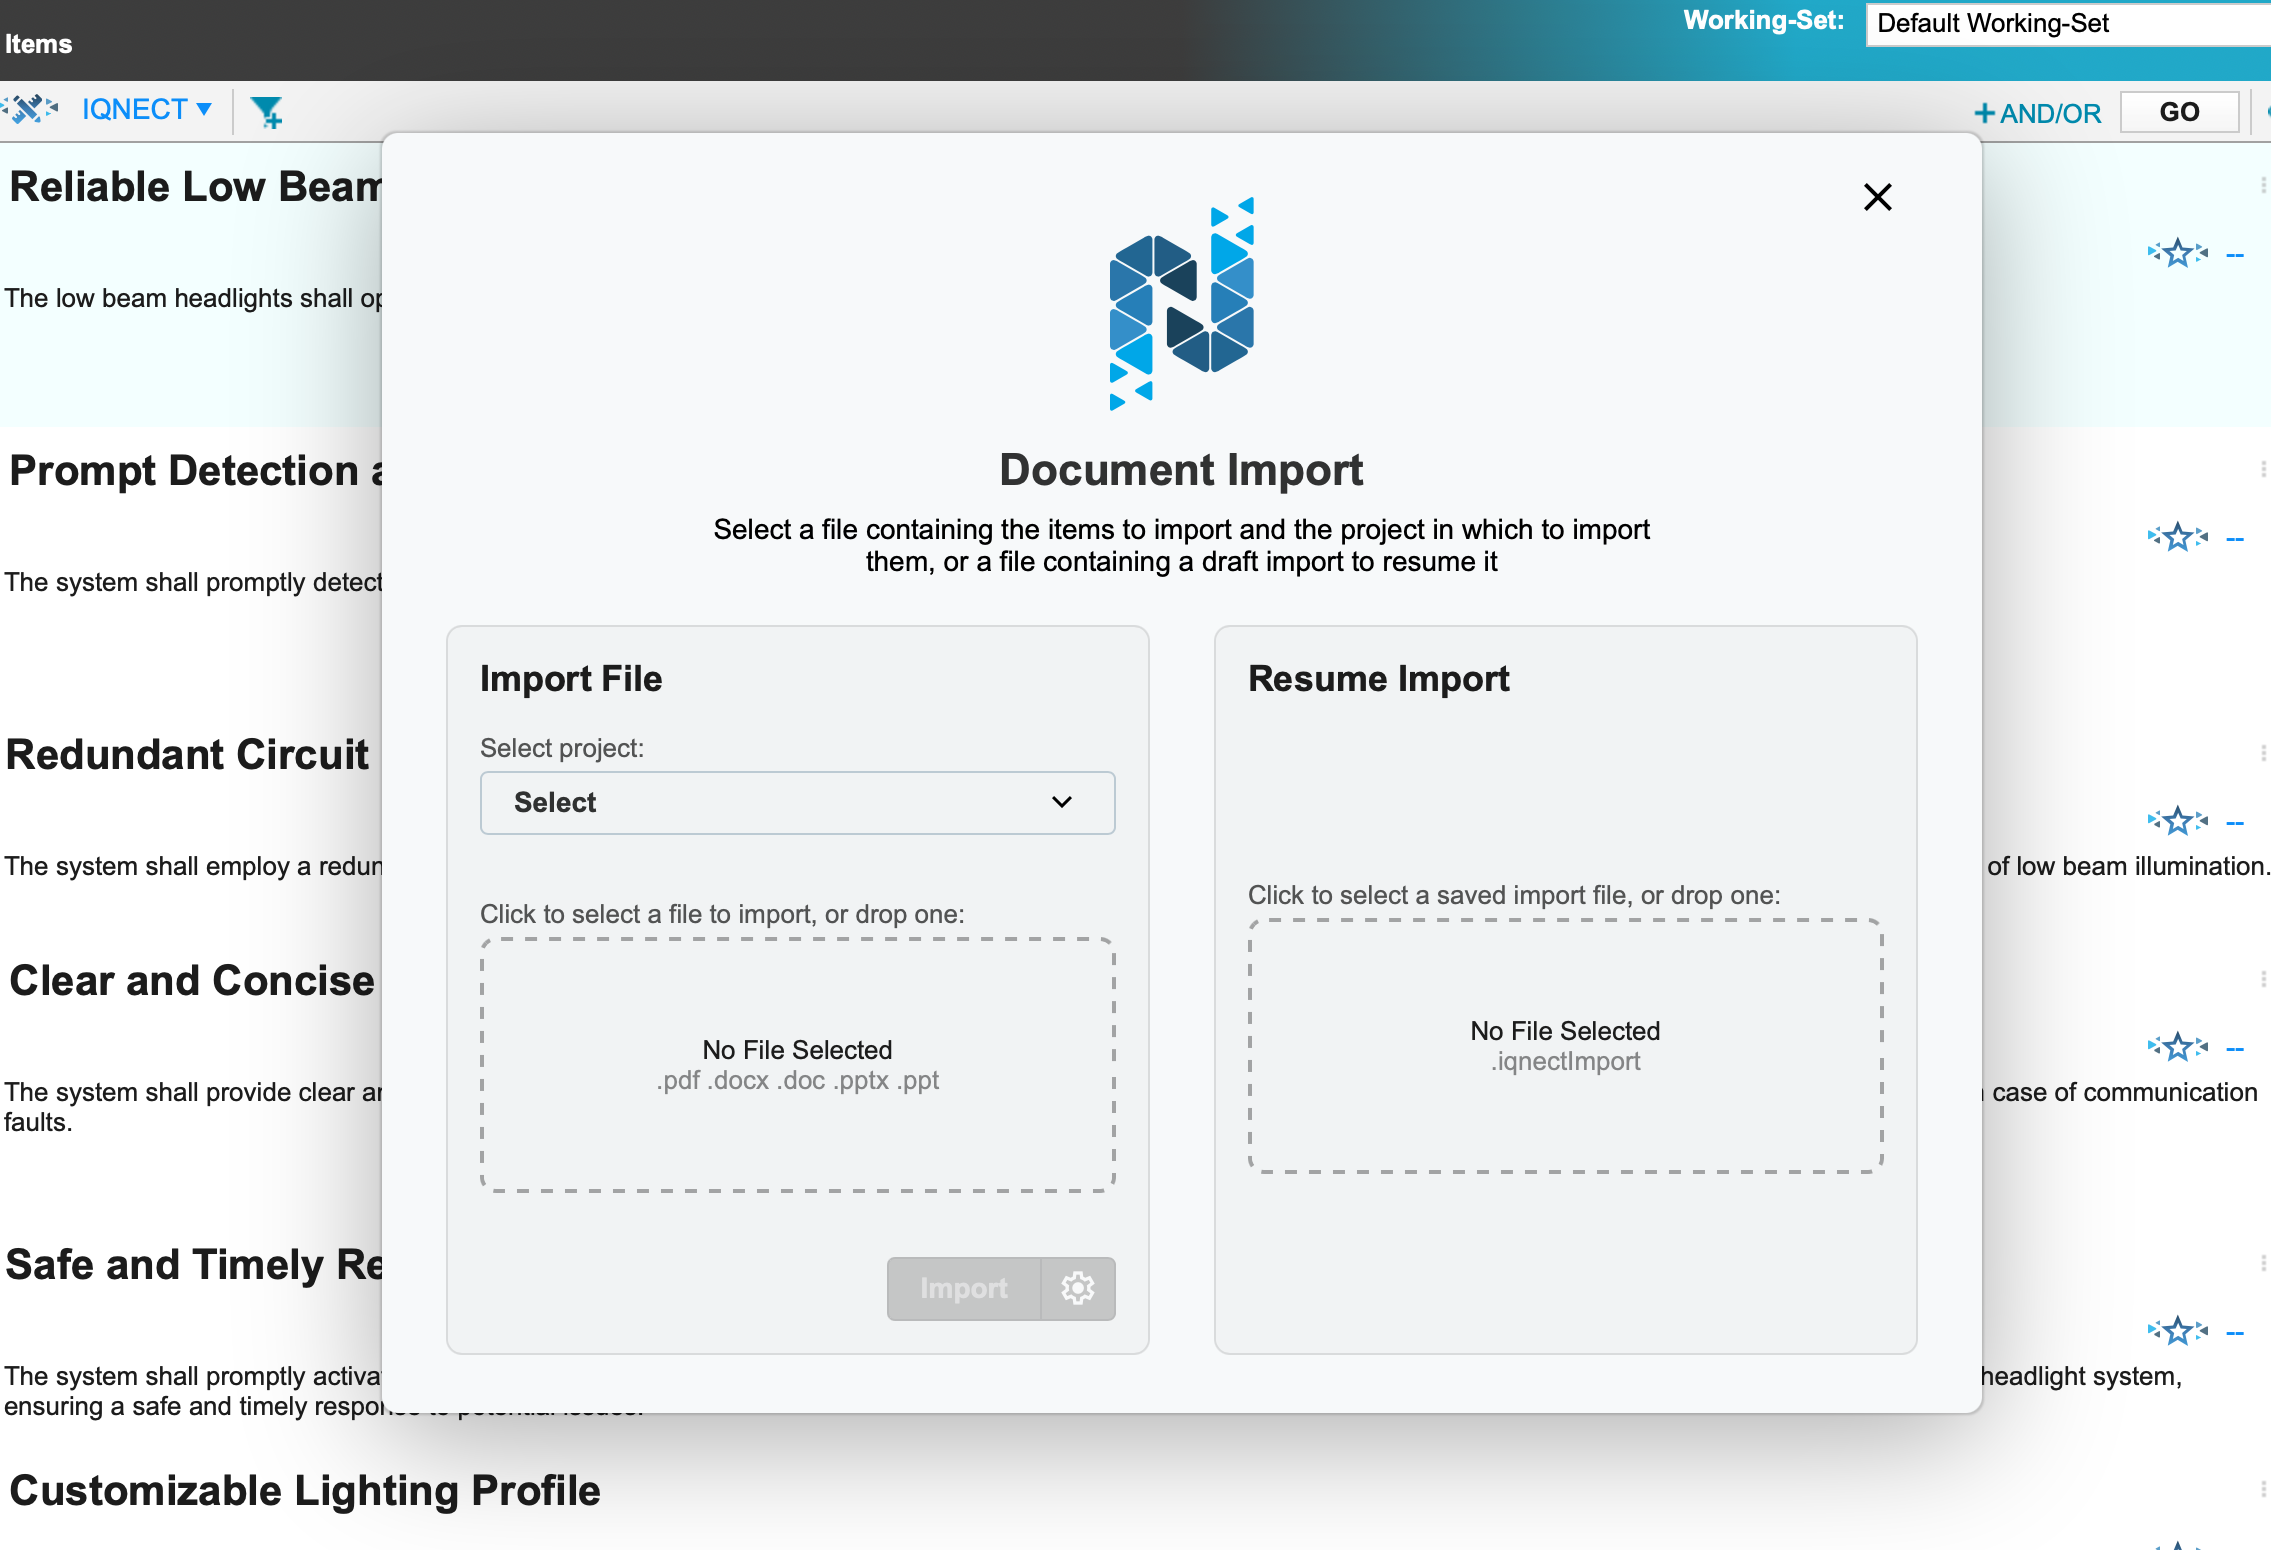
Click the hamburger menu beside the IQNECT logo in the top-right corner of your screen, and select Document Import.
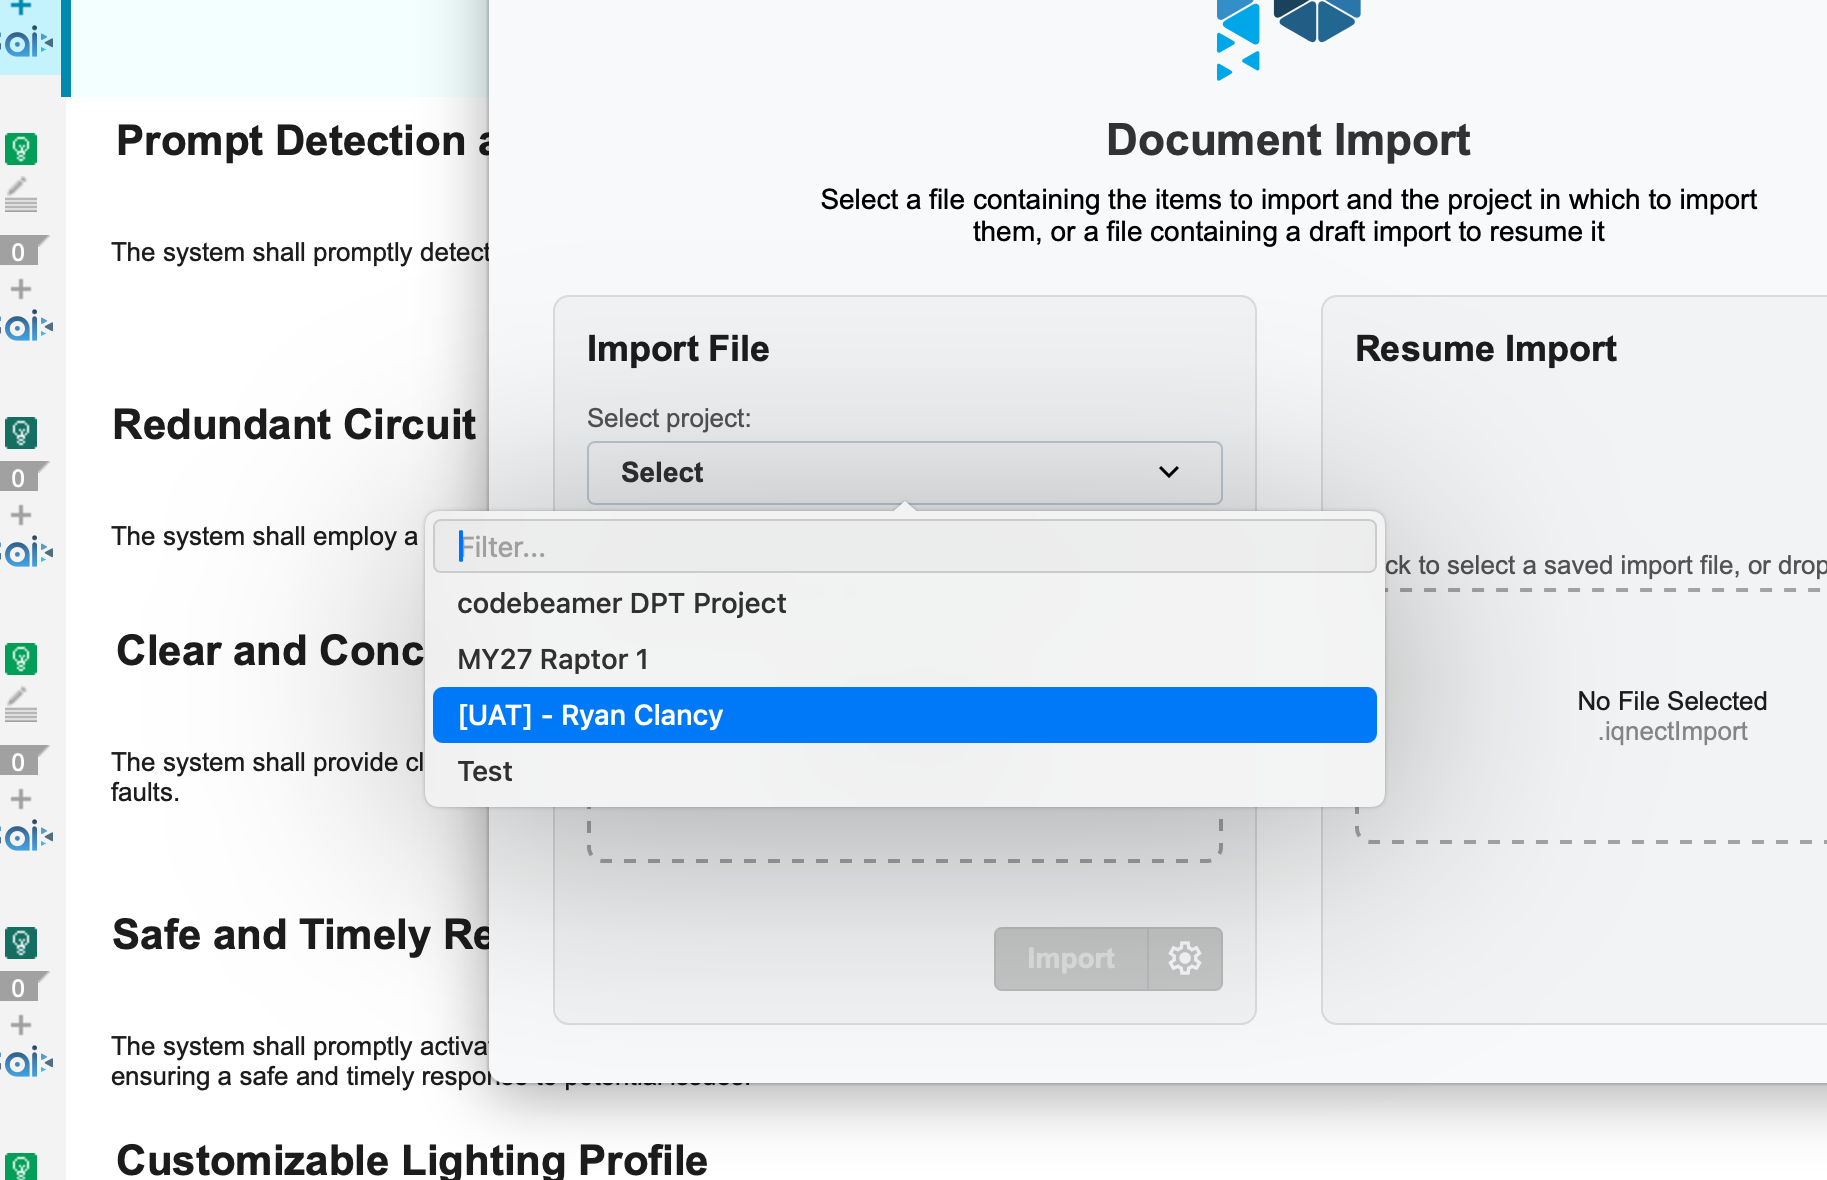
Select your project #
Choose the Codebeamer project you want to import into.
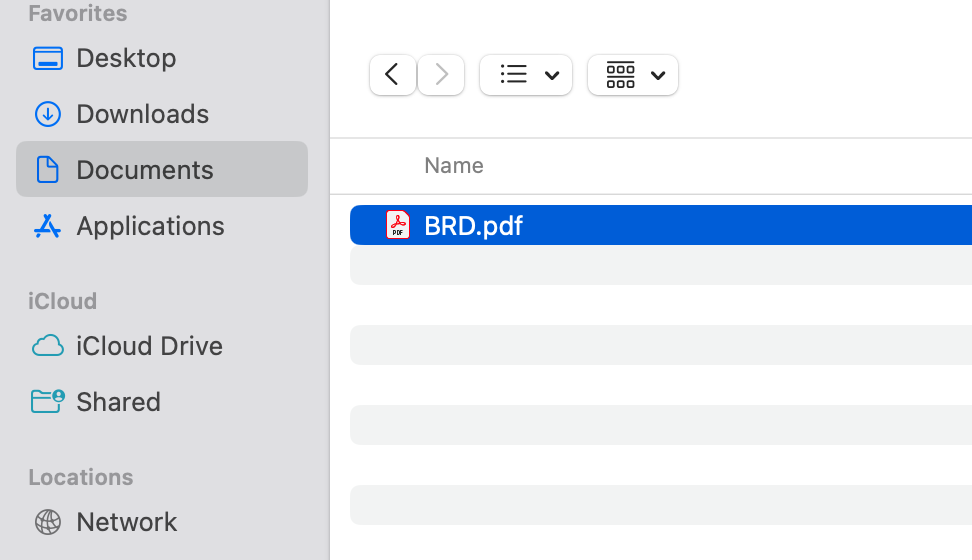
Choose a document #
Select the file from your system that you want to import.
(Optional) Adjust Advanced Import Settings #
Click the gear icon beside the Import button to open Advanced Import.
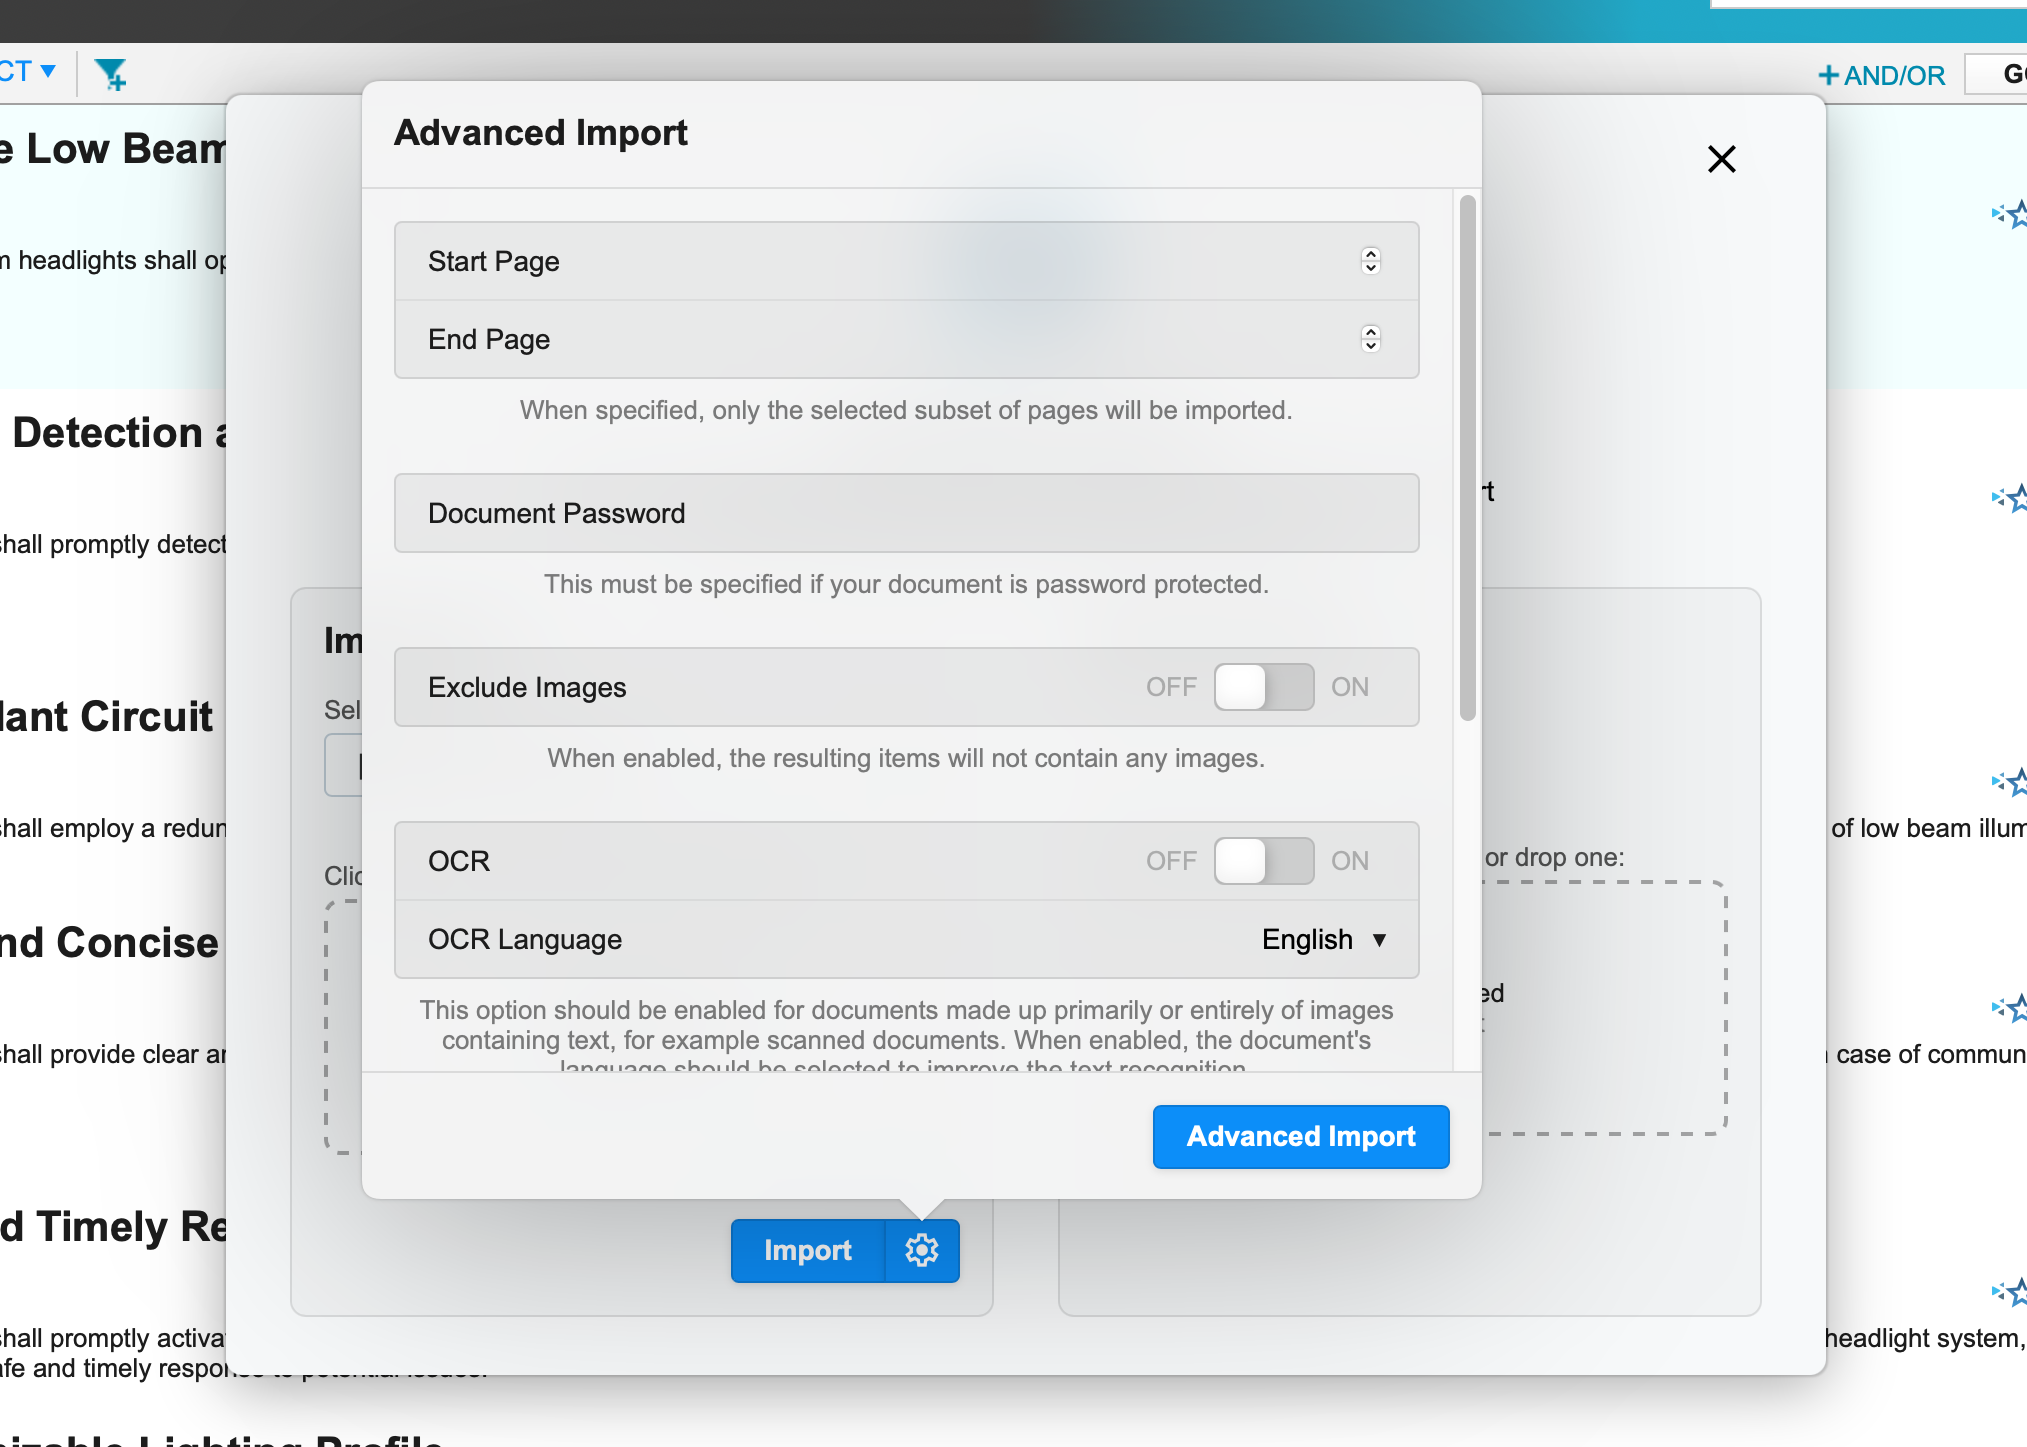
Here you can define:
- Start and end pages to limit import range.
- Document password, if the file is protected.
- Additional import preferences to customize parsing.
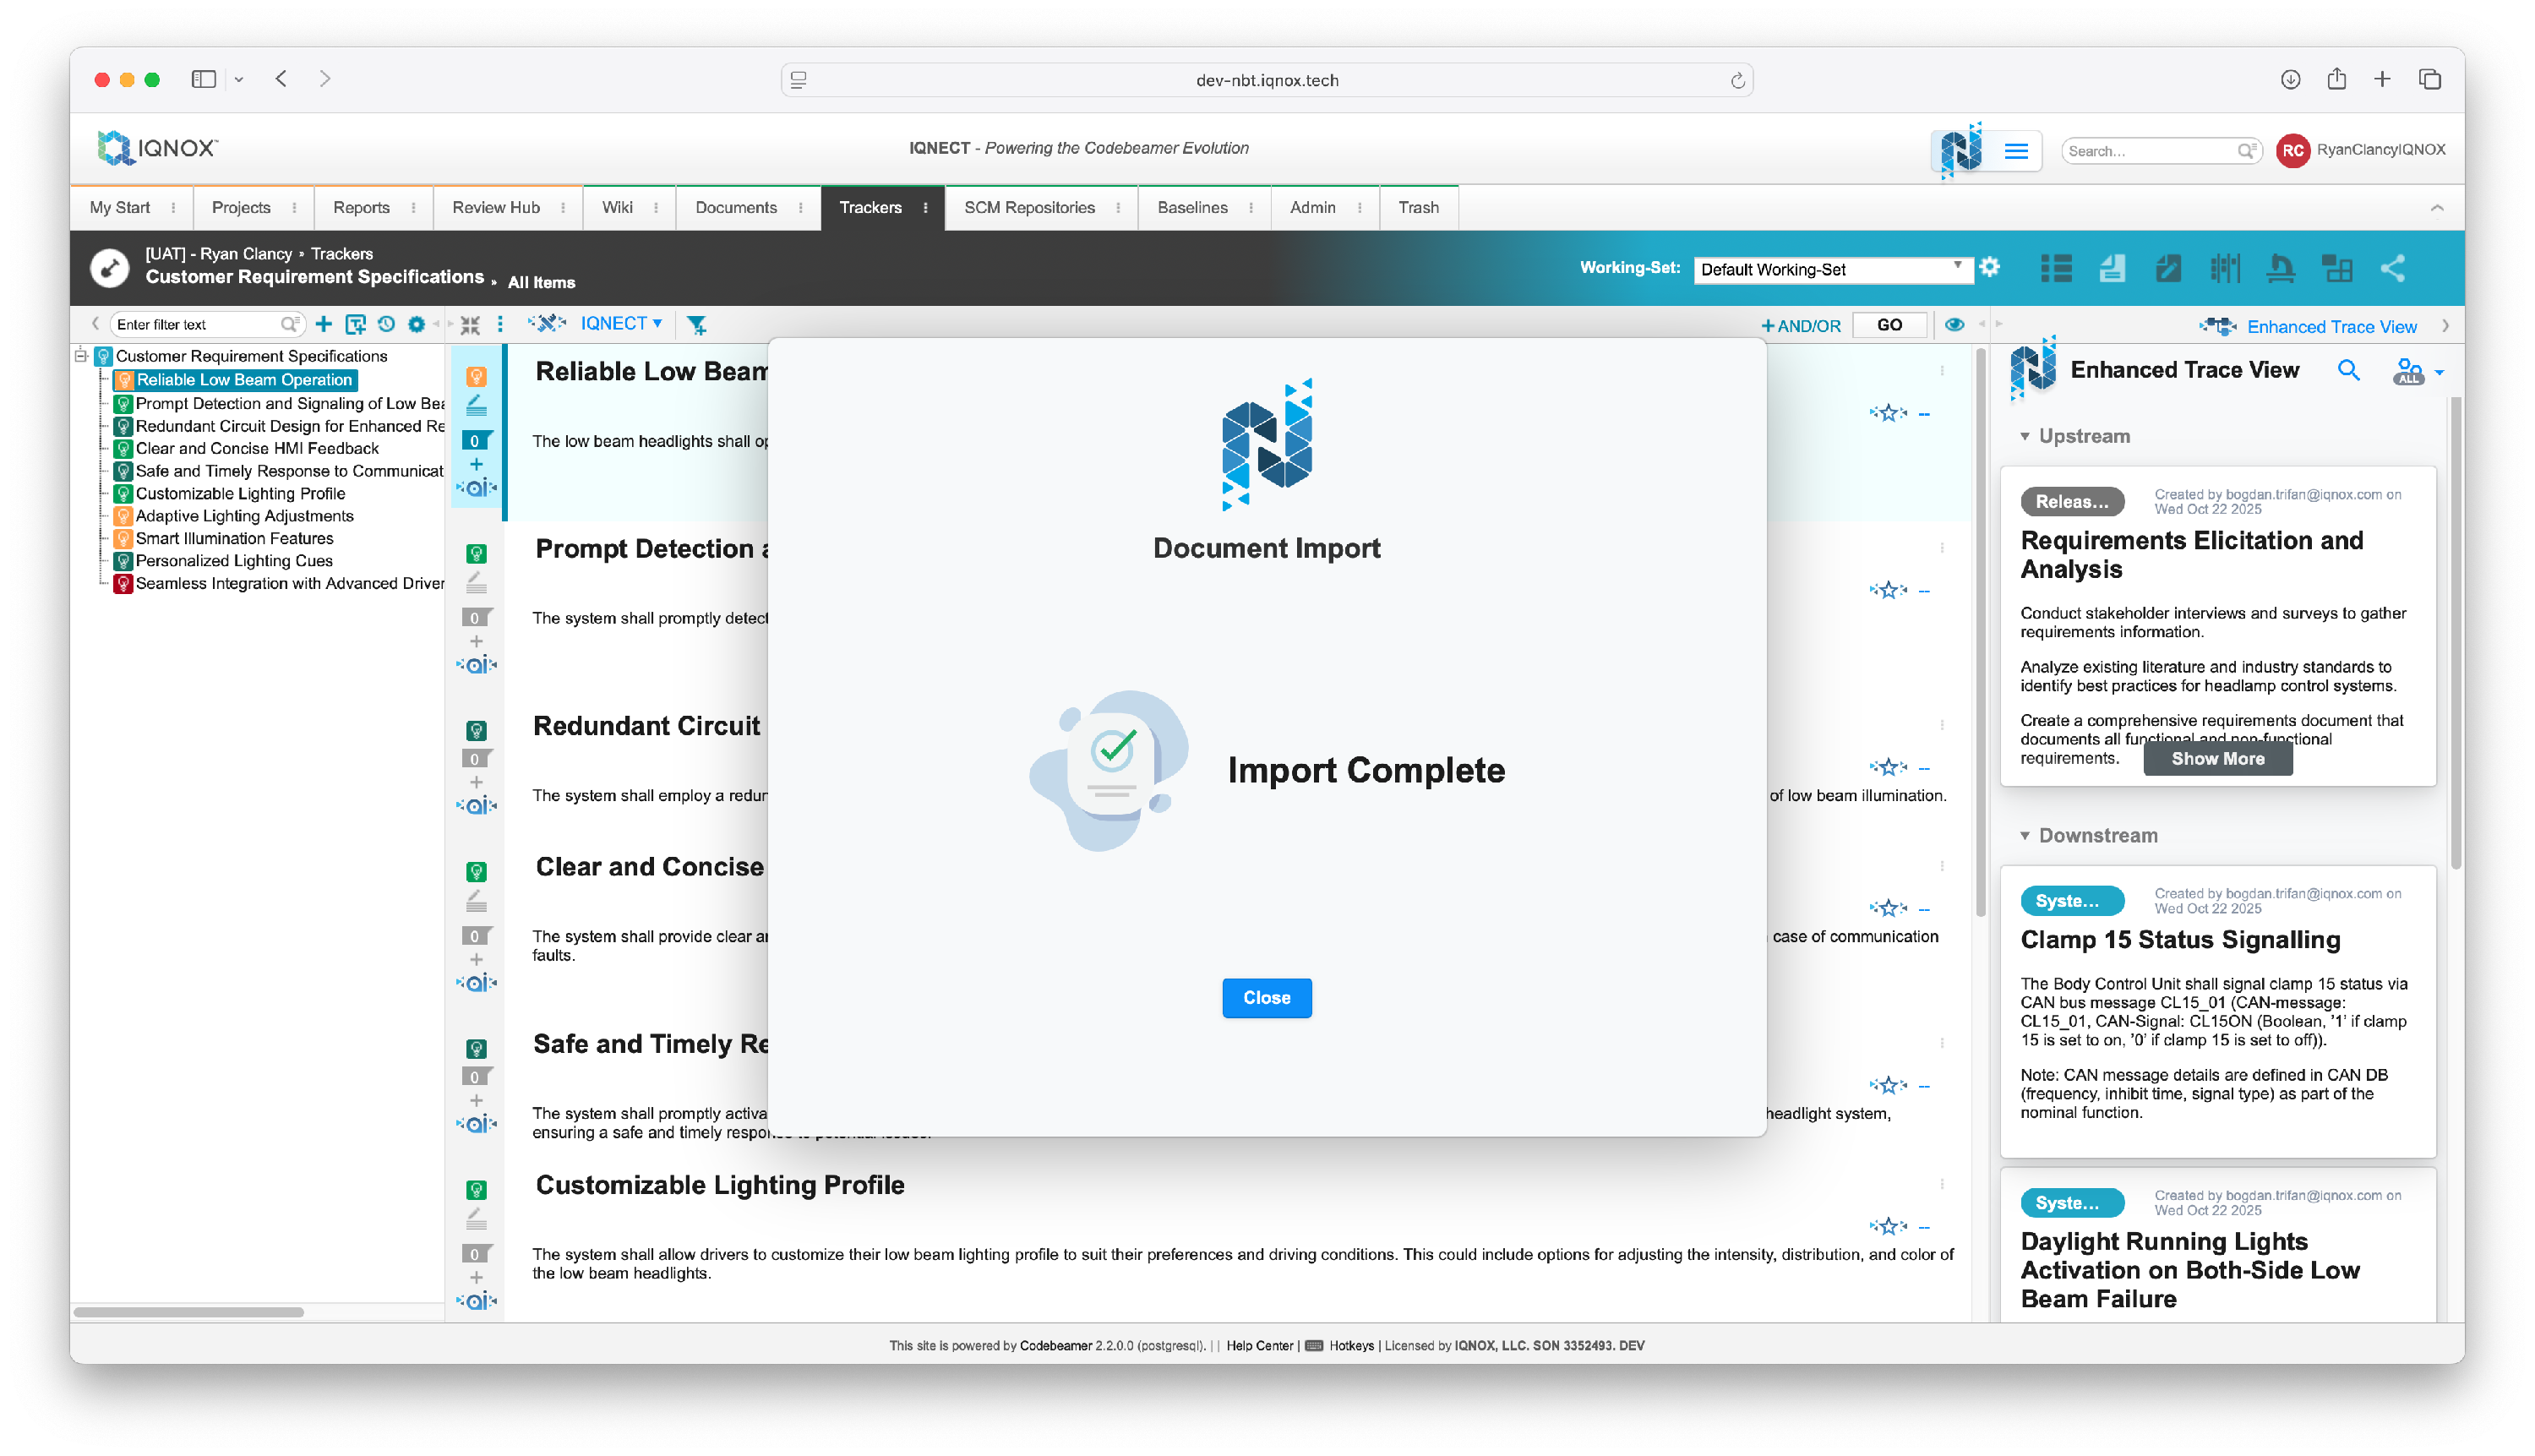
Run the import #
Click Import to start processing.
The import may take 20–30 seconds or more, depending on document size and complexity.
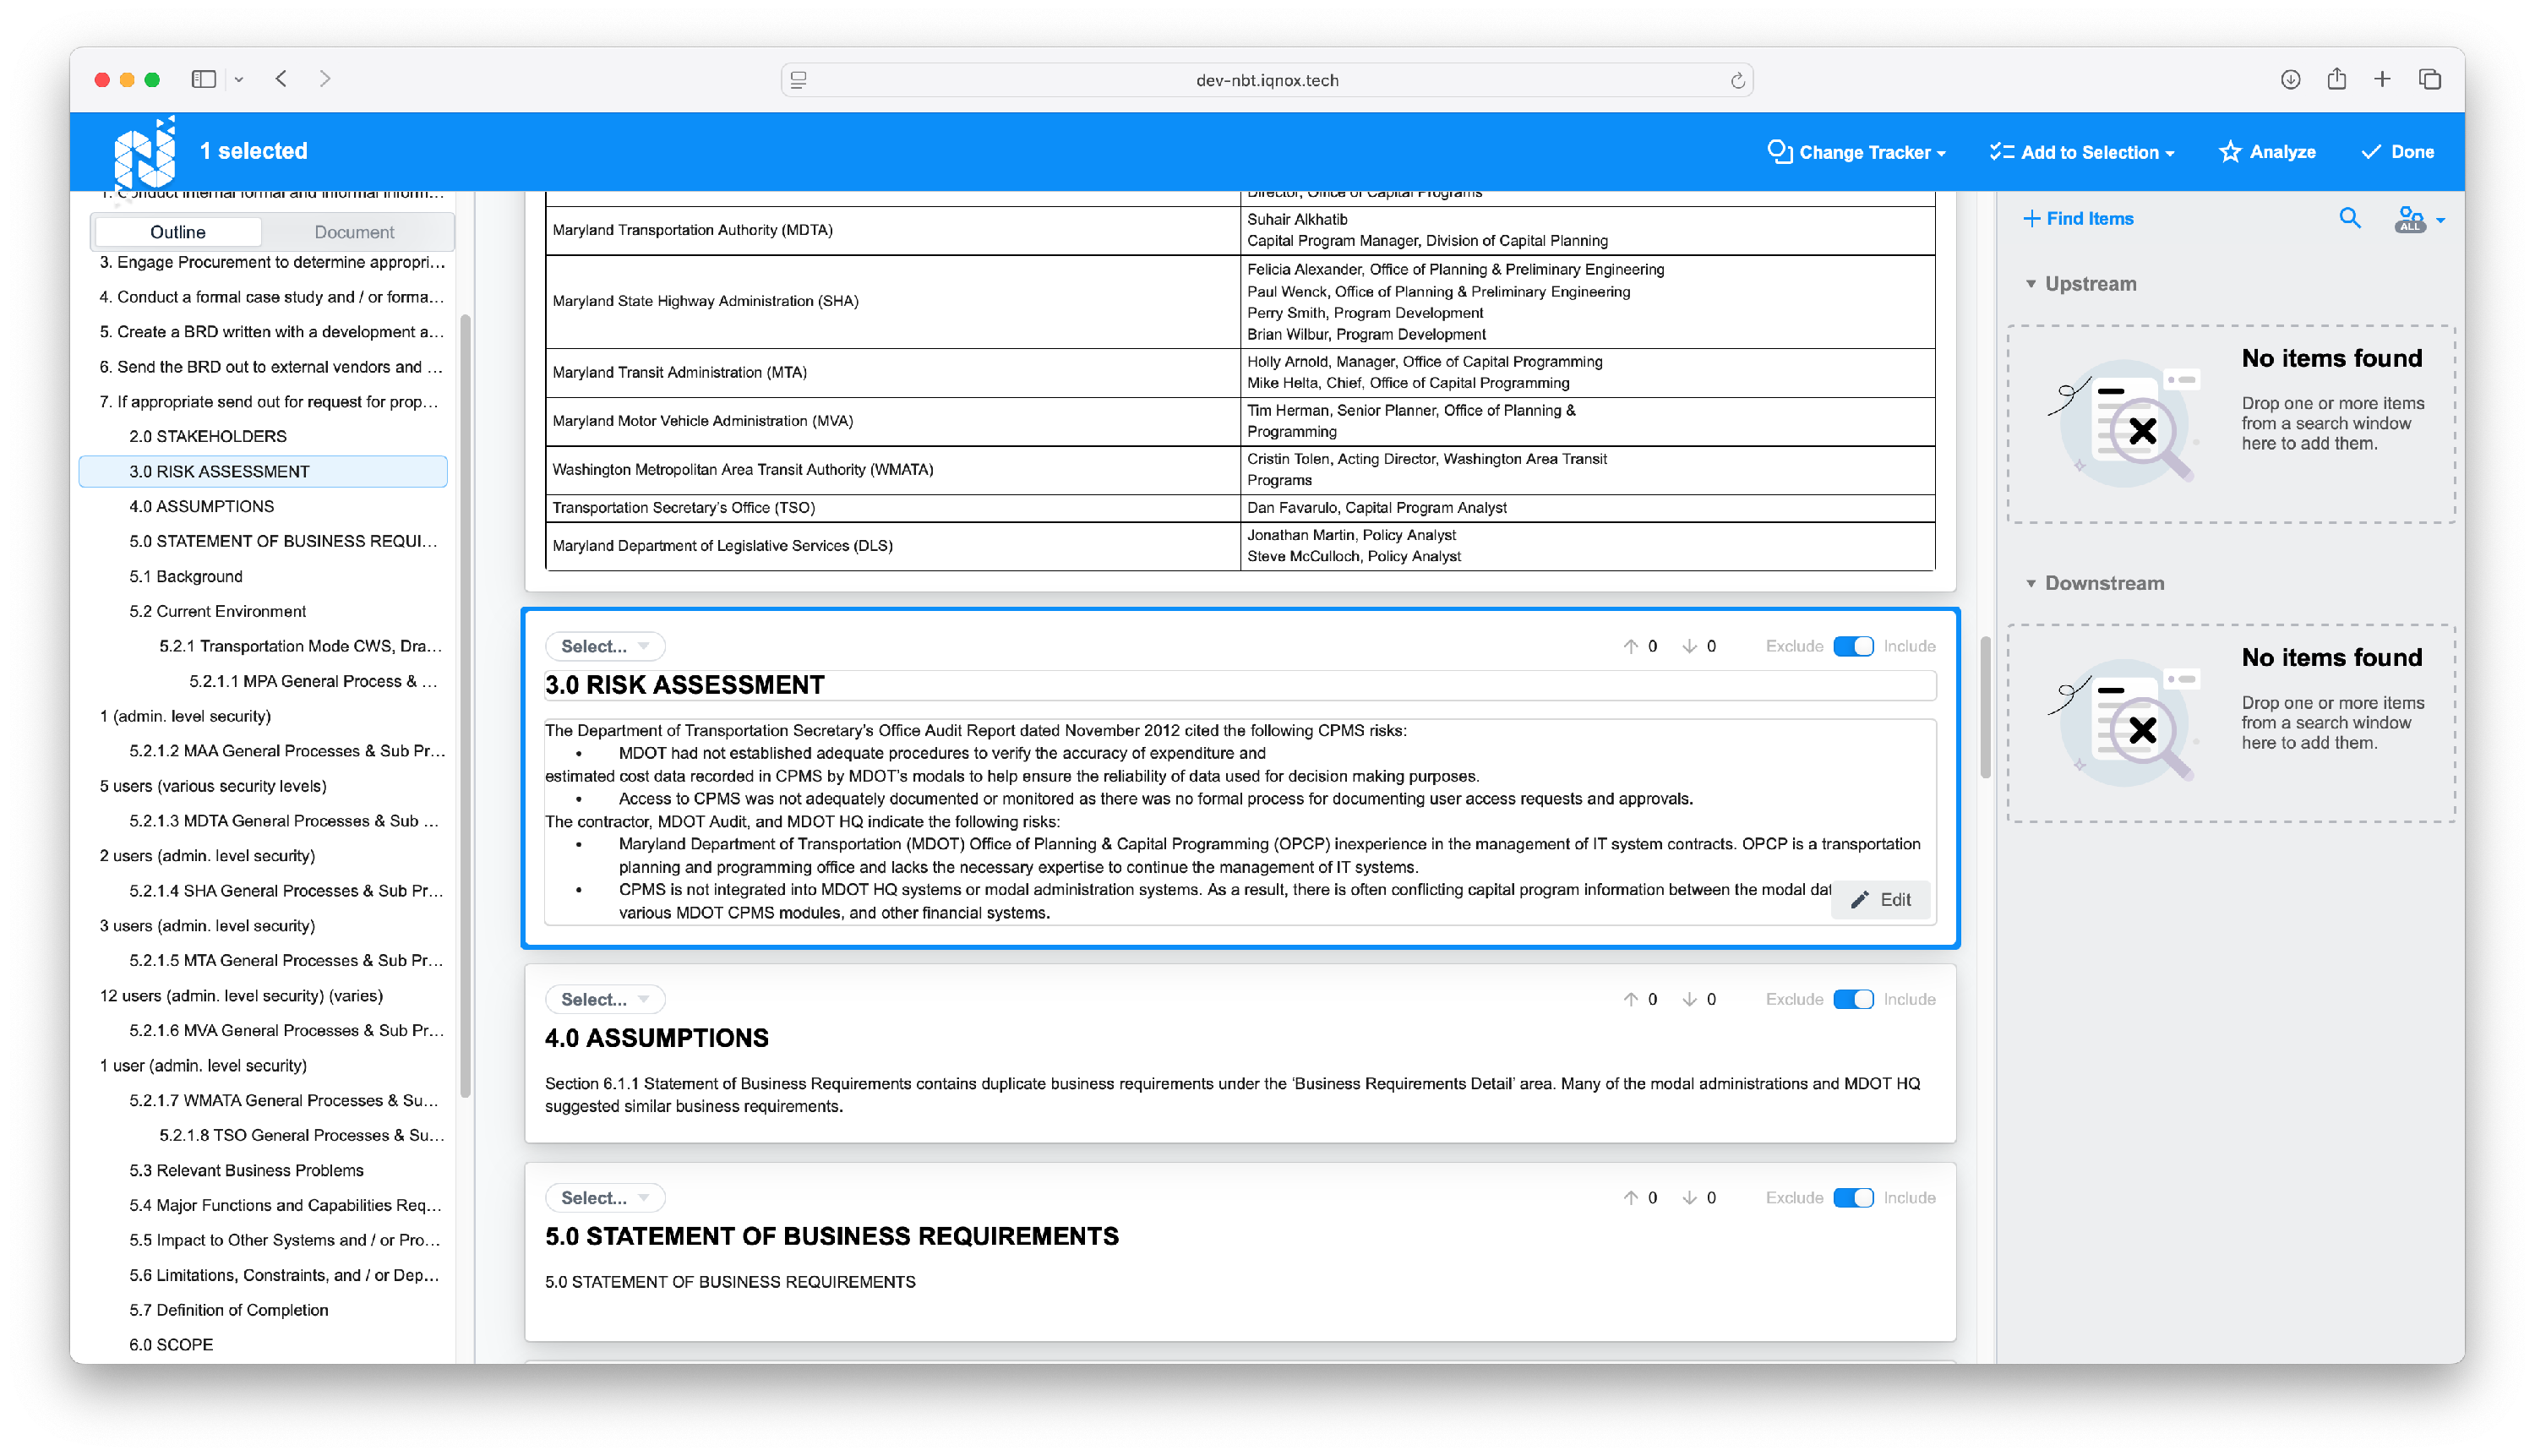
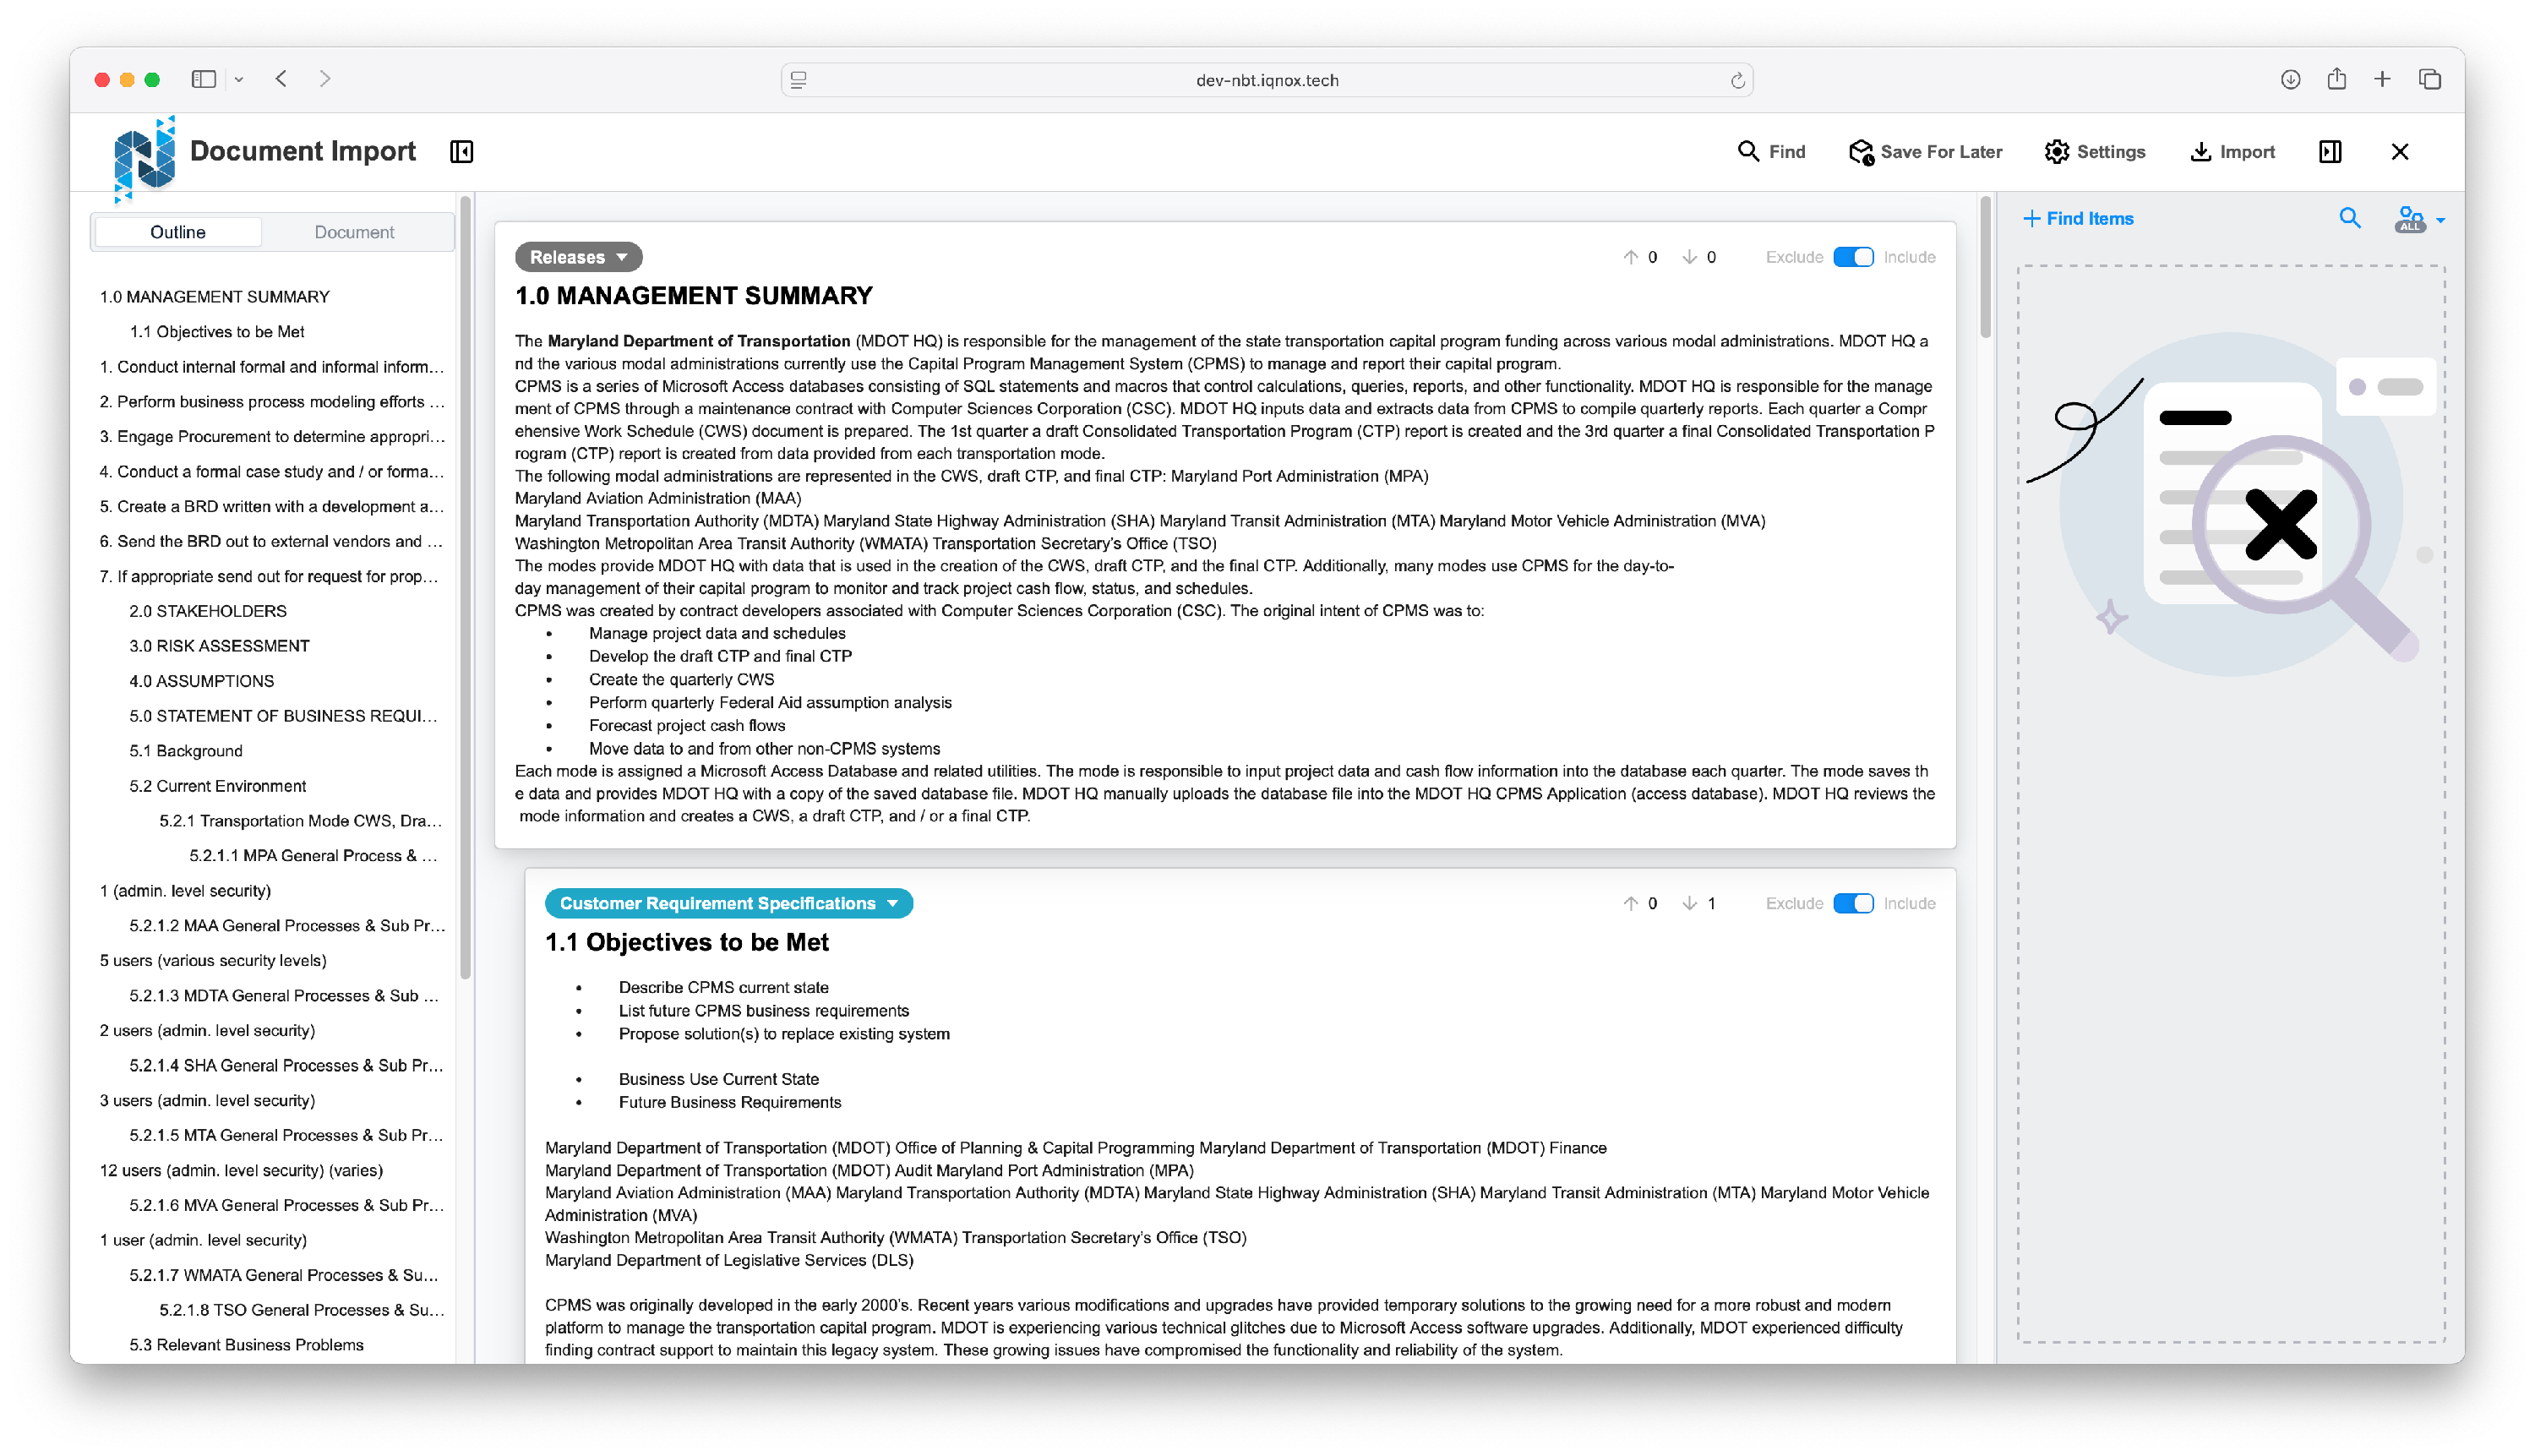
Review and edit imported items #
Once complete, your document appears as items in the main window.
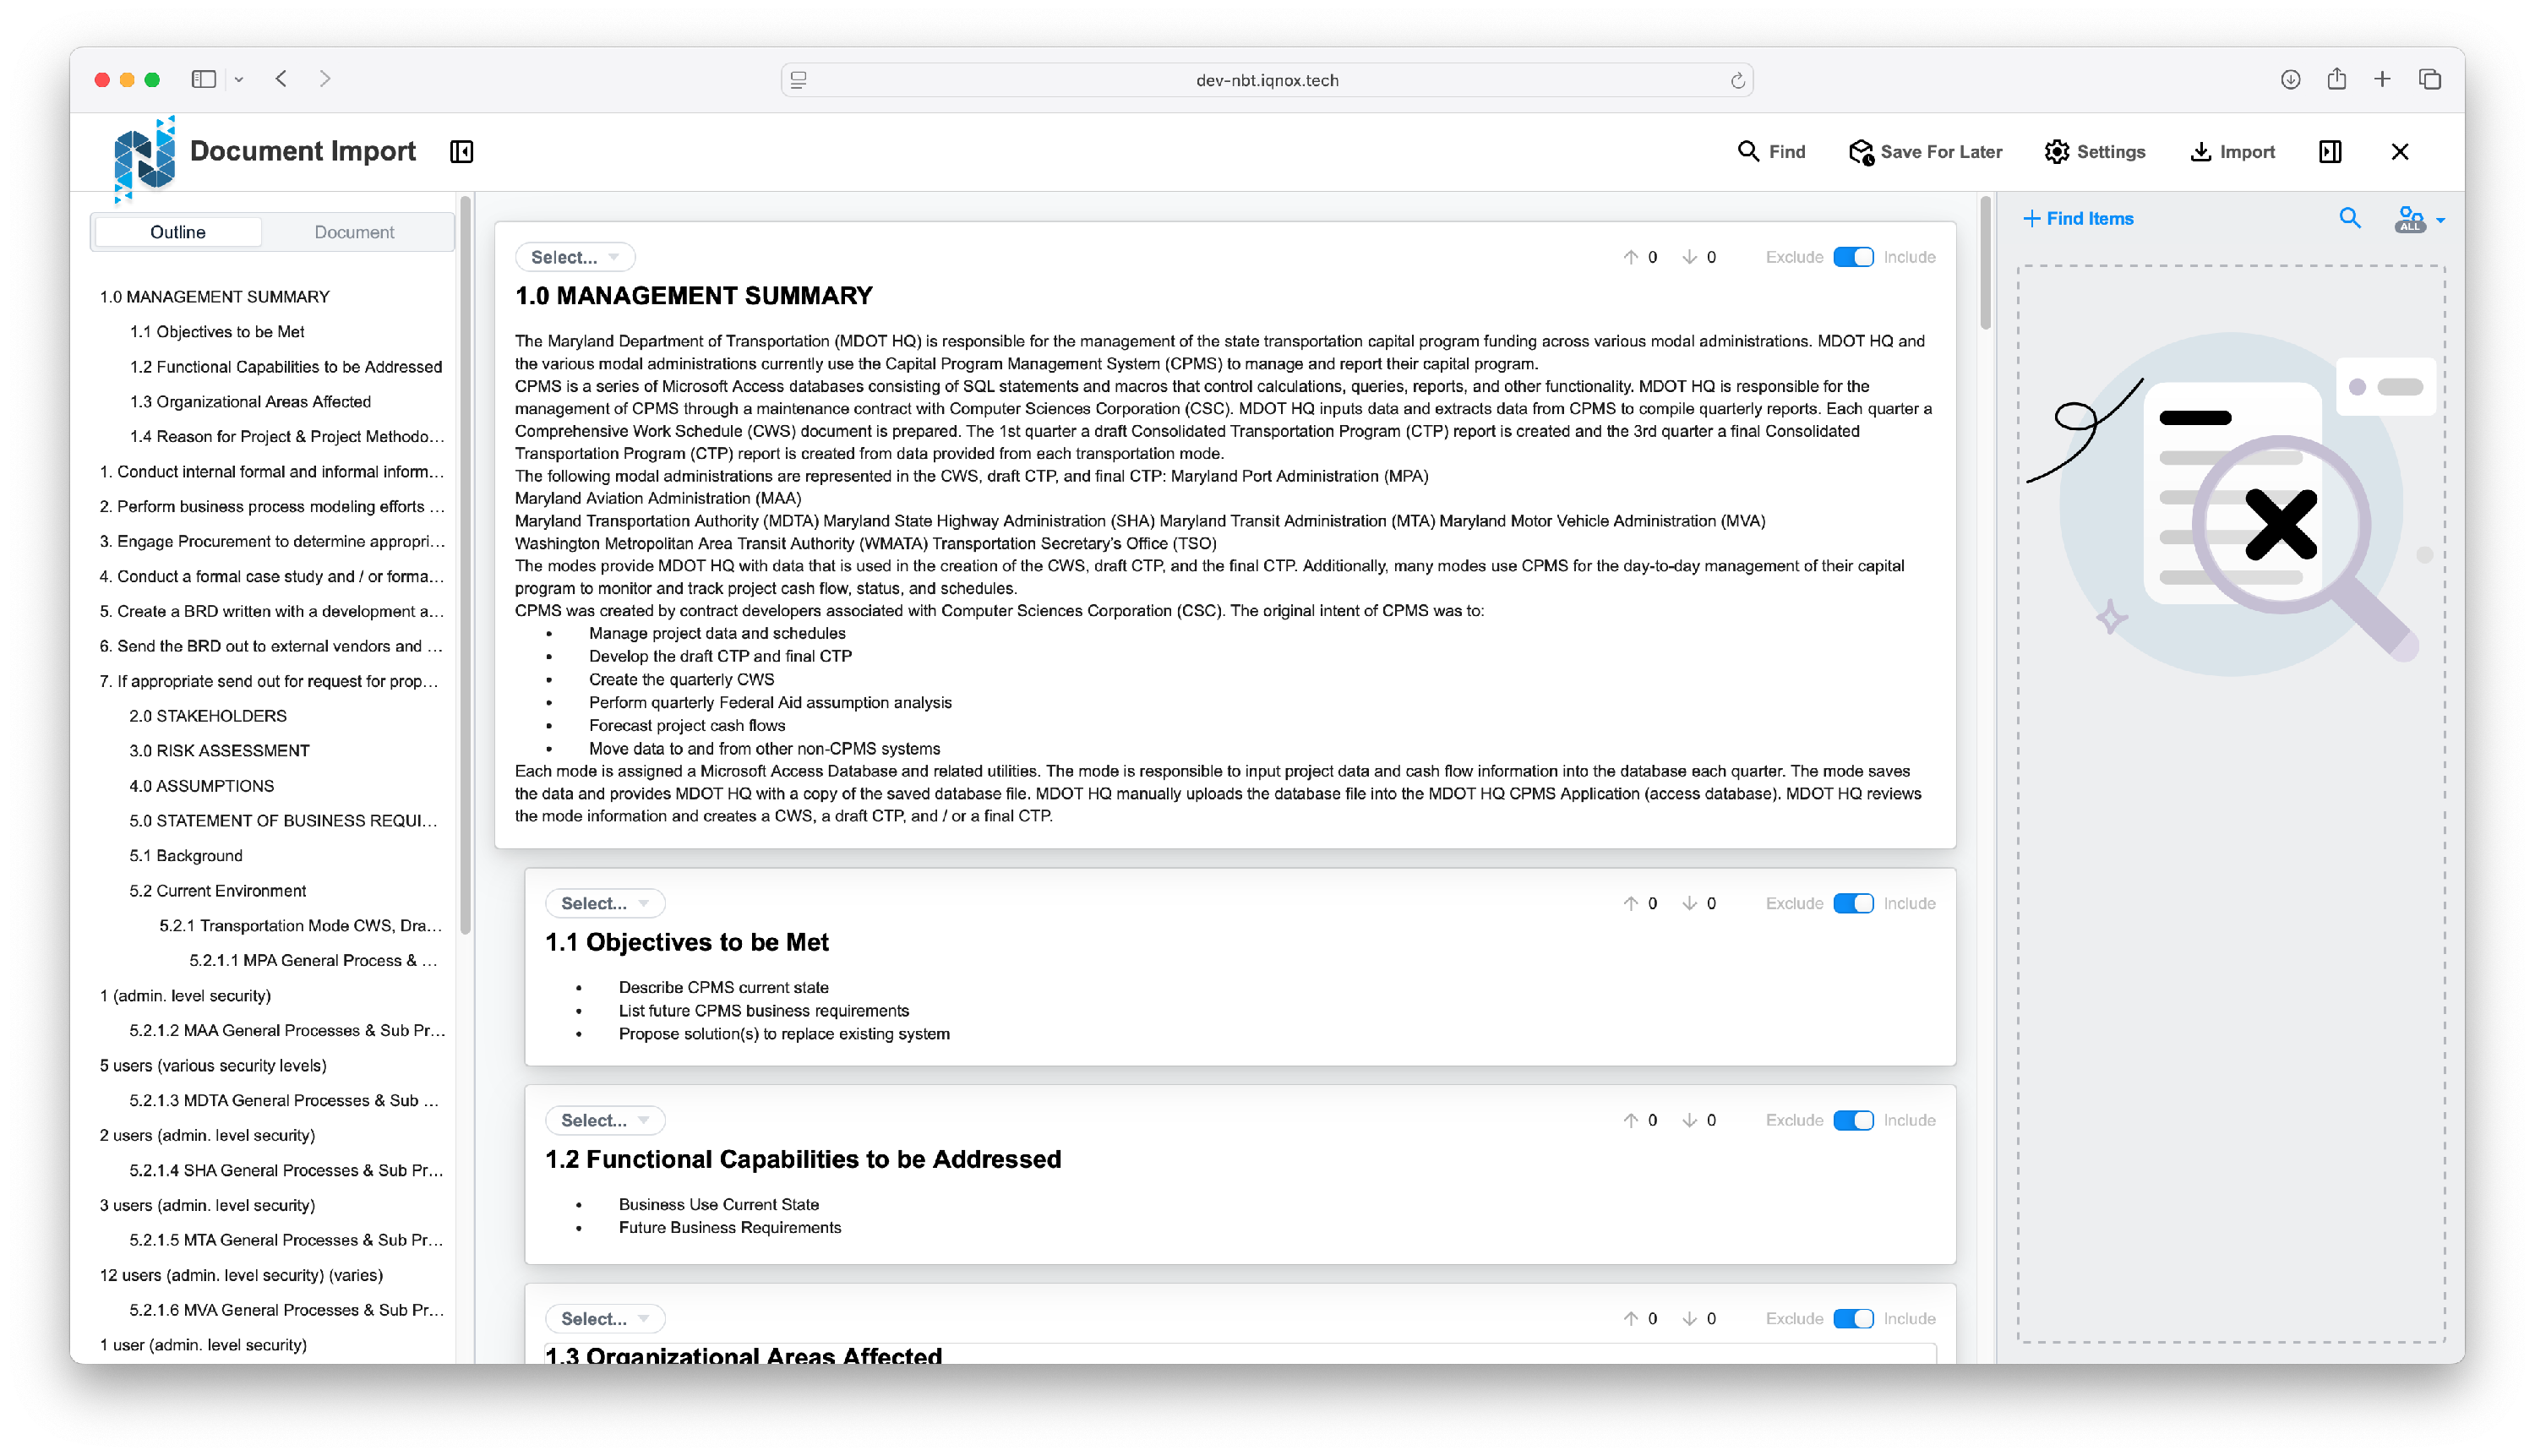
The tree structure on the left outlines your document hierarchy.
Selecting any item in the tree jumps directly to that content in the editor.
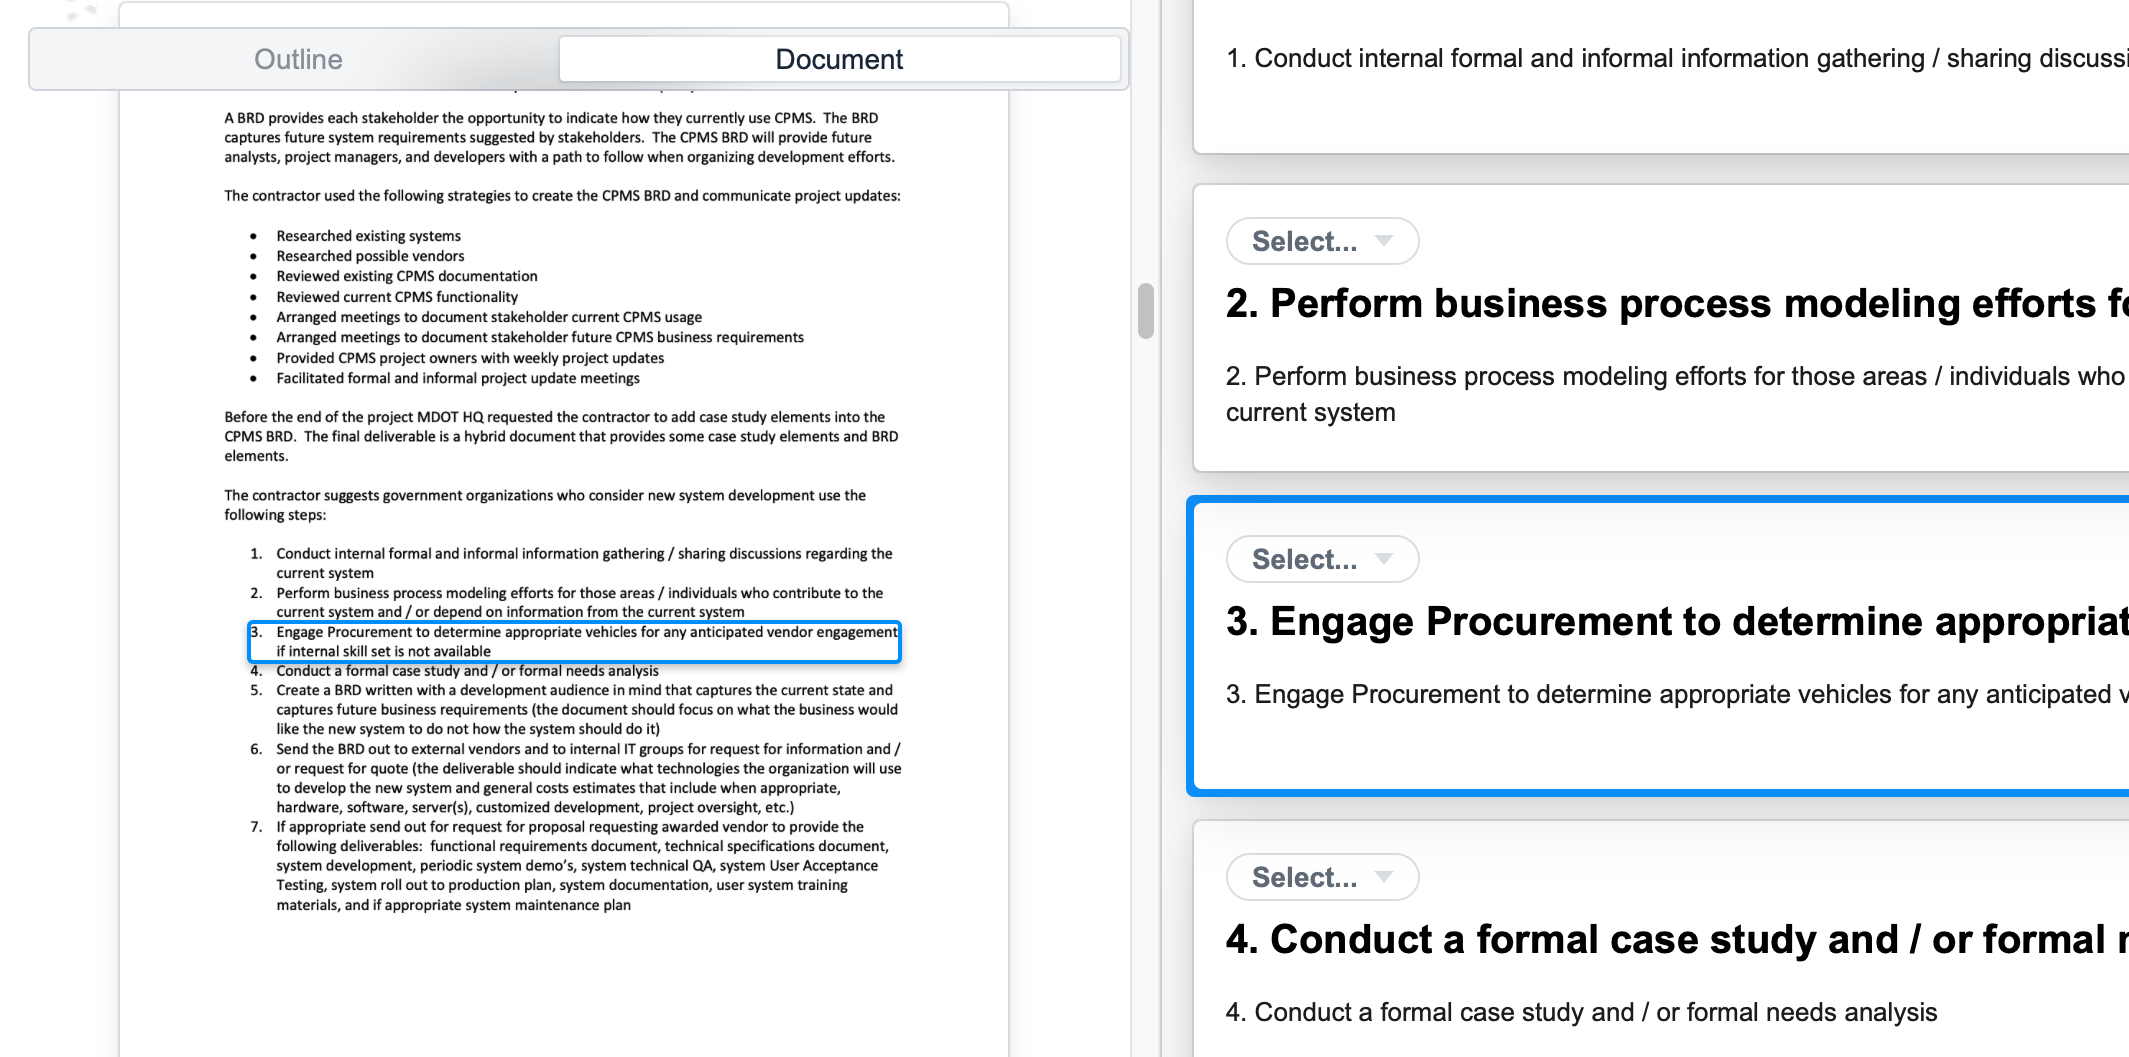
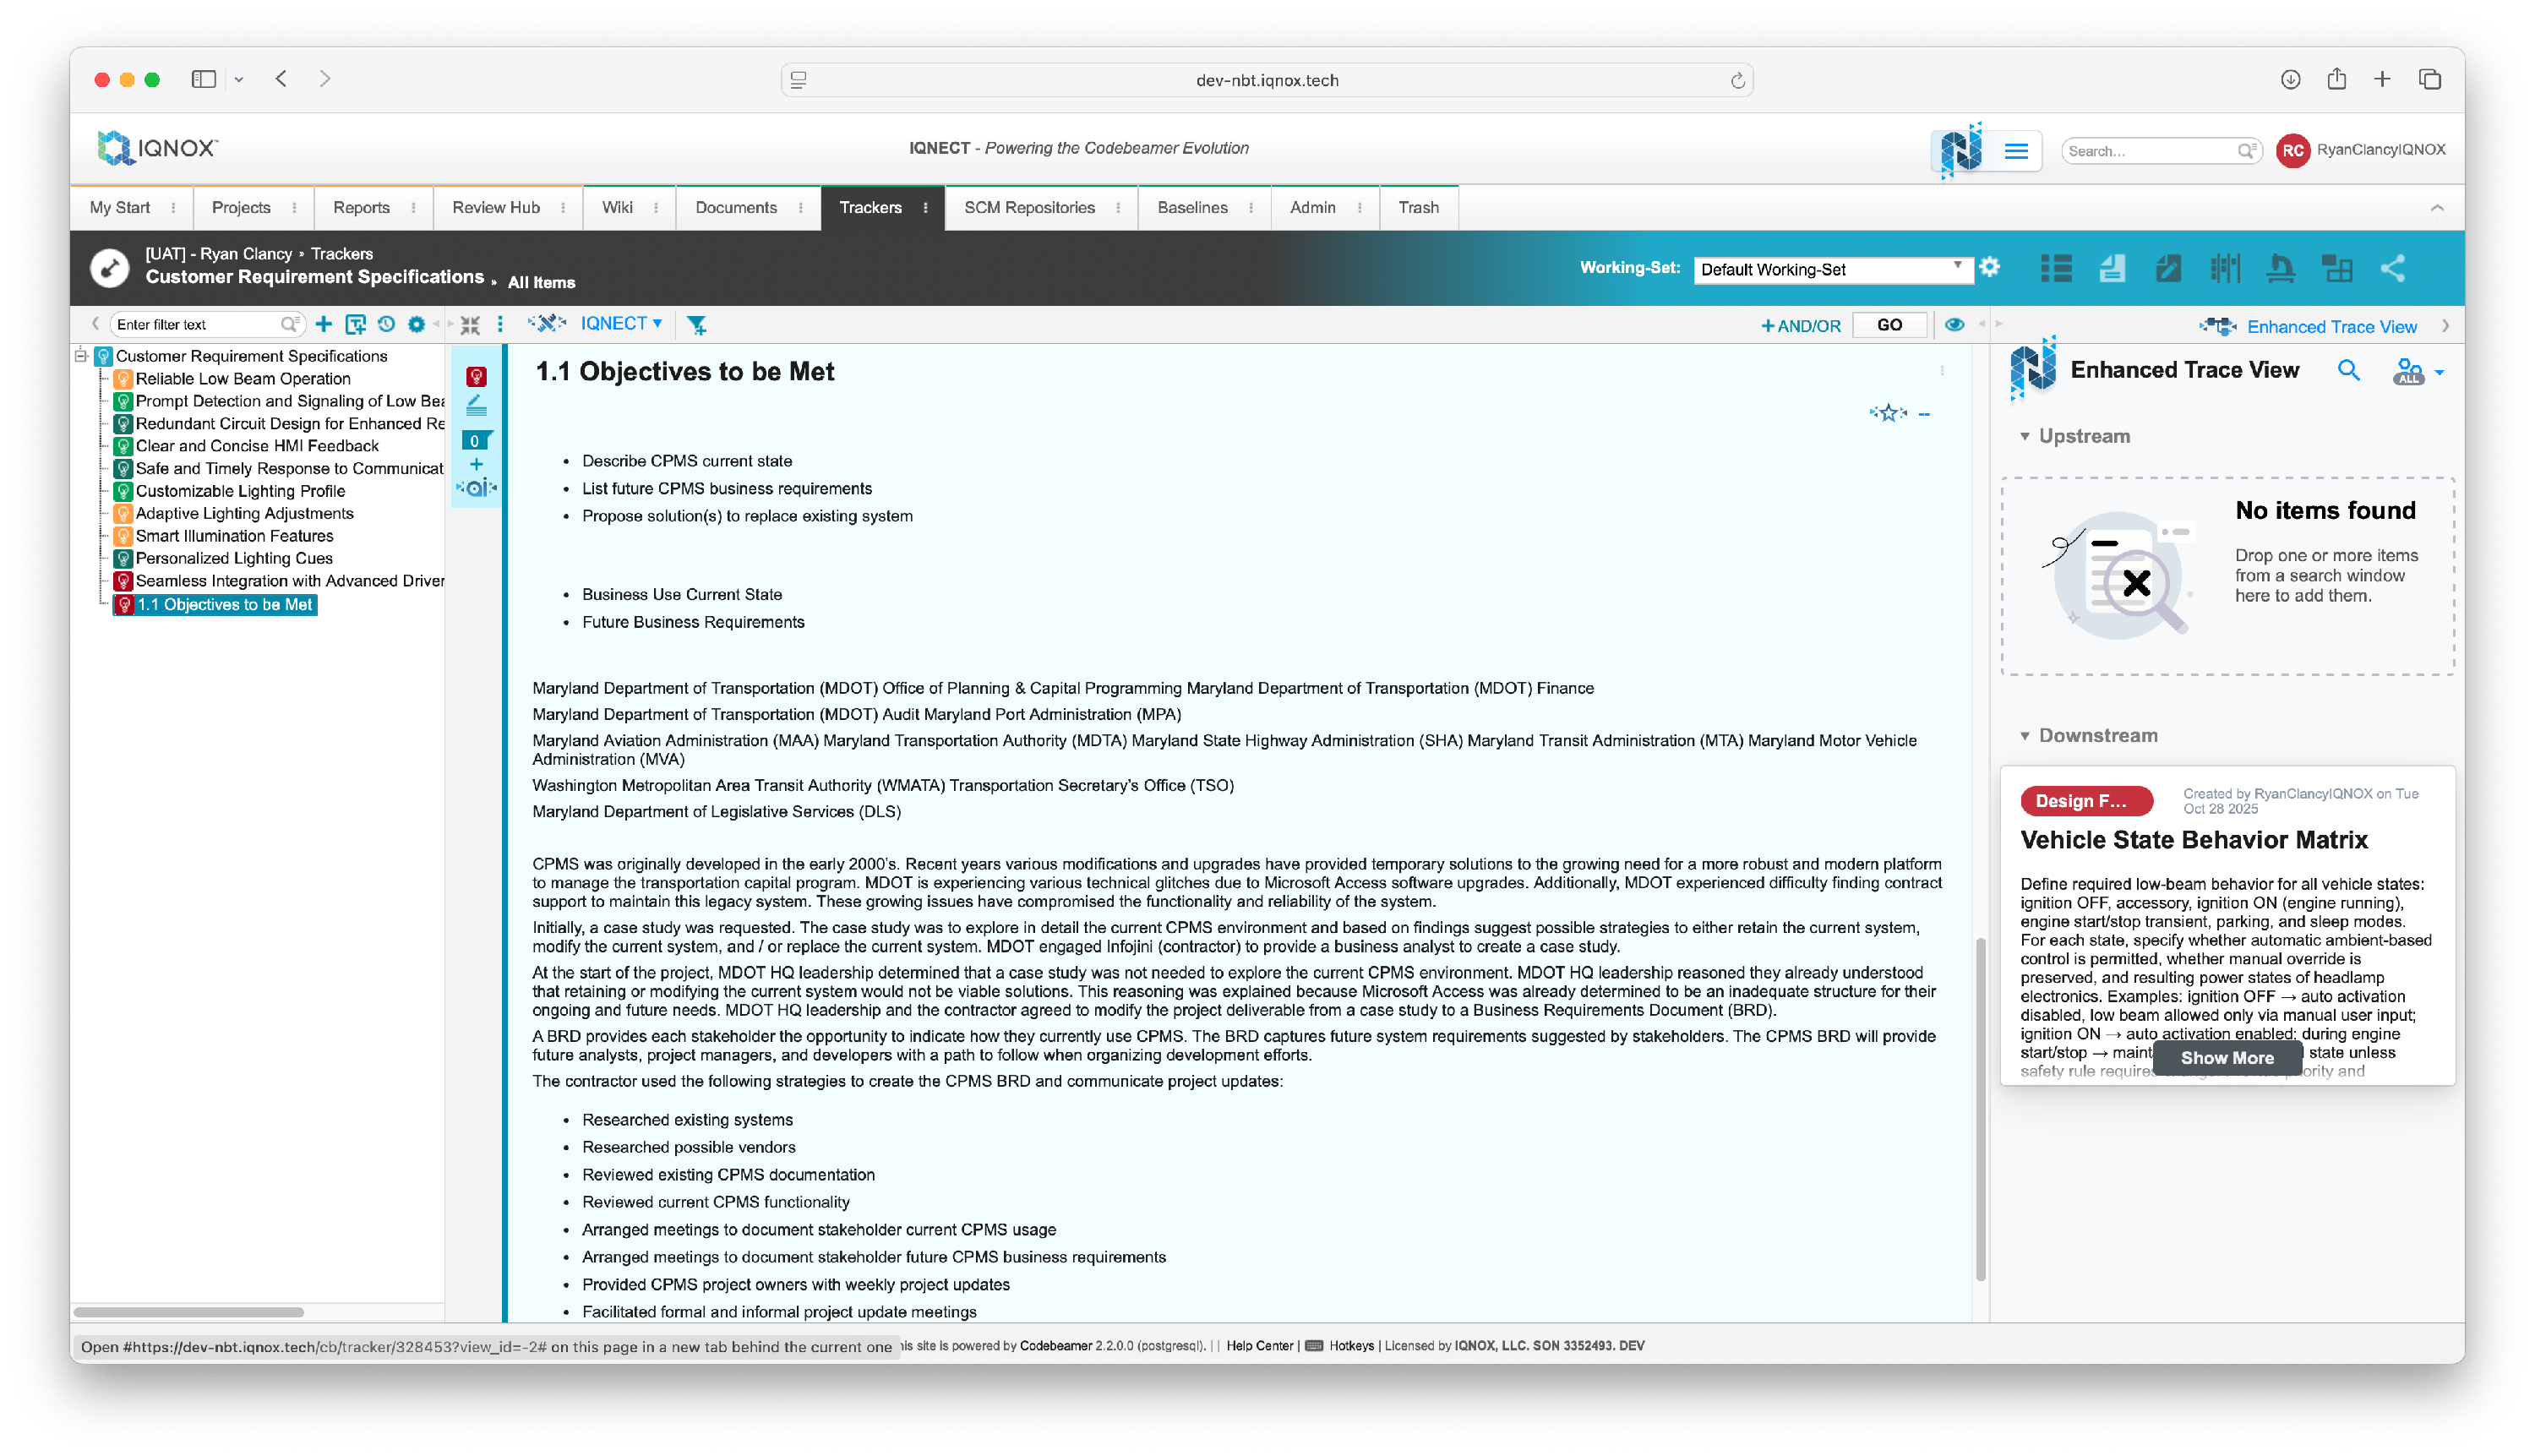
View original document pages #
Under the Document tab, you can see where each section’s text originated in the uploaded file.
You can resize this pane by dragging its border outward.
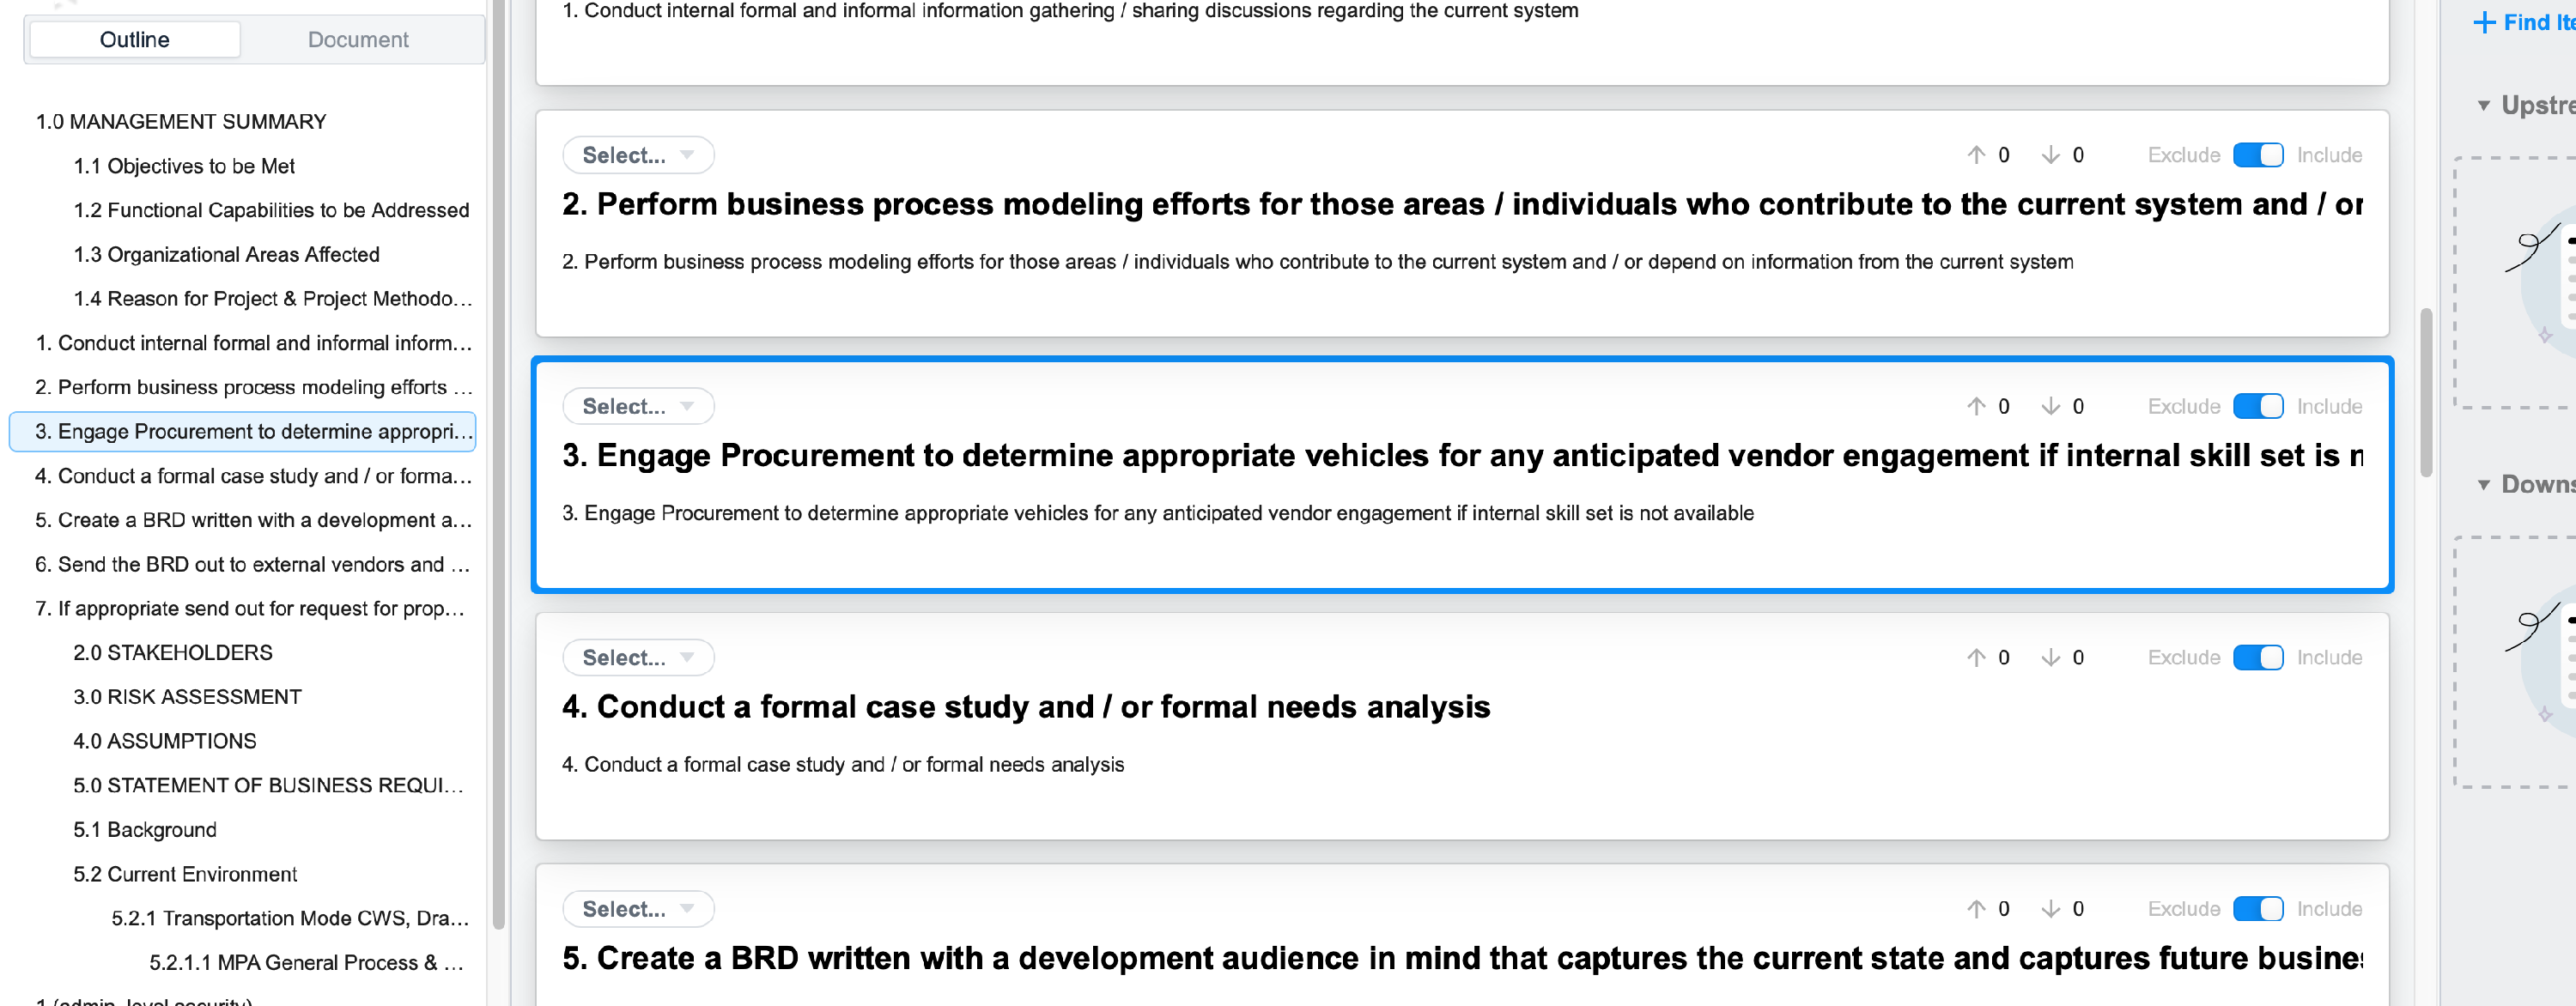
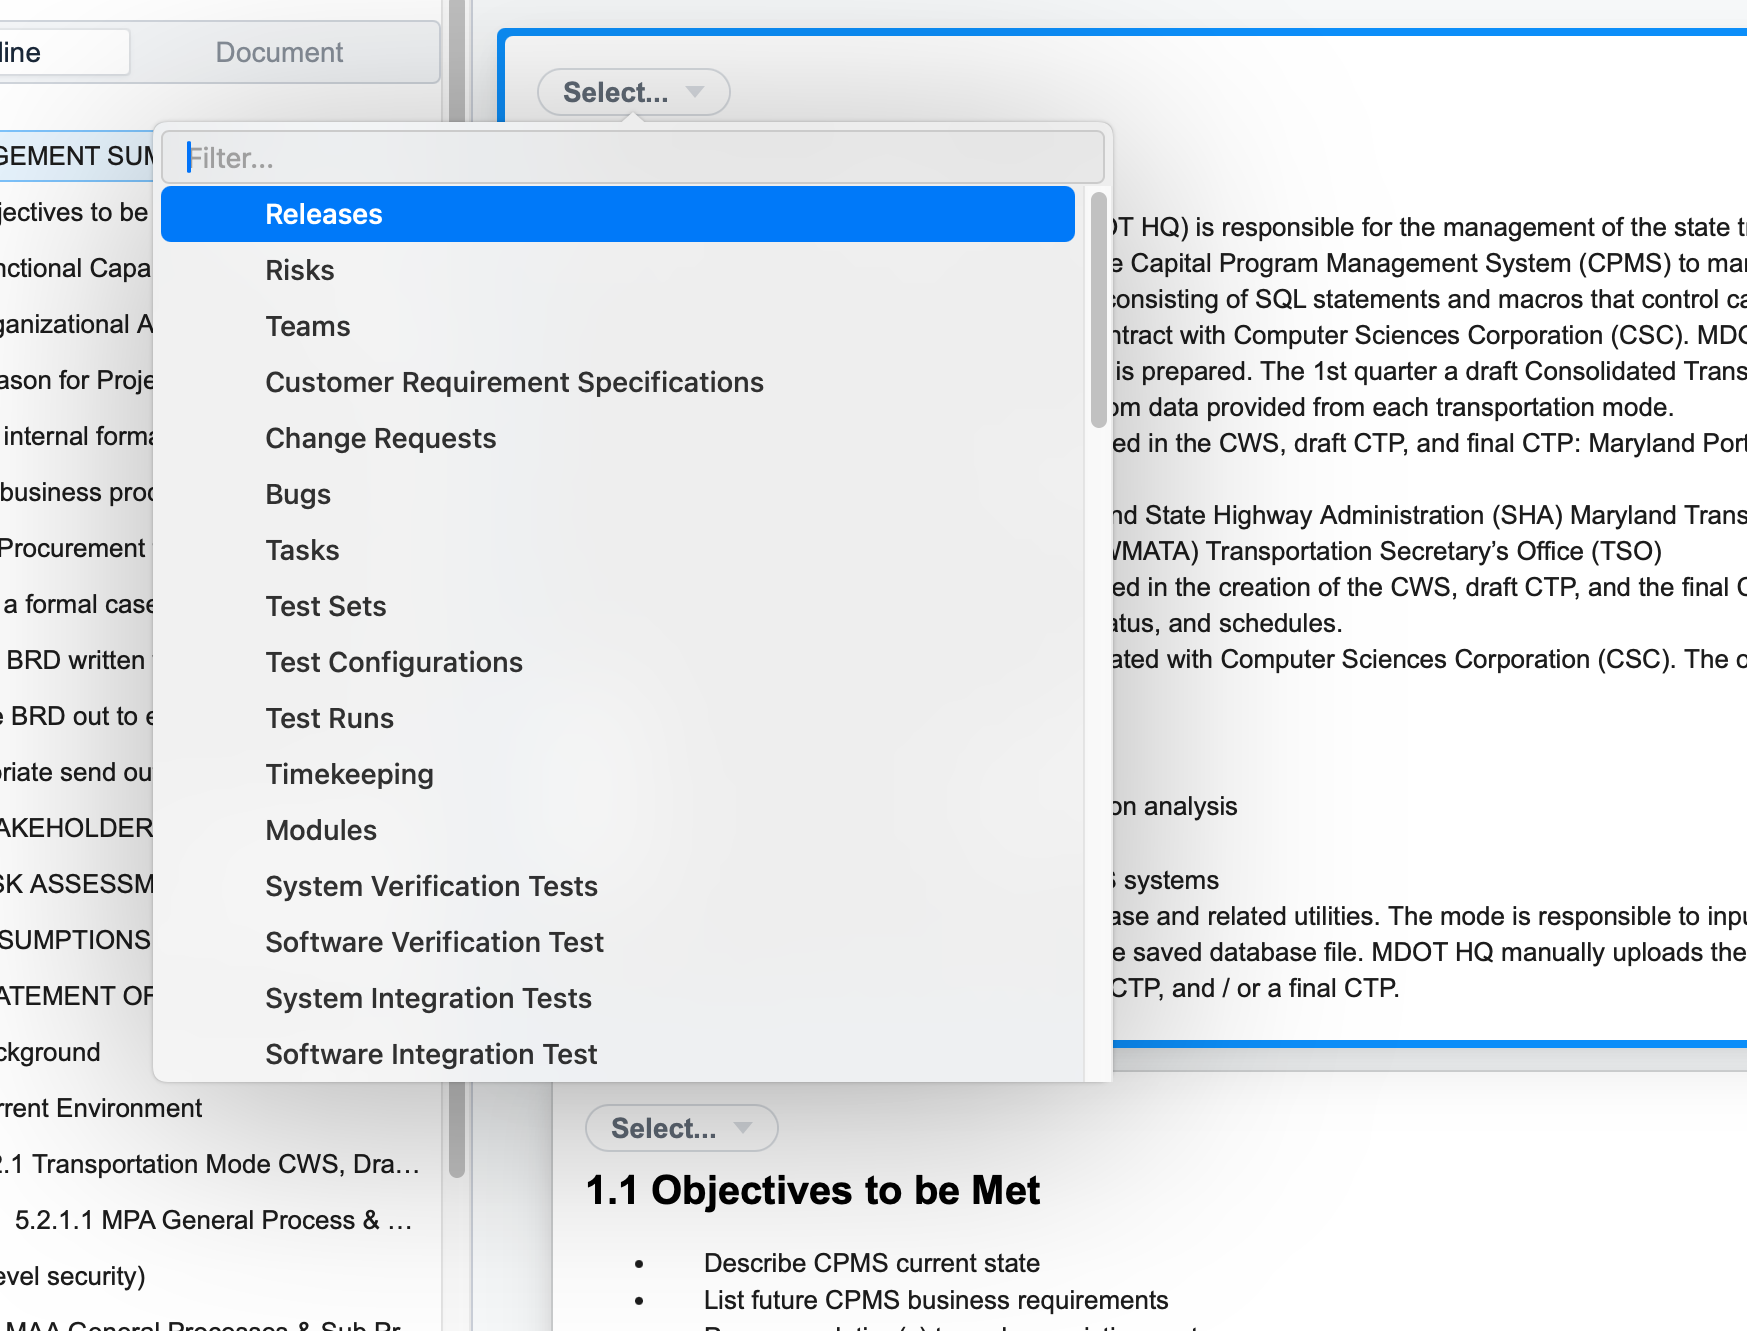
Assign items to trackers #
Click the dropdown arrow beside Select to choose a tracker.
Assign the selected item to an existing tracker within your project.
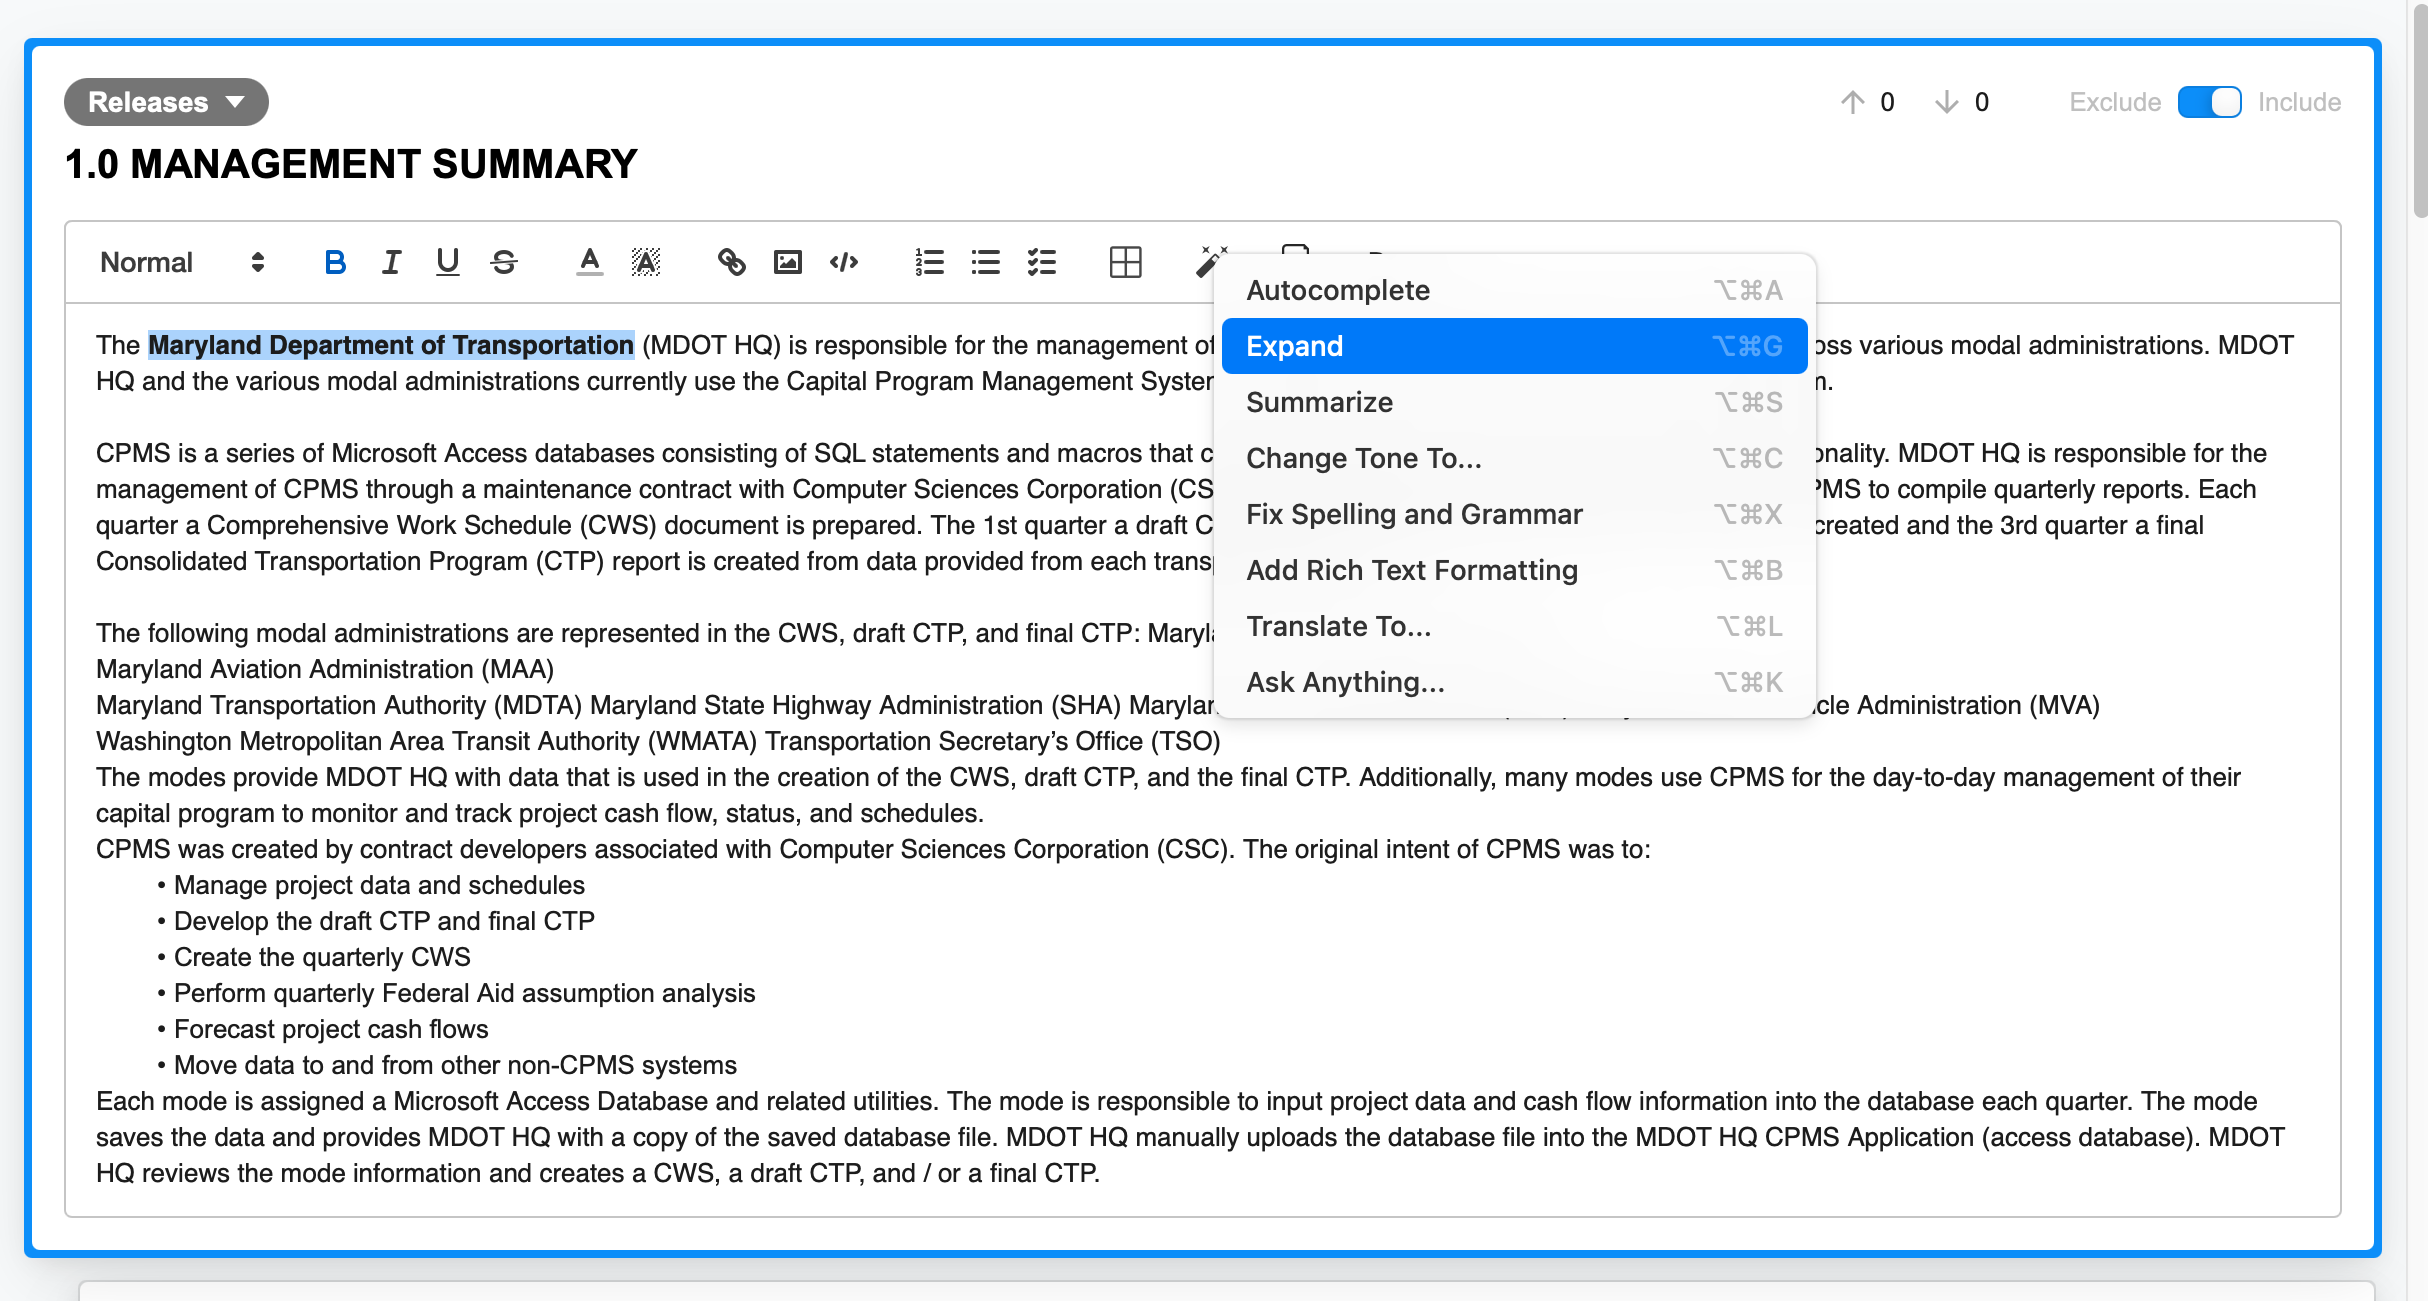
Edit content in the editor #
Selecting an item opens the editor, where you can modify or refine the imported text.
Click the AI icon to access AI writing tools, which can enhance or expand your content automatically.
Merge and reorganize imported sections #
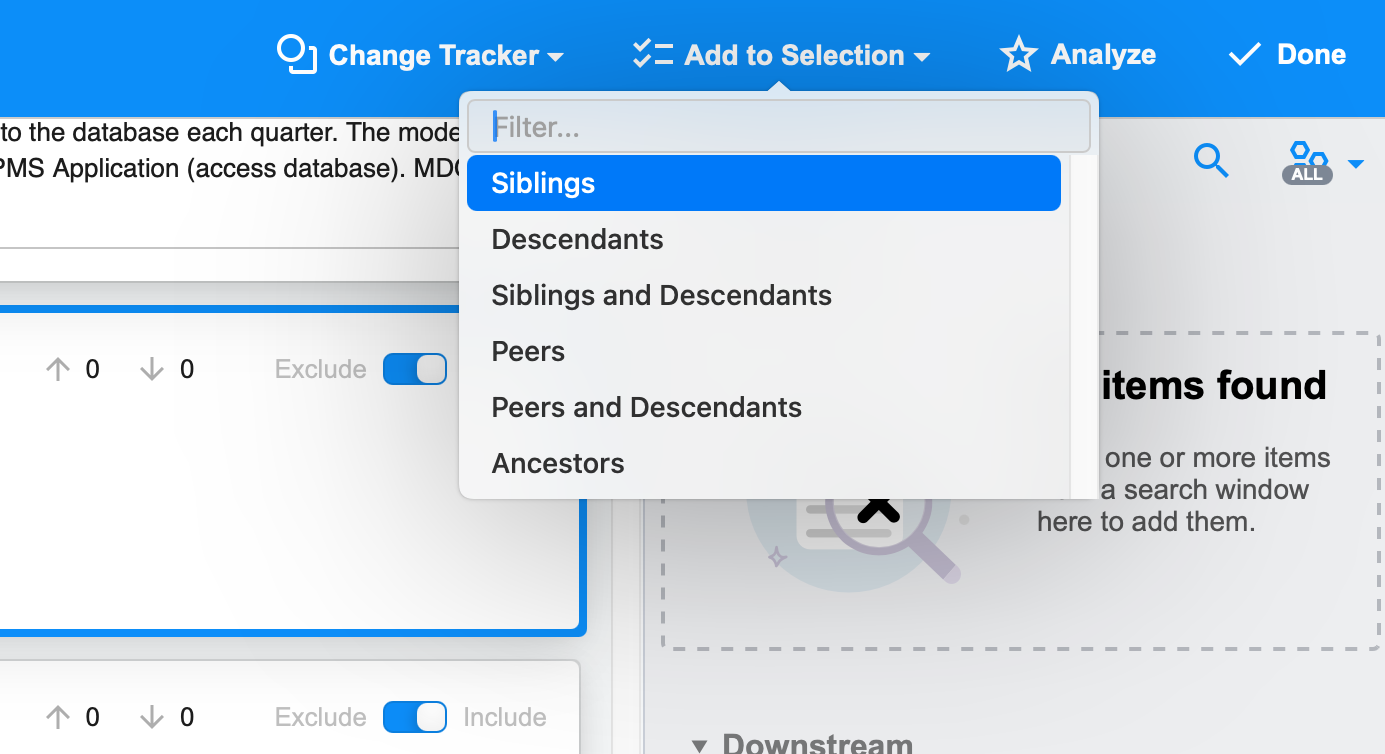
Add related content to a selection #
Use Add to Selection to select Siblings, Descendants, or other related sections.
Siblings, for instance, includes all sections on the same hierarchical level.
Merge selected items #
Click Merge Into to combine all selected sections into one unified item.
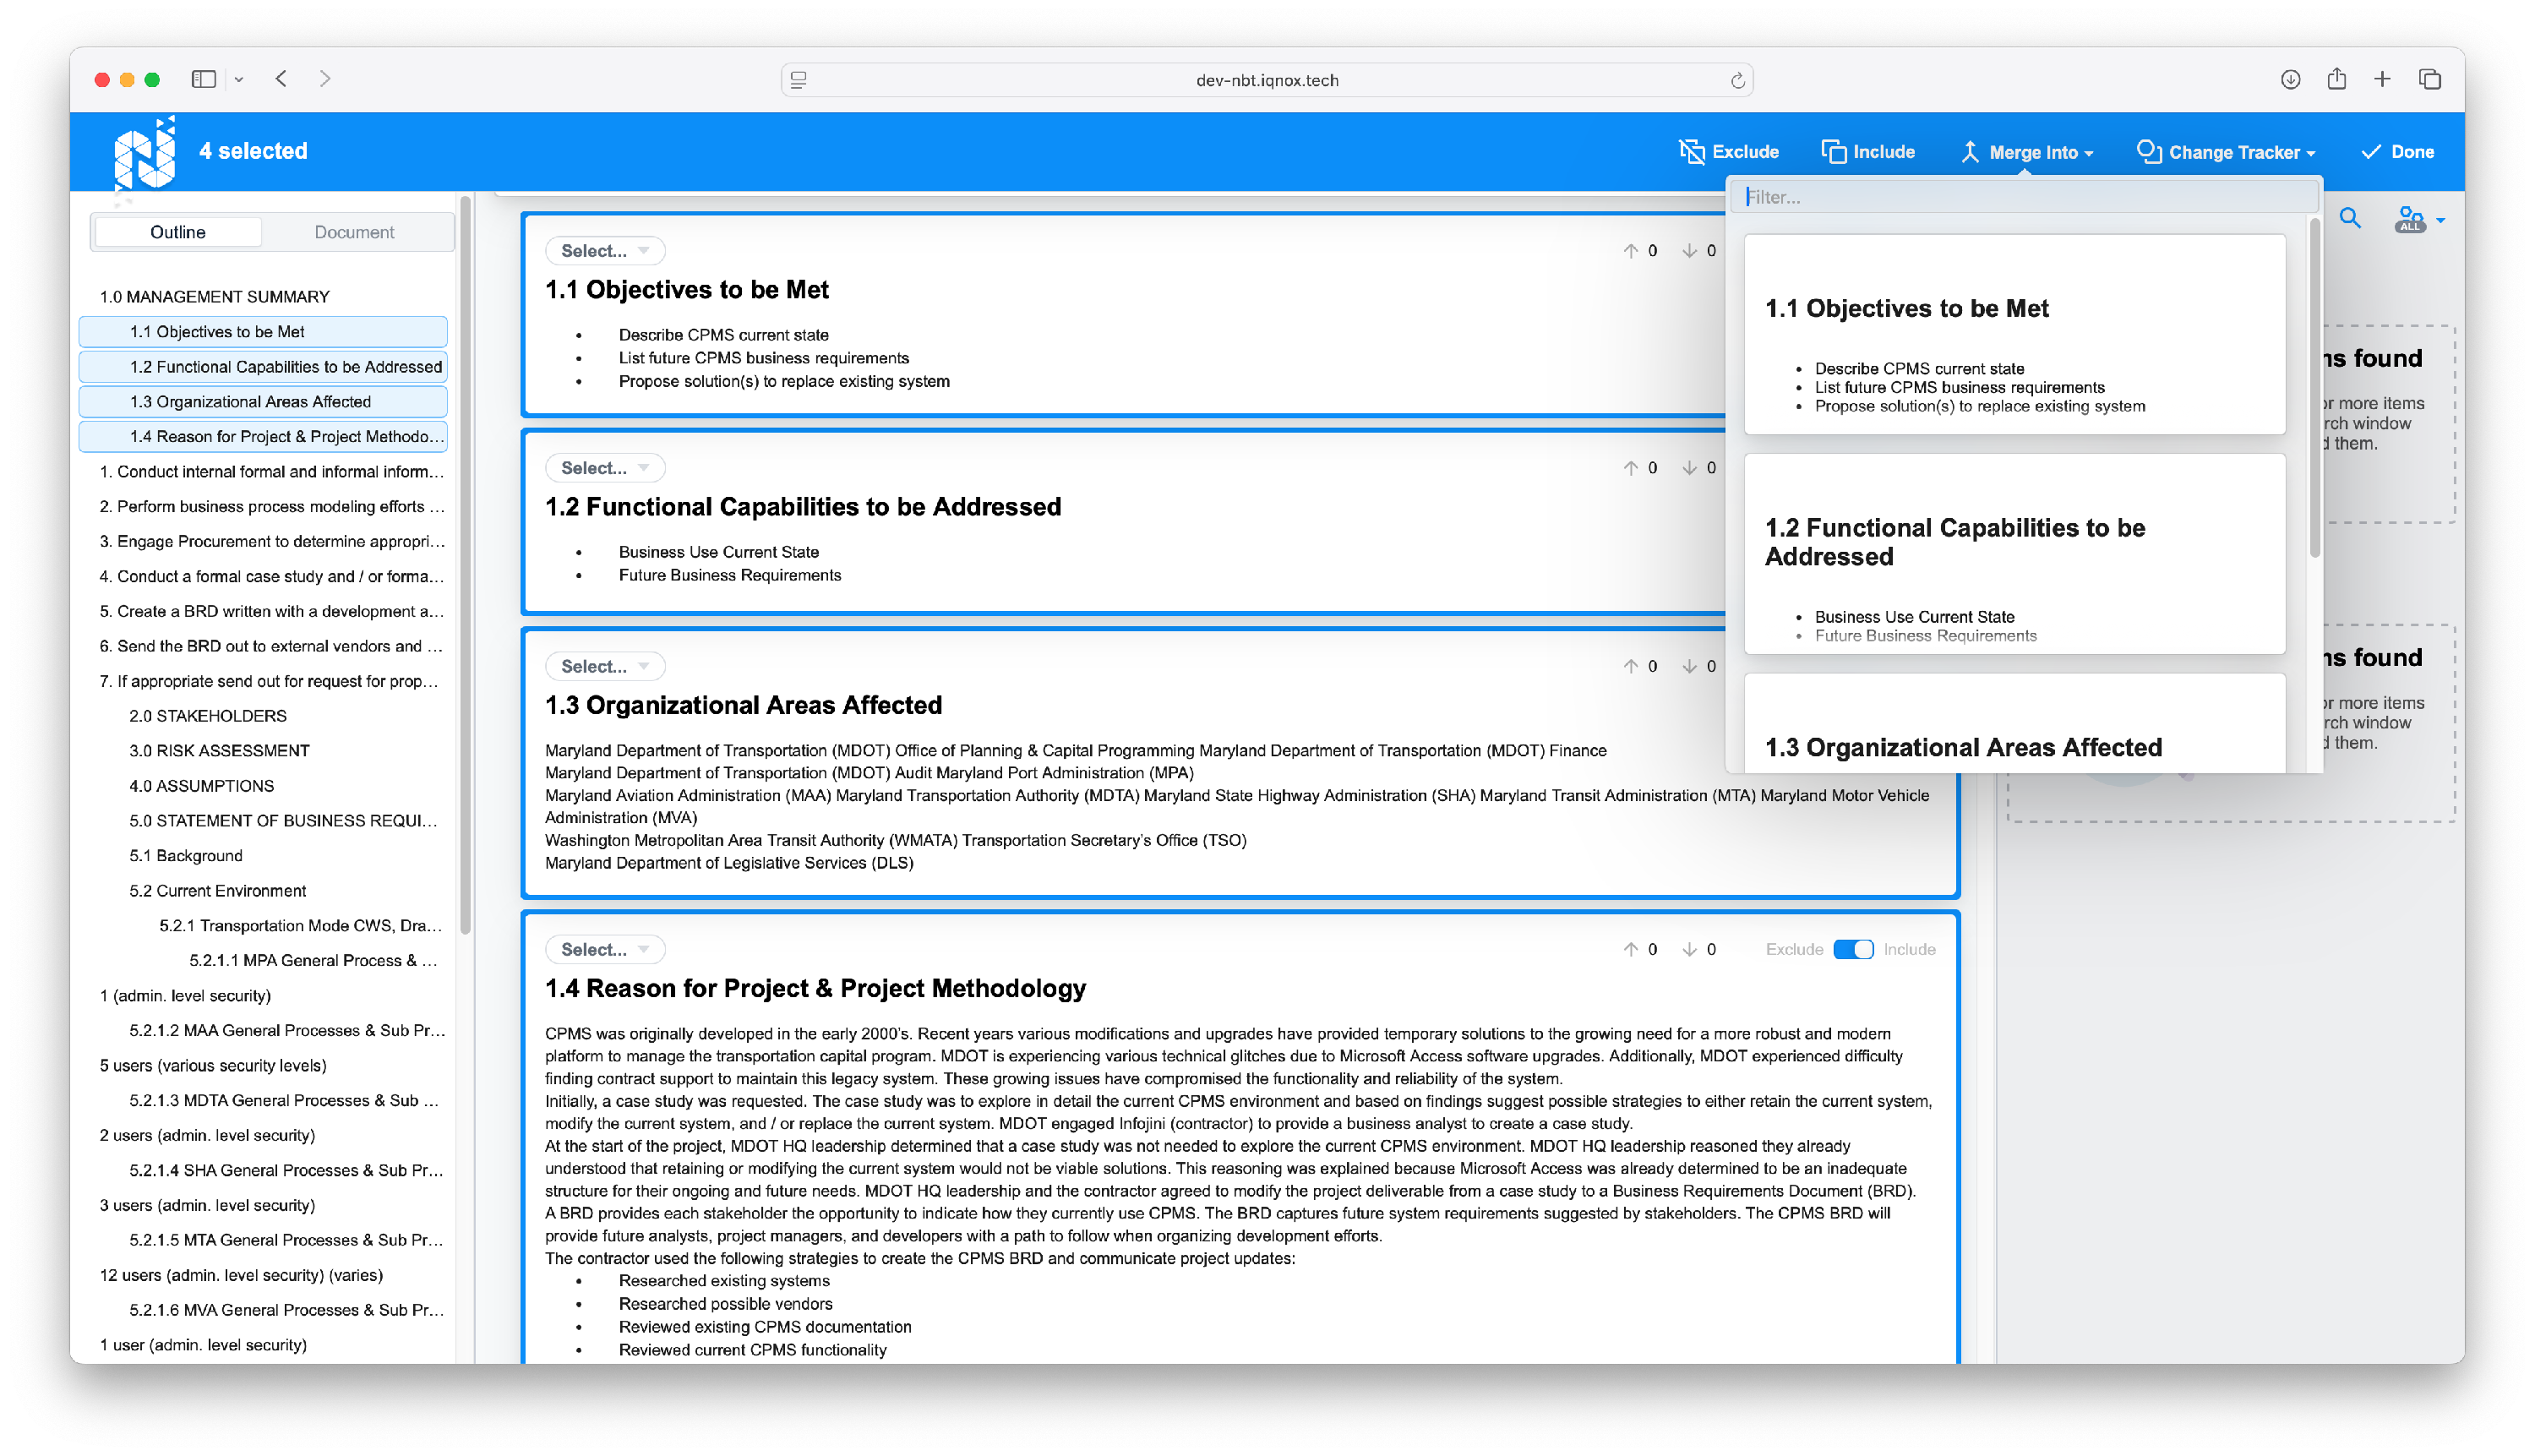
Assign the merged item to a tracker #
After merging, you can assign the new item to any available tracker from the dropdown list.

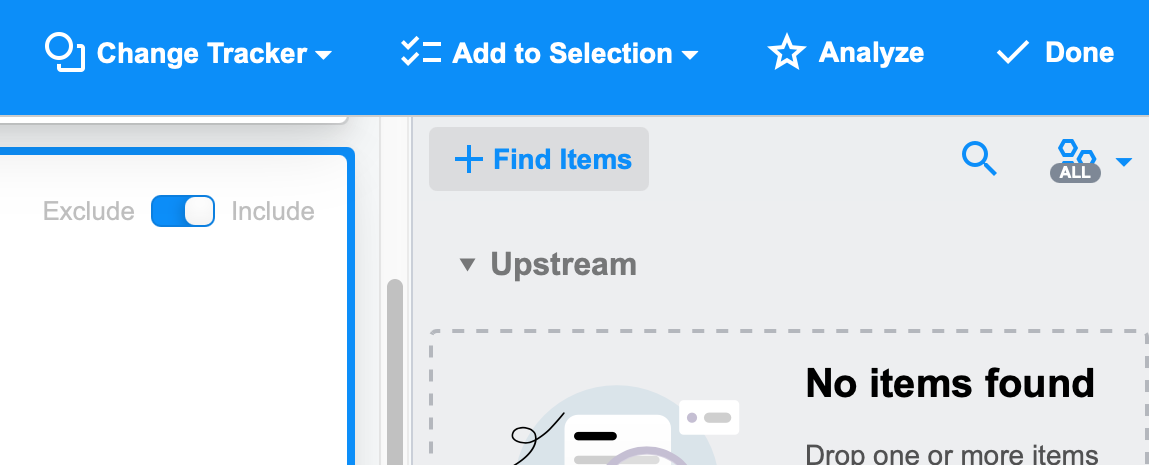
Link items with traces #
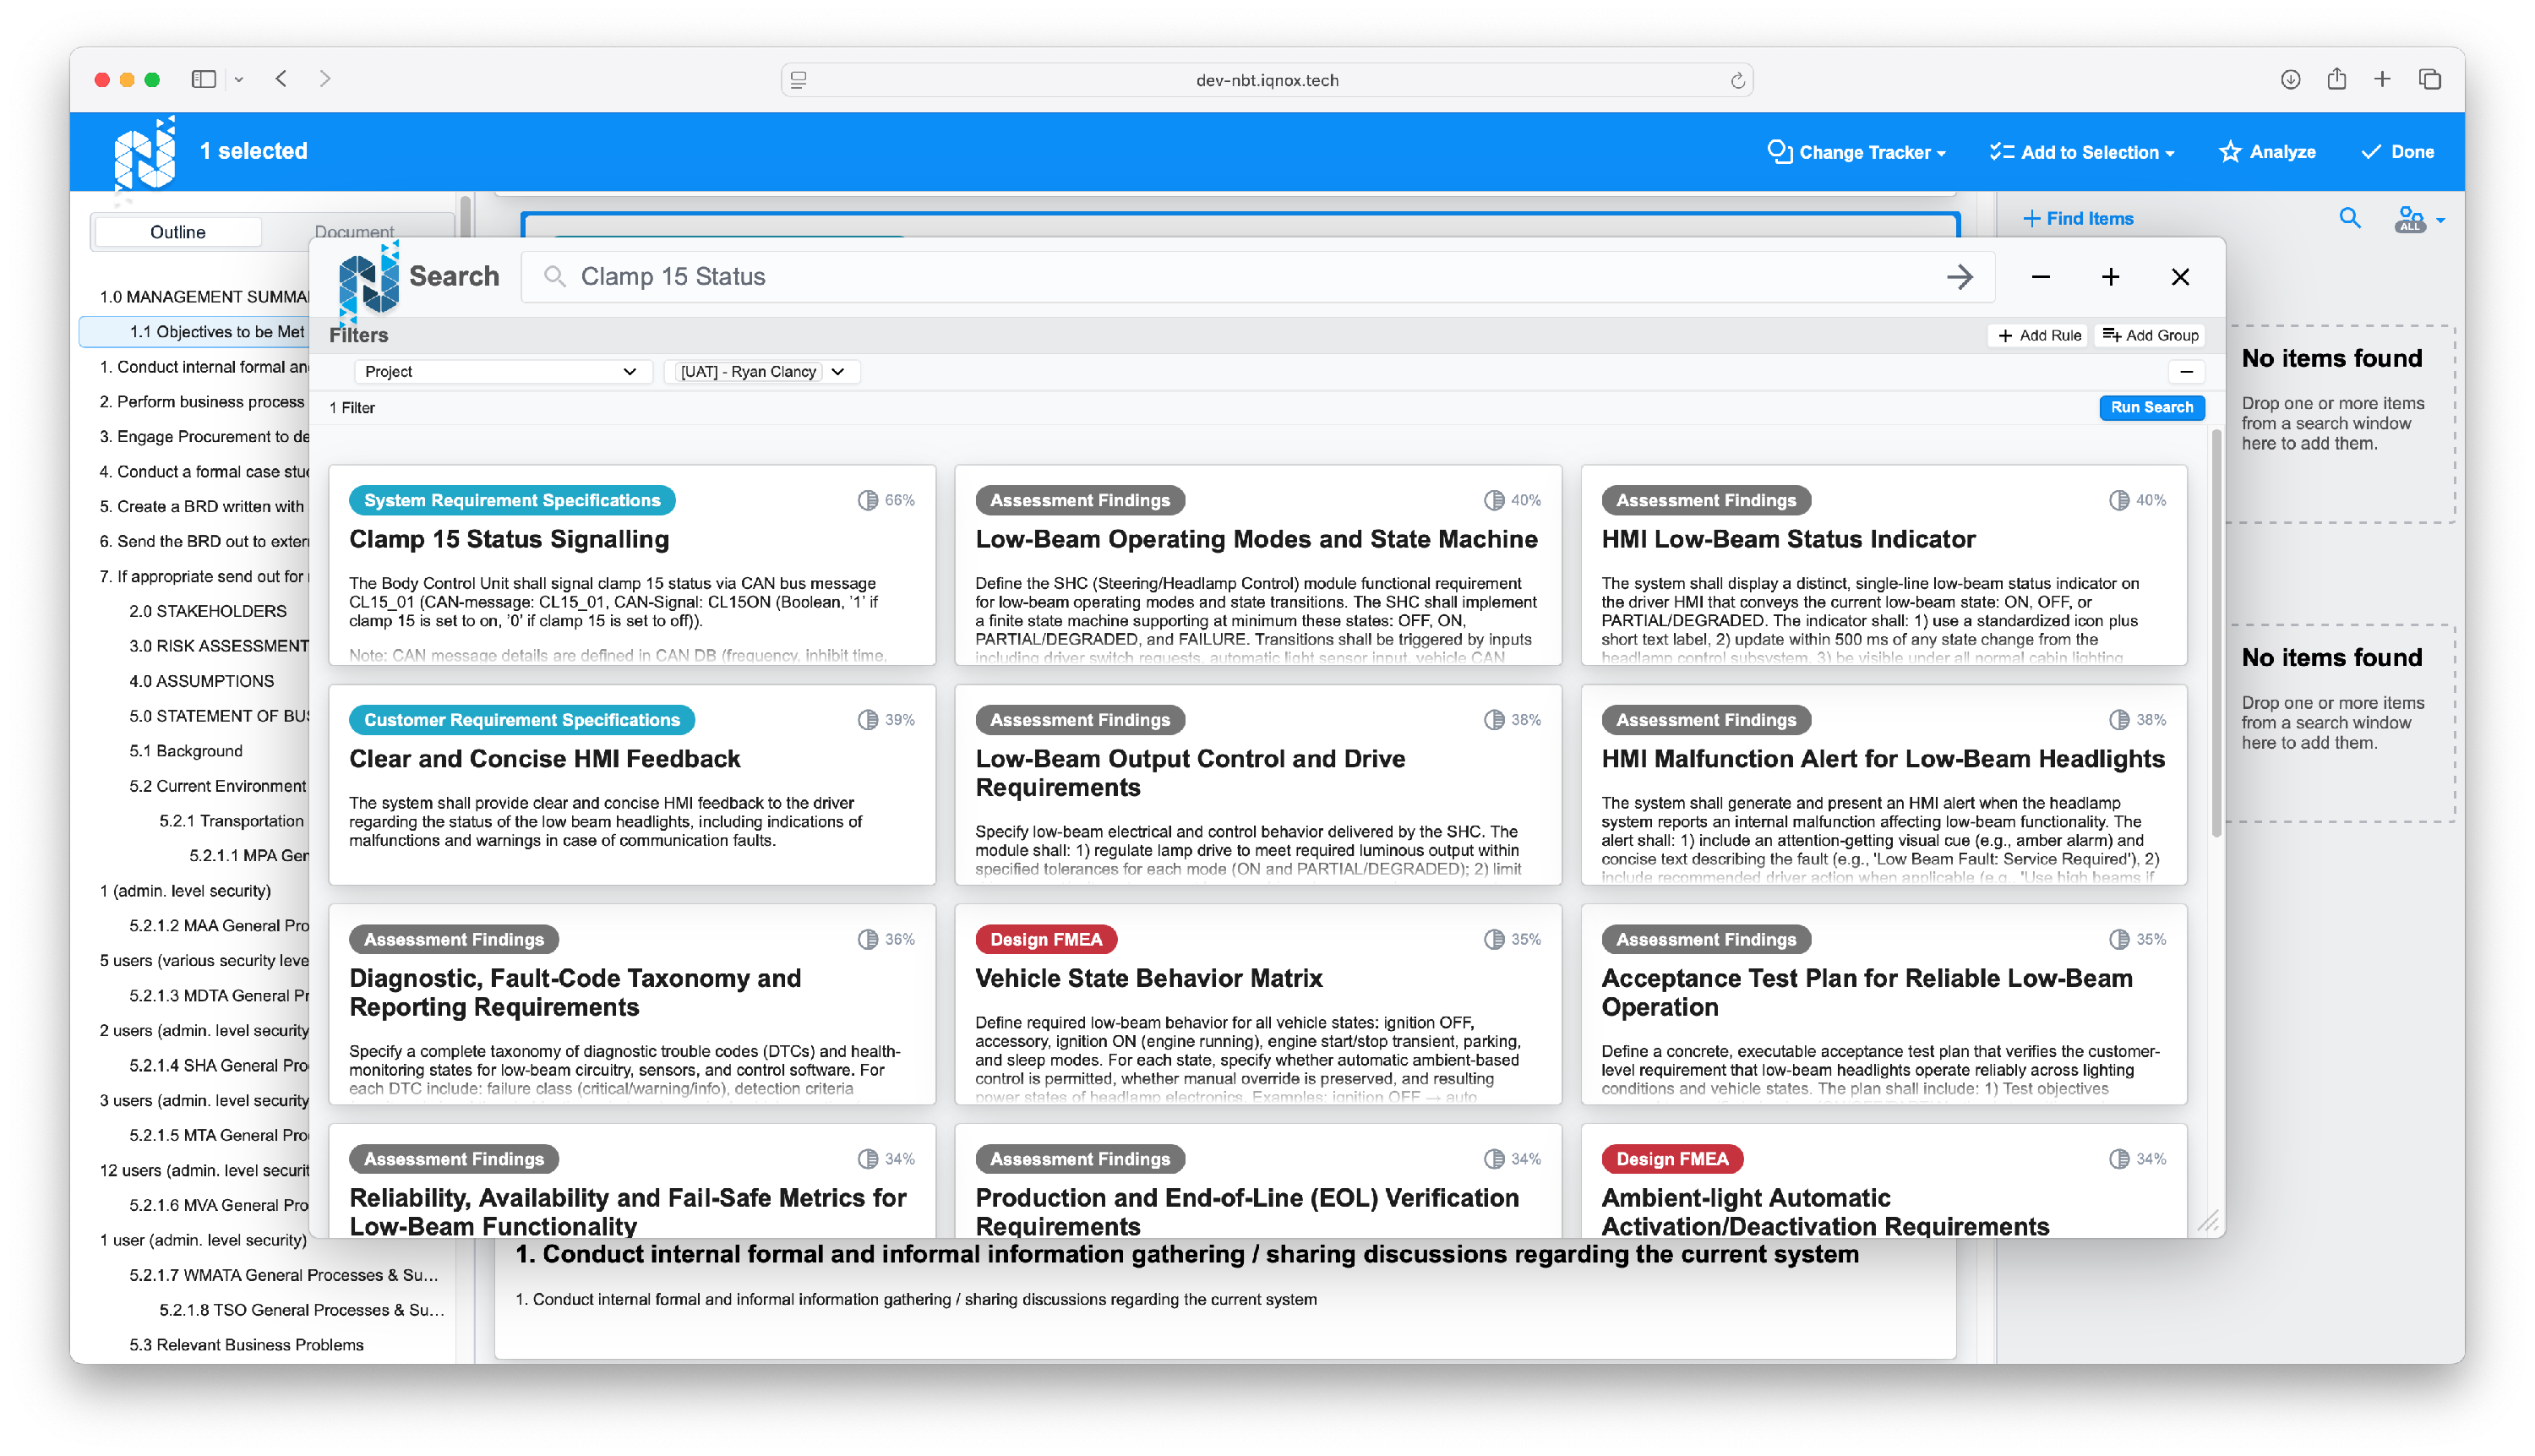
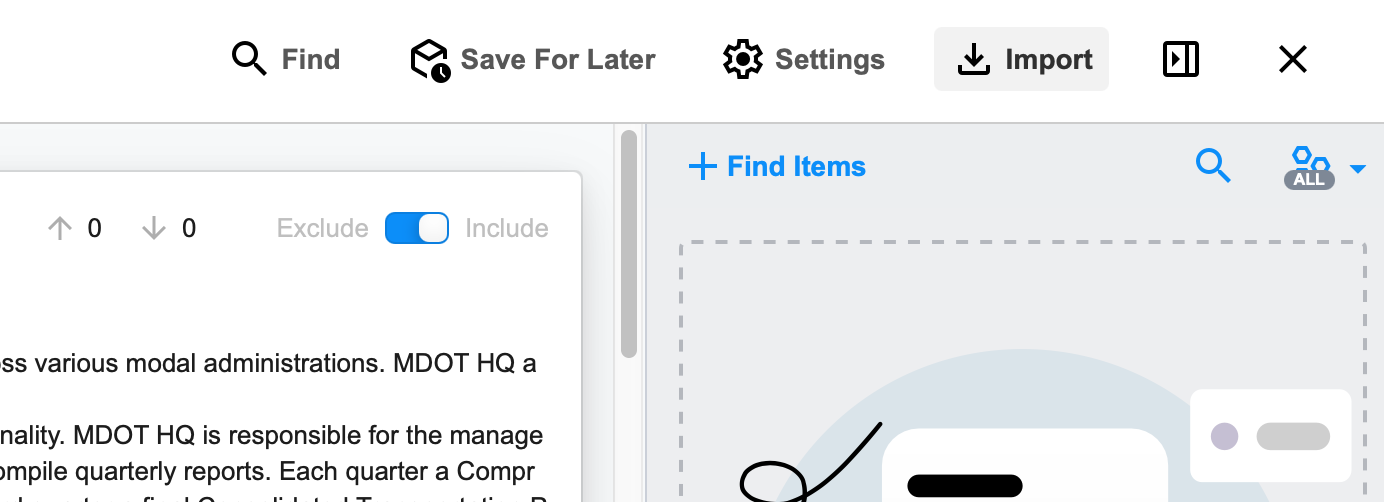
Find related items #
Click Find Items to search for upstream or downstream trace candidates.
Use Add Rule to refine search by project, tracker, or keywords.
Example: Select a project, enter Clamp 15 Status, and click Run Search.
Results are ranked by relevance percentage.
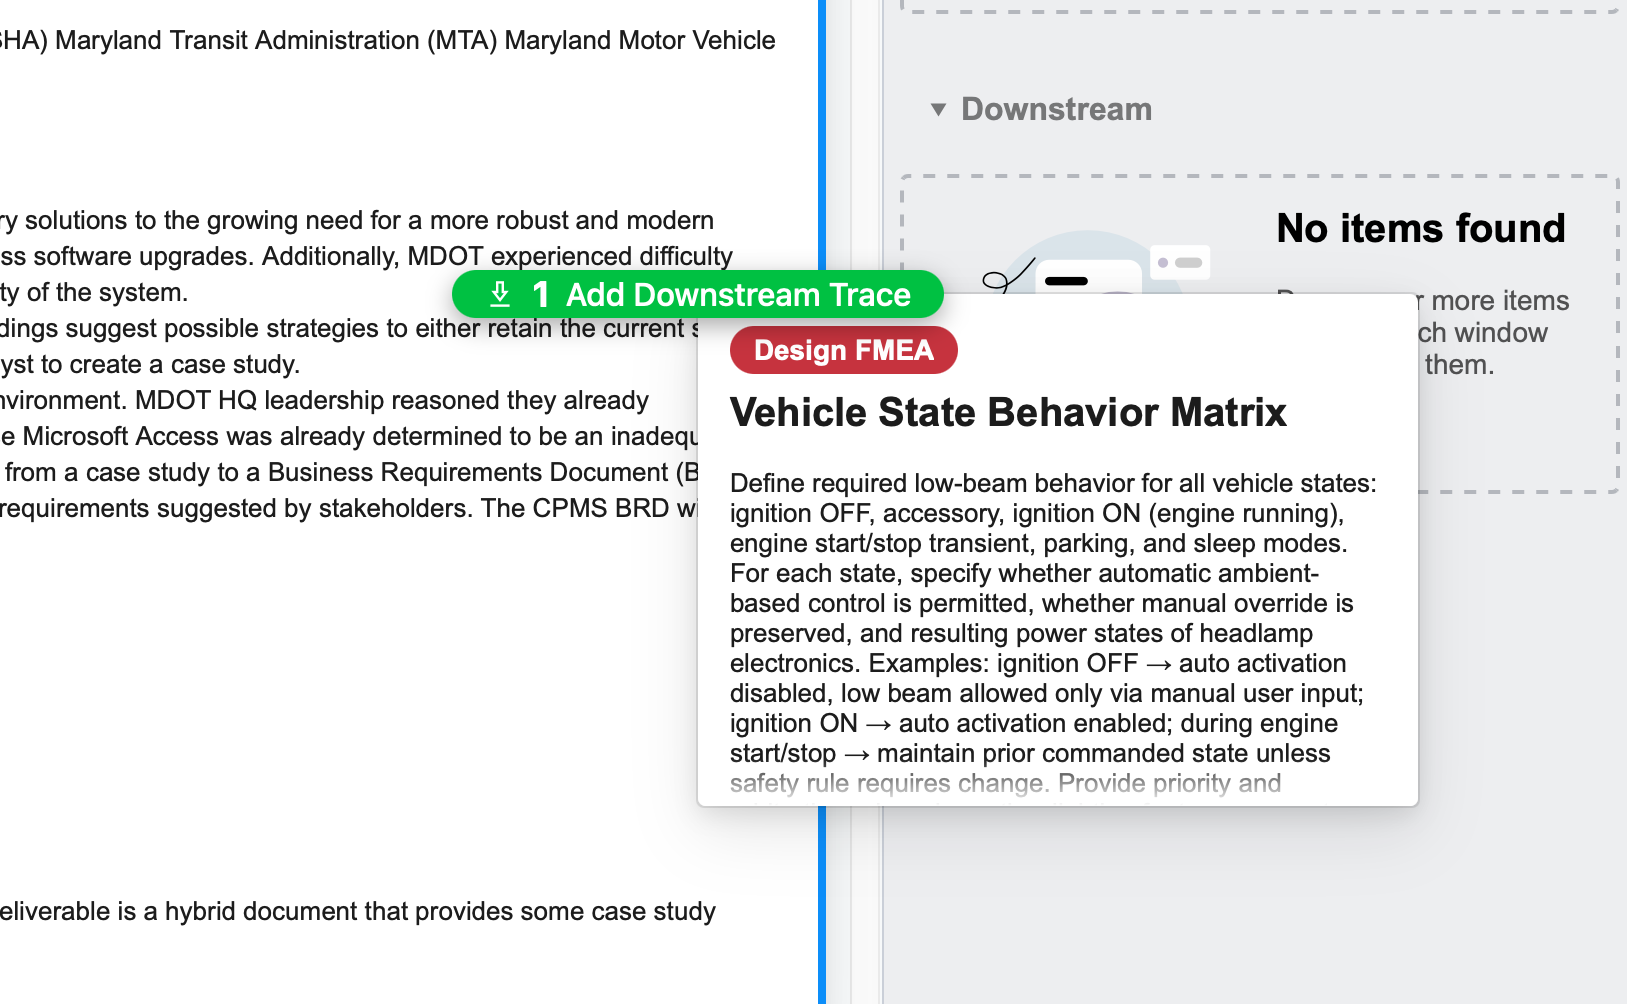
Create trace links #
From the search results, drag items into the Downstream or Upstream section to create trace relationships.
Manage imported items #
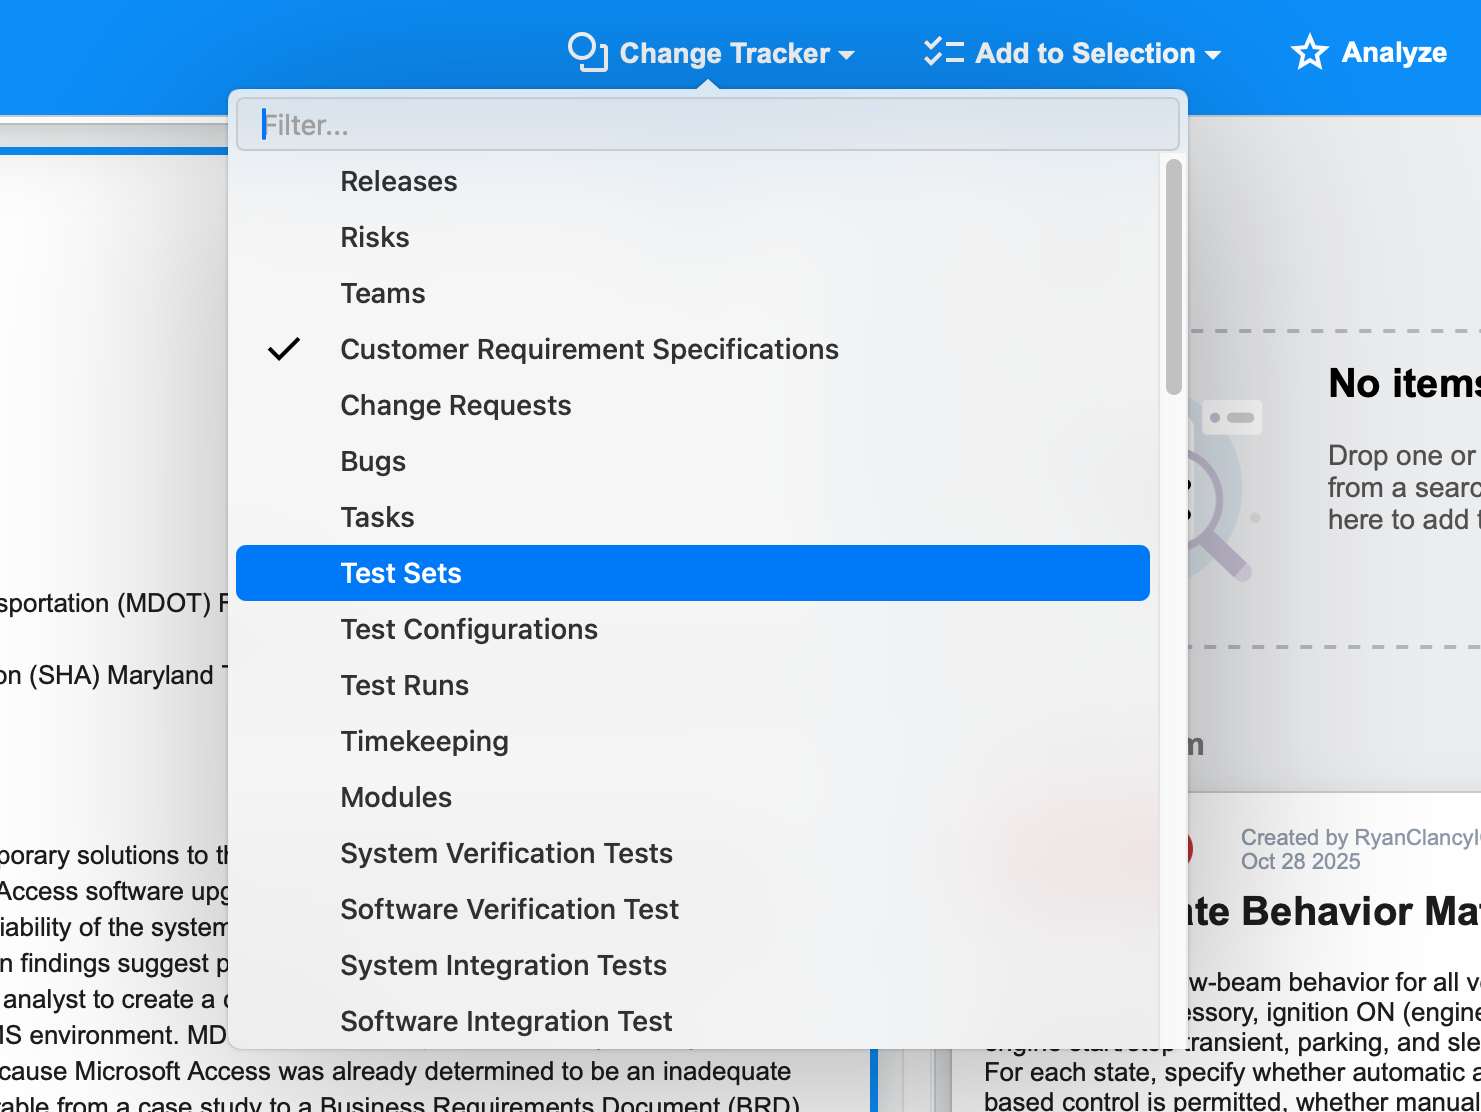
Change tracker assignment #
Click Change Tracker to assign a different tracker to an item.
Caution: Changing the tracker for an item that already has traces will remove those trace links.
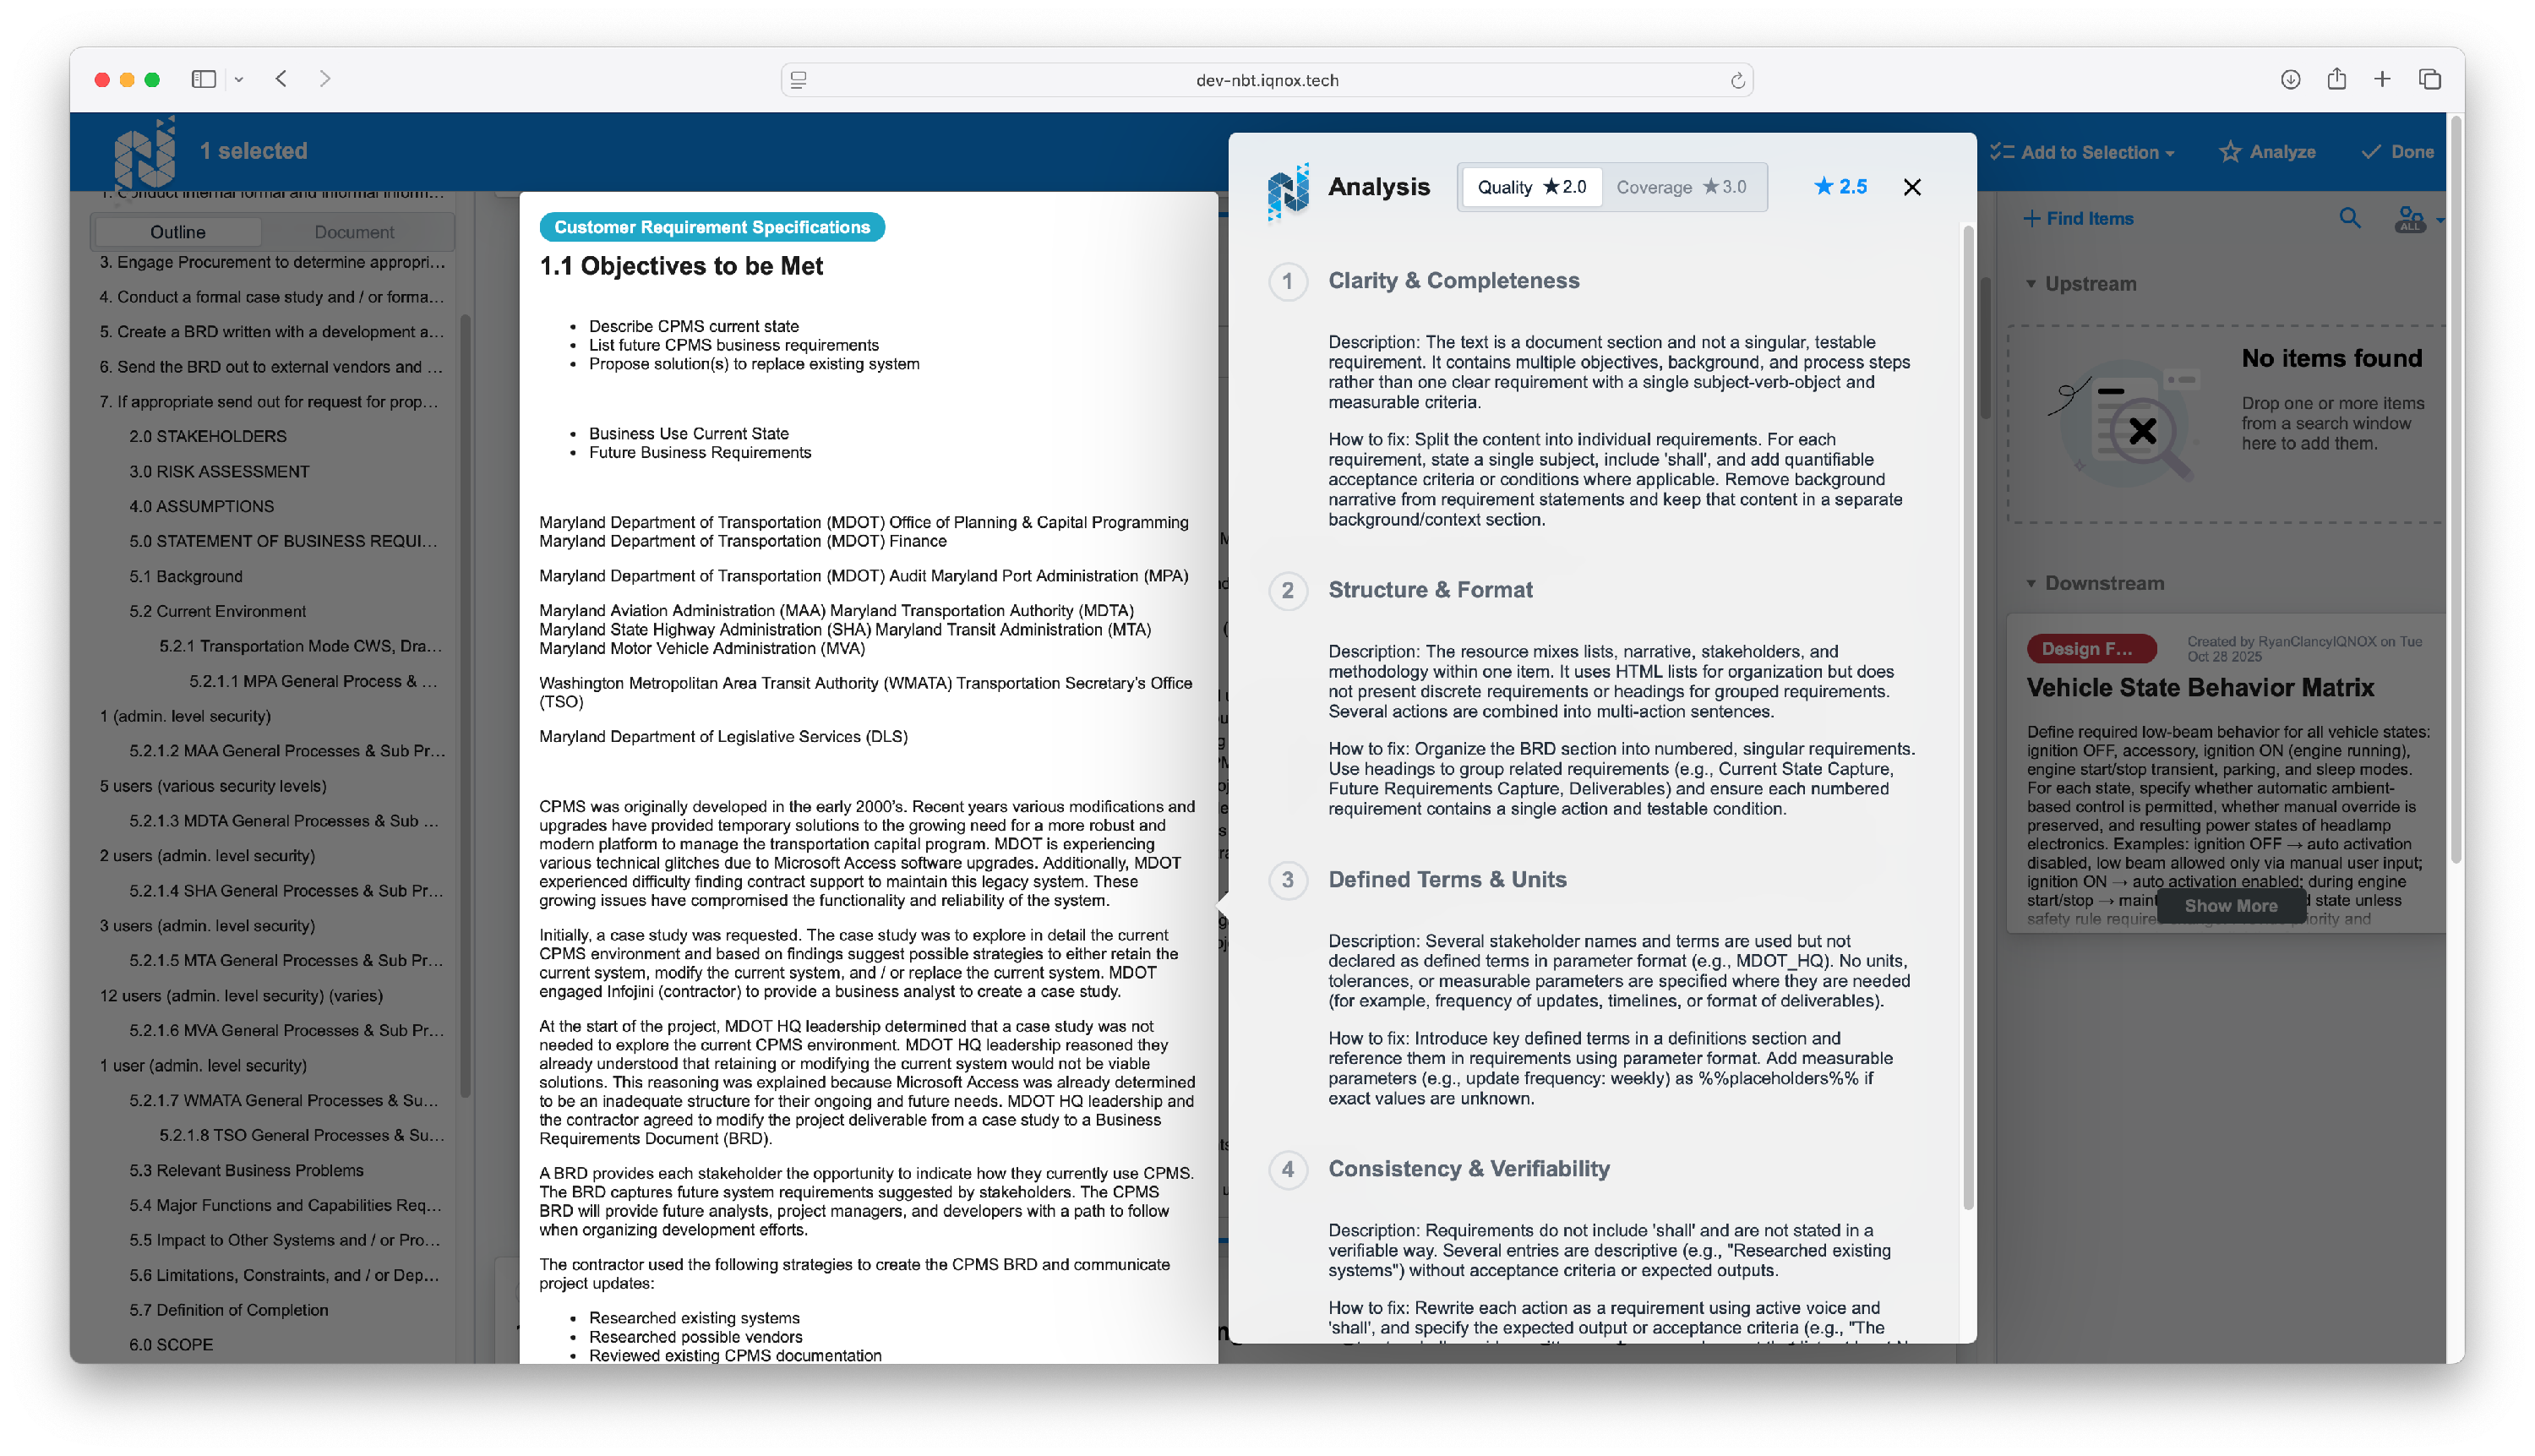
Run content analysis #
Click Analyze to perform an AI-powered quality review.
This evaluates completeness, coverage, and provides recommendations to strengthen imported content.
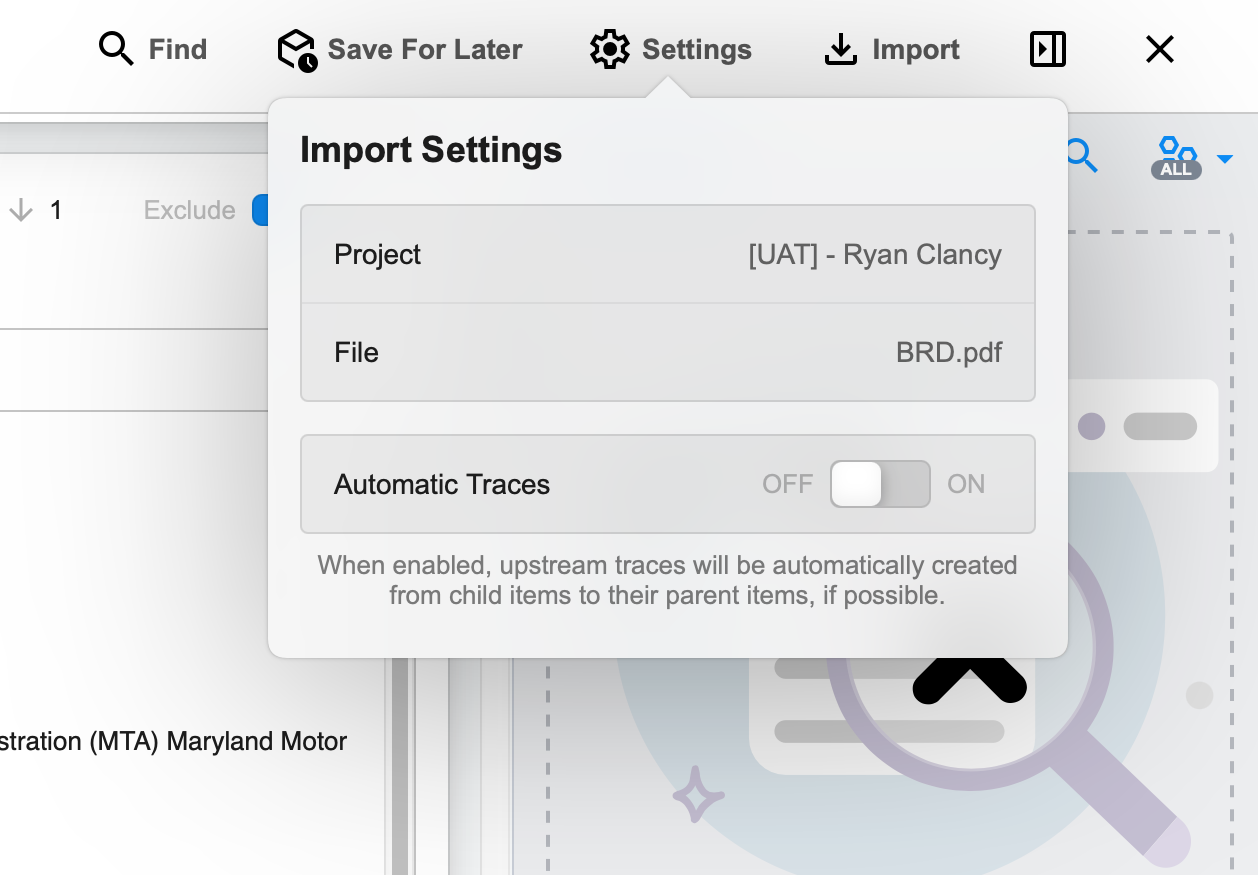
Access project settings #
Click Done to exit the editing window, then click the gear icon at the top.
Here you can view the active project, the imported file, and toggle Automatic Traces ON or OFF.
Search within imported items #
Use Find to search across your imported content.
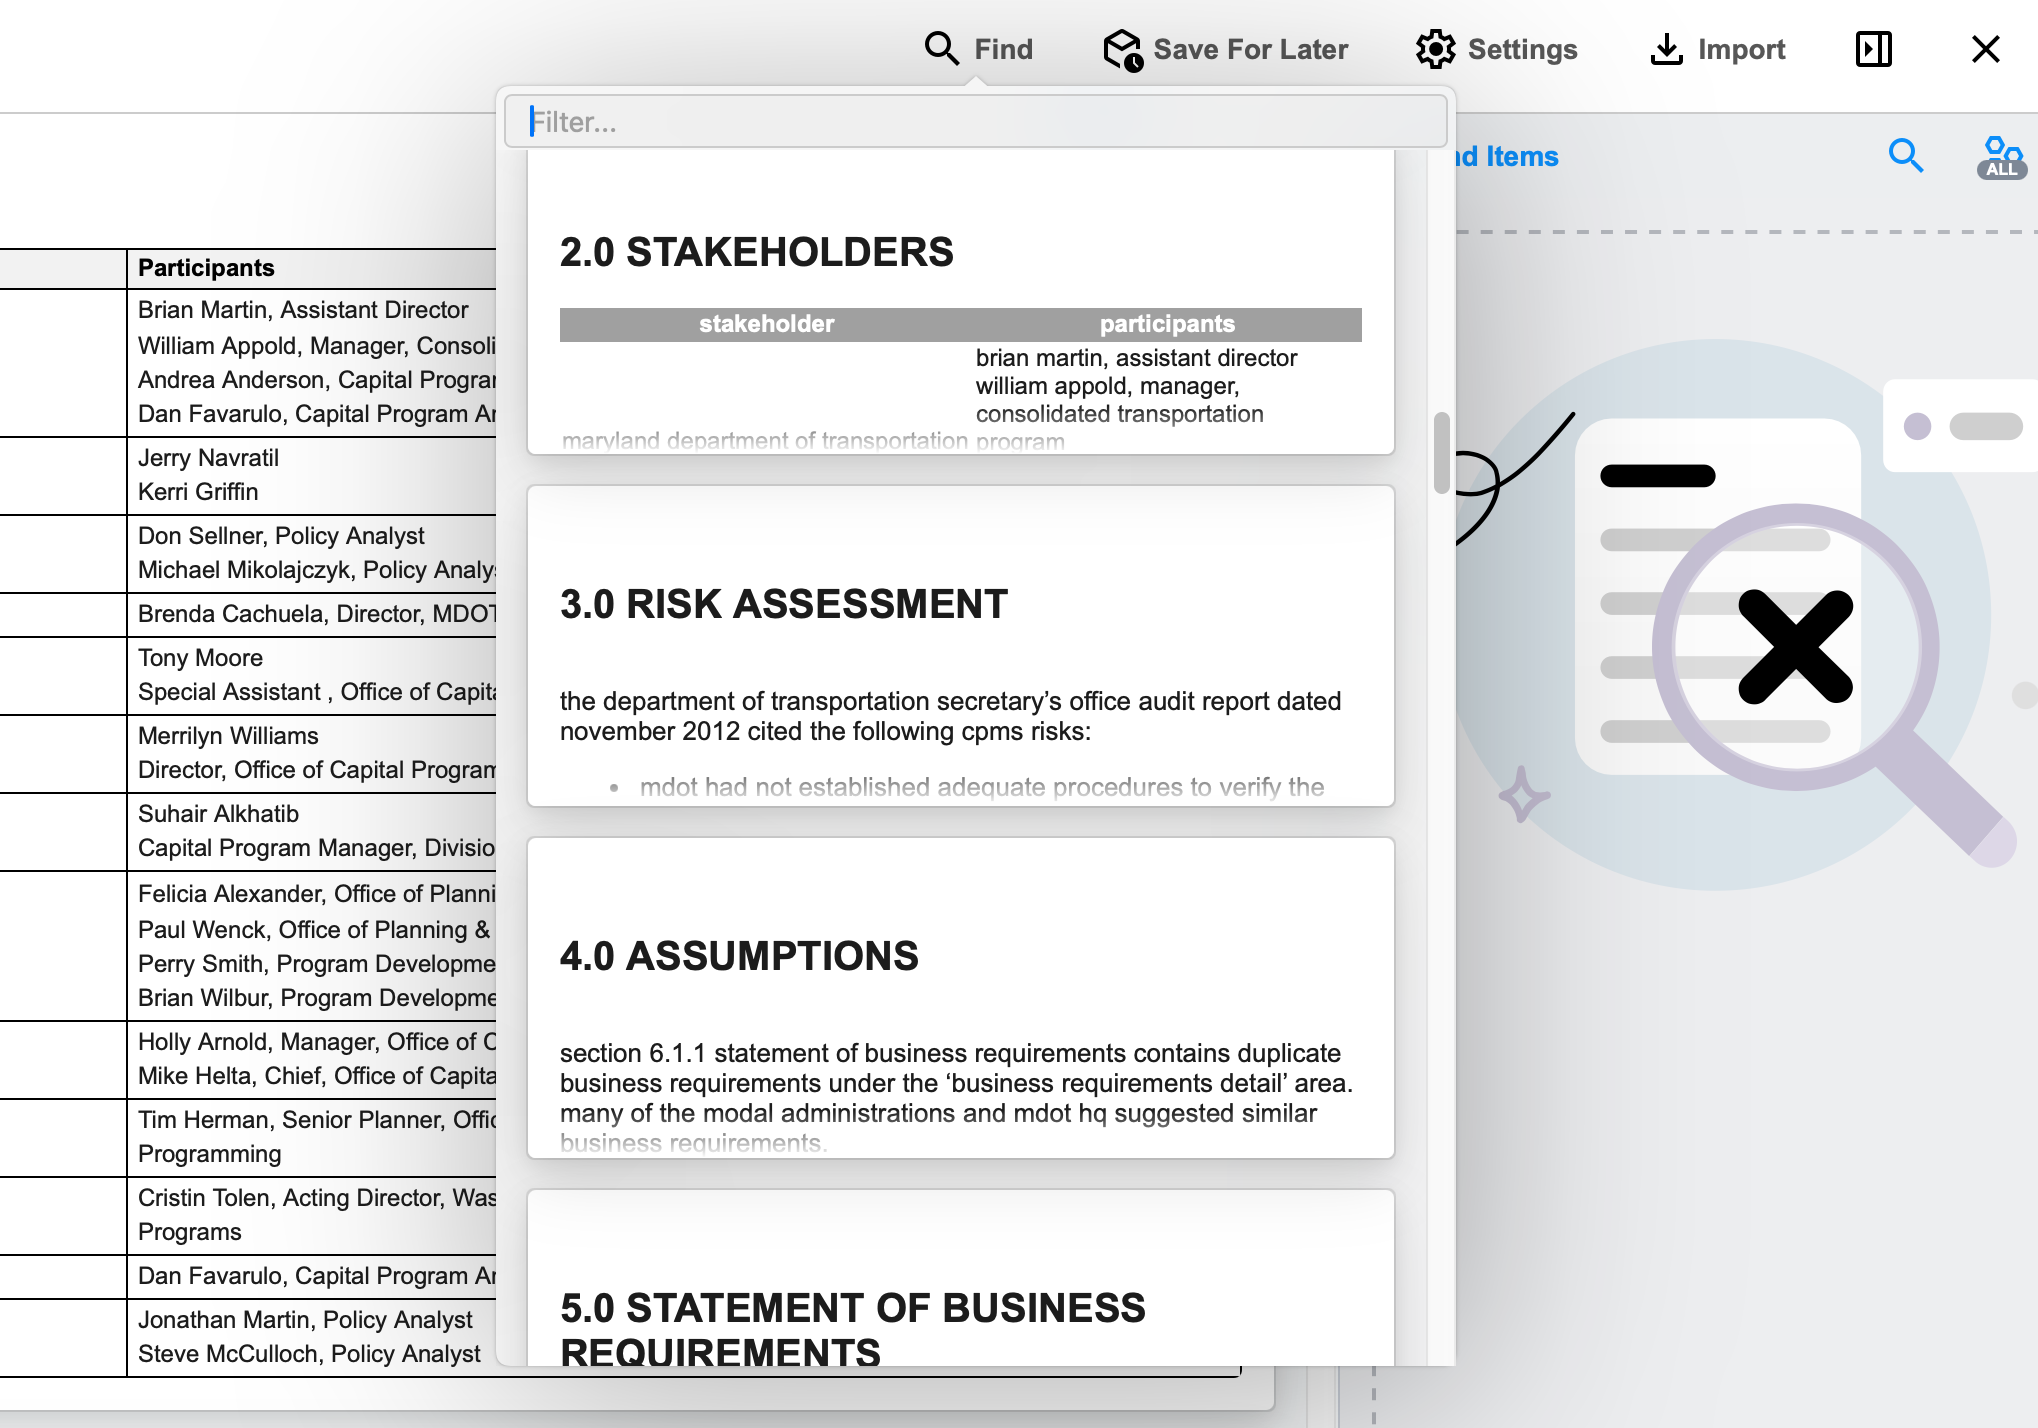
Clicking a search result opens it in the editor.
Save and resume an import #
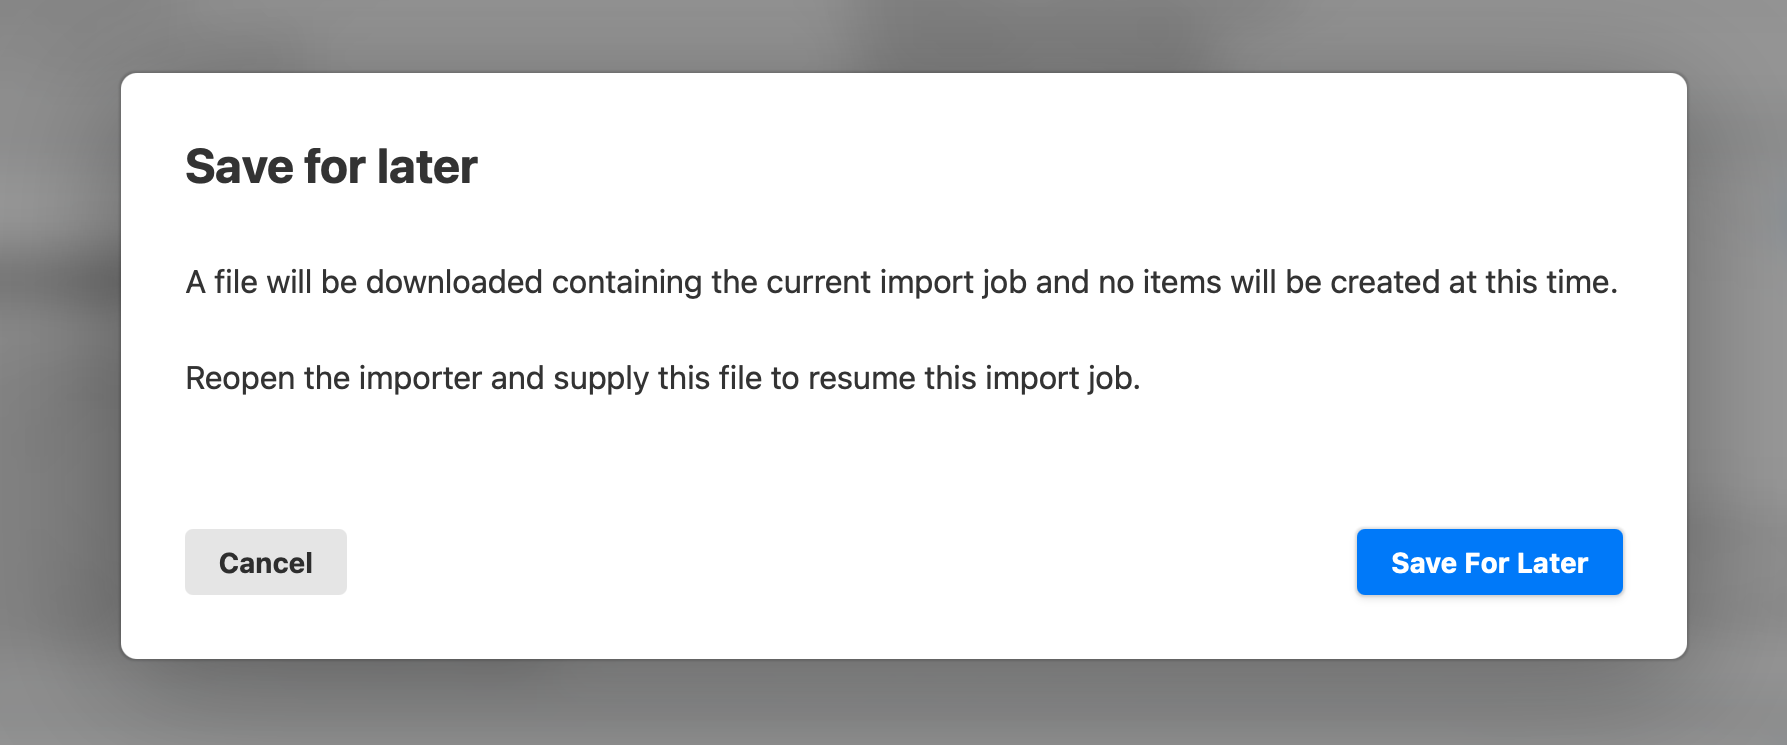
Save progress #
Click Save for Later to preserve your work.
This feature stores your progress, including assignments, edits, and traces.
Resume a saved import #
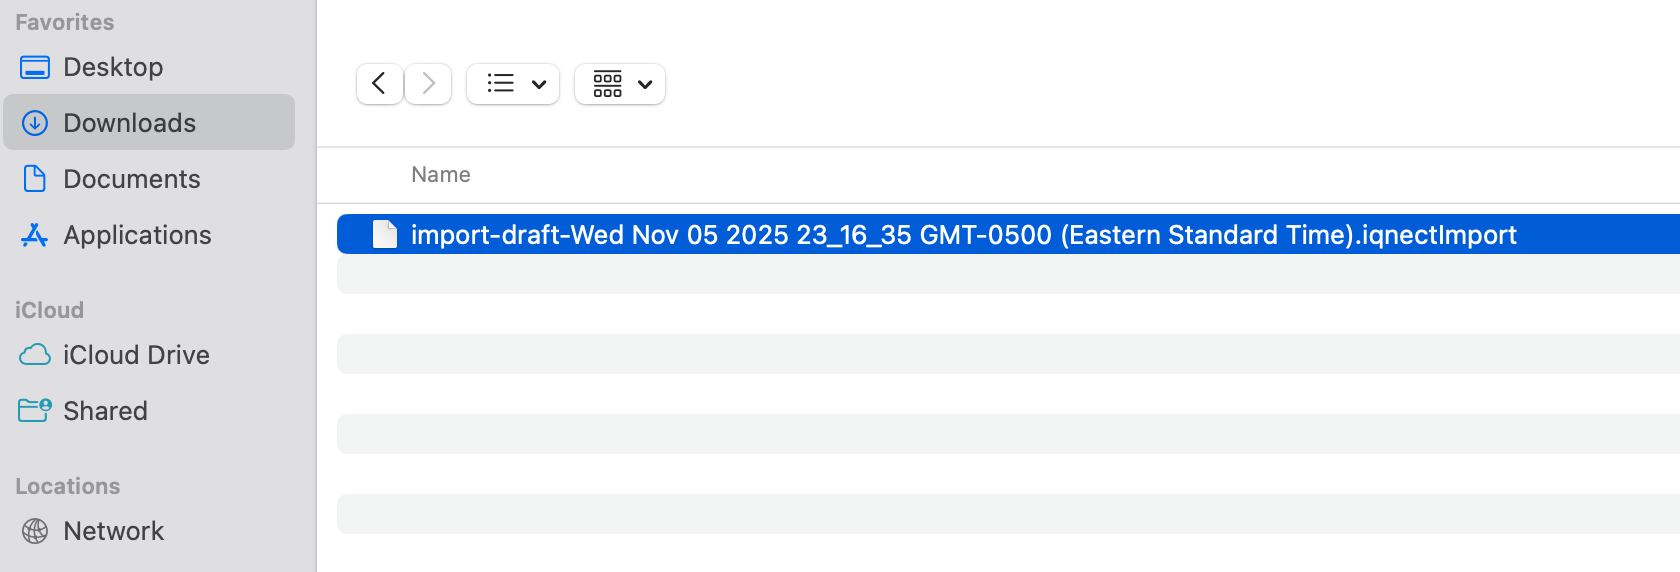
When returning, repeat the original document import process, but this time click on the file box below Resume Import.
Reload the saved file.
IQNECT restores your session exactly where you left off.
Finalize and import into Codebeamer #
Finalize import #
When ready, click Import to bring the items into your Codebeamer project.
Verify results #
After import completes, refresh the page.
Your new items appear in the tree menu, complete with any assigned upstream and downstream traces.
Results and next steps #
You’ve successfully imported a document into Codebeamer using IQNECT.
From here, you can continue to analyze imported items and view traces directly in the Enhanced Trace View to maintain complete, traceable project documentation.